You’ve probably never heard of Salvia before, but I’m pretty sure you’re familiar with sage. These plants are one of the most common plants grown in gardens, and it’s simply because they are hardy.
It might come as a surprise to many, but Salvias also have particular issues that they encounter during their life cycle.
Fortunately, Salvias don’t have many problems, and most of them are usually related to inadequate conditions. These issues are relatively easy to care for, so there’s no need to worry about them.
In this article, we’ll look at the most common problems that Salvia plants face and discuss various ways you can help your plant recover and return to its full potential.
But first, have a look at some general information regarding Salvias:
| Family: | Lamiaceae |
| Genus: | Salvia |
| Scientific name: | Salvia spp. |
| Plant type: | Shrubs, herbaceous annual or perennial |
| Common names: | Sage |
| Toxicity: | Non-toxic to pets |
Let’s get right into it!
Issues With Salvias
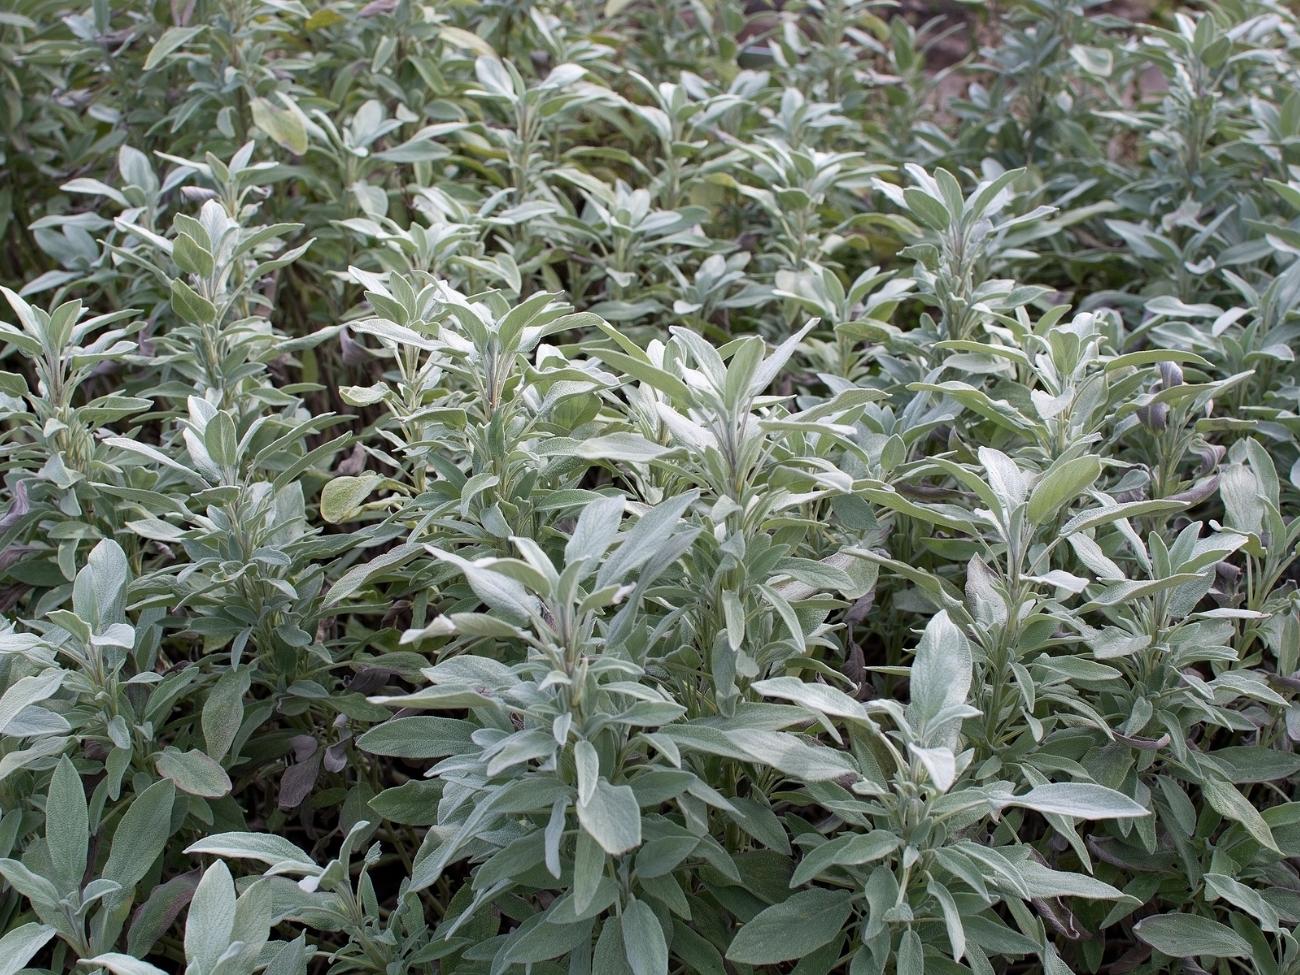
The genus Salvia comprises various plant species, with perennial Salvias being the ones mostly known as sage.
Salvias are known for their majestic blooms, and people primarily use them in numerous culinary activities. However, to experience the benefits of full-grown, happy, and healthy Salvias, you must familiarize yourself with the issues you may encounter with these plants.
Some common problems that affect Salvia species include root rot, yellow leaves, brown leaf tips, pest infestation, legginess, flopping, and powdery mildew.
The following section will take a deeper look into these problems and highlight ways you can solve them.
Flopping
A healthy Salvia should stand upright, but if you don’t meet its requirements, it can exhibit flopping.
Two main things cause flopping in Salvias: overwatering and overfertilization. As mentioned earlier, some Salvia species are hardy plants, meaning they are prone to overwatering, particularly during the winter months.
Still, even with the correct watering schedule, you should keep in mind that frequent rainfall can lead to water accumulation in the soil and cause flopping. Salvia microphylla are some of the cultivars which are most prone to flopping.
Overfertilization is another leading cause of flopping in Salvia plants. Nitrogen is essential for blooming, but excess nitrogen in the soil can cause issues.
Salvias aren’t heavy feeders, and feeding them with too much nitrogen will limit the production of their beautiful purple flowers; you might not get any flowers at all!
Dealing with Flopping
If the cause of flopping in your Salvia plant is overwatering, you’ll need to change your watering techniques and schedule and also inspect the soil. Having a perfect watering schedule may not be enough; your soil also needs to be well-drained. Otherwise, these issues will reoccur sooner or later.
Salvia plants require roughly an inch of water every 7 – 10 days. You’ll need to water your Salvias if rainfall isn’t frequent where you live.
Your Salvias will also need porous and well-draining soil. This will help your plants tolerate frequent rainfall better, and you’ll also avoid overwatering.
Adding a layer of mulch is an excellent way of improving loose soil and soil without water retention capabilities. Additionally, you can use an all-purpose plant fertilizer diluted to half strength to feed your Salvias in early spring.
Bear in mind that Salvias detest mushroom compost, so be cautious if using compost.
You can promote blooming and new growth for your Salvias through deadheading.
Powdery Mildew
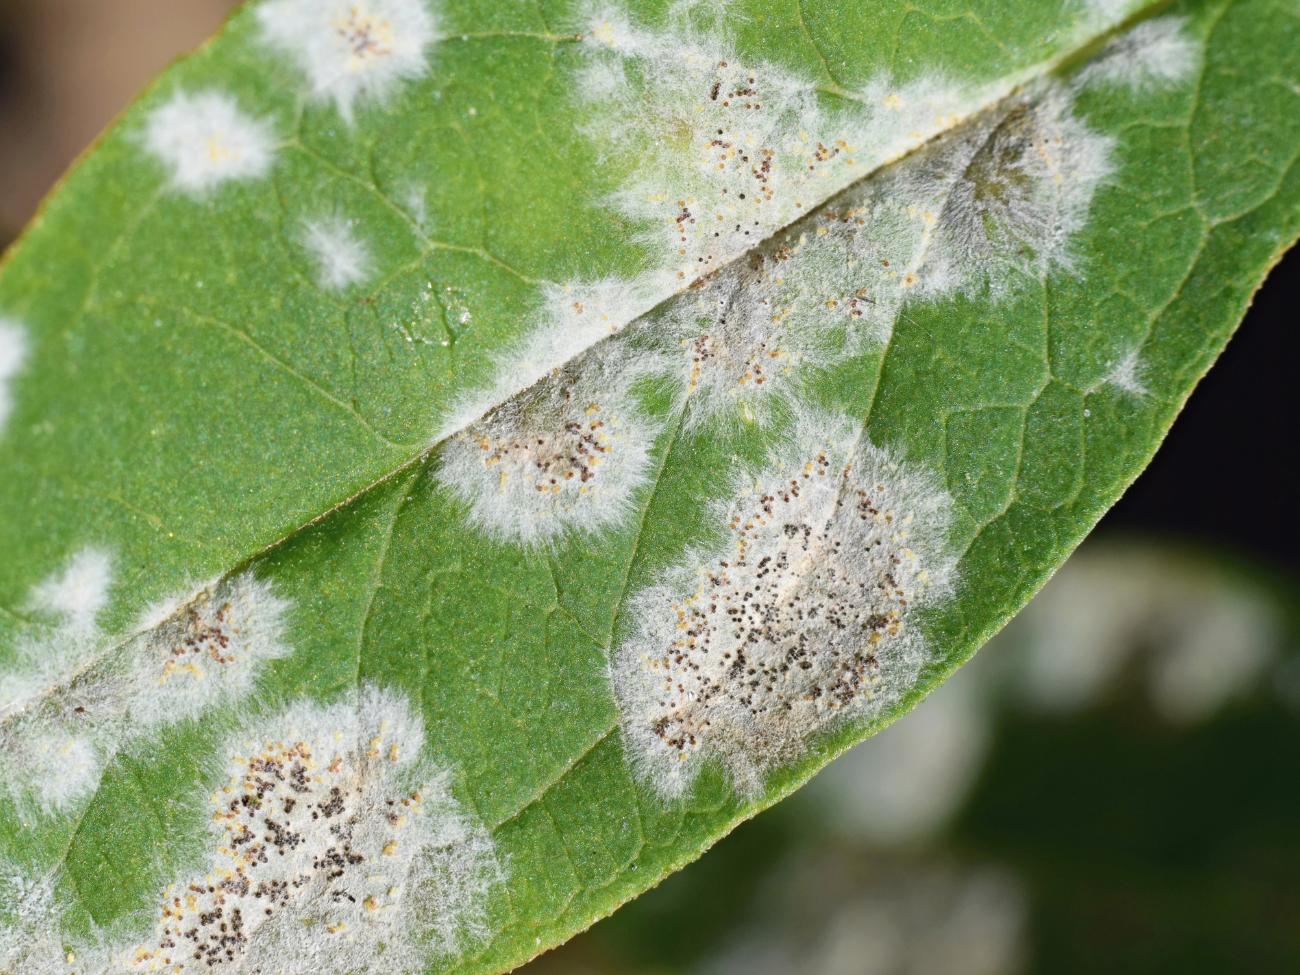
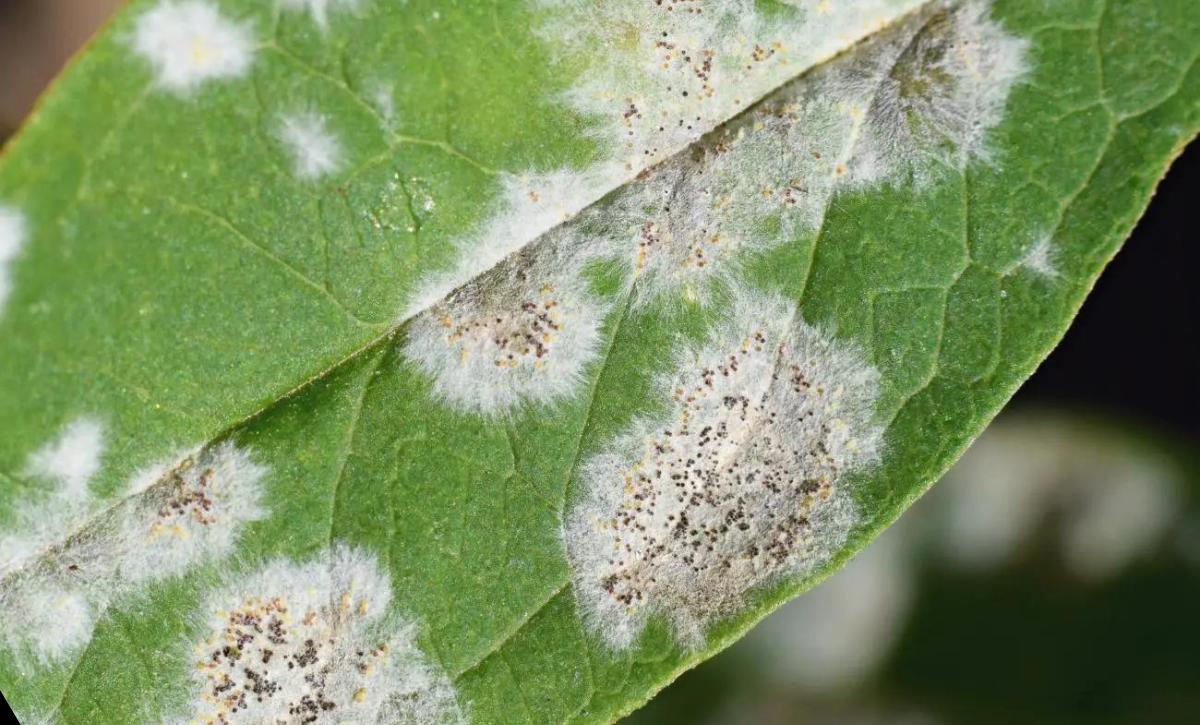
If you are a plant enthusiast, you’ve probably had a plant with this disease without even noticing it. Powdery mildew is readily identifiable and considered one of the most pervasive plant diseases.
So, how will you know your Salvia is infected with powdery mildew? The answer: the leaves. The plant’s foliage will exhibit grayish-white blotches or spots with a white mold on its surface.
Some plants have become resistant to powdery mildew; however, Salvias aren’t one of them.
Powdery mildew isn’t a deadly disease, at least for Salvia species. Still, the disease is capable of rapidly spreading among your plants and will leave you with a garden full of diseased plants in no time.
For sage plants, powdery mildew causes stunted growth and, in most cases, inhibits blooming.
The fungi that cause powdery mildew flourish in humid environments with excess soil moisture, providing a suitable habitat for them to survive.
Dealing with Powdery Mildew
Once your Salvia has been infected with powdery mildew, the first thing you need to do is check the conditions.
Good air circulation is a critical factor for the healthy growth of Salvia plants. Therefore, you should pay close attention to spacing if you intend to grow Salvias.
In most cases, powdery mildew requires treatment with fungicides. It would be best to use sulfur-based organic fungicides, but strictly adhere to the dosage requirements!
If the damage is severe, you’ll probably have to cut off the diseased Salvia leaves.
Sterilize your tool of choice when removing diseased leaves as well as after usage.
Remember to dispose of any damaged leaves and never compost them; putting them in your compost will help the fungi to spread, and you’ll be back to square one.
Legginess
Inconsistent watering is the leading cause of legginess in Salvias. Your plants will look lifeless if you don’t provide adequate water.
Even though Salvias are drought-tolerant, they can’t grow without water.
Lack of sufficient water isn’t the only cause of legginess in Salvias; lack of sunlight is another reason for a leggy Salvia.
Your sage plant won’t produce flowers mid-summer if it lacks light (this applies to all USDA growing zones where sage plants are grown).
You’ll notice legginess in your Salvias once they spread out and get more sunshine.
Dealing with Legginess
You need to provide your sage plants with a good soak if they become leggy due to lack of water. Continue watering your plants during dry spells with at least an inch of water weekly.
Consequently, if your sage plants don’t receive adequate sunlight, you need to increase sun exposure. Replanting your sage plants is probably the best way to achieve this so that your plants can receive at least 6 hours of full sun. You should grow these plants in partial shade for the rest of the day.
If some issues occur after planting, don’t fret; your Salvias are trying to adapt to a new substrate. Carefully observe your soil conditions. We recommend well-drained soil to prevent excess water from remaining in the soil and reduce the risk of fungal infections.
Pest Infestation
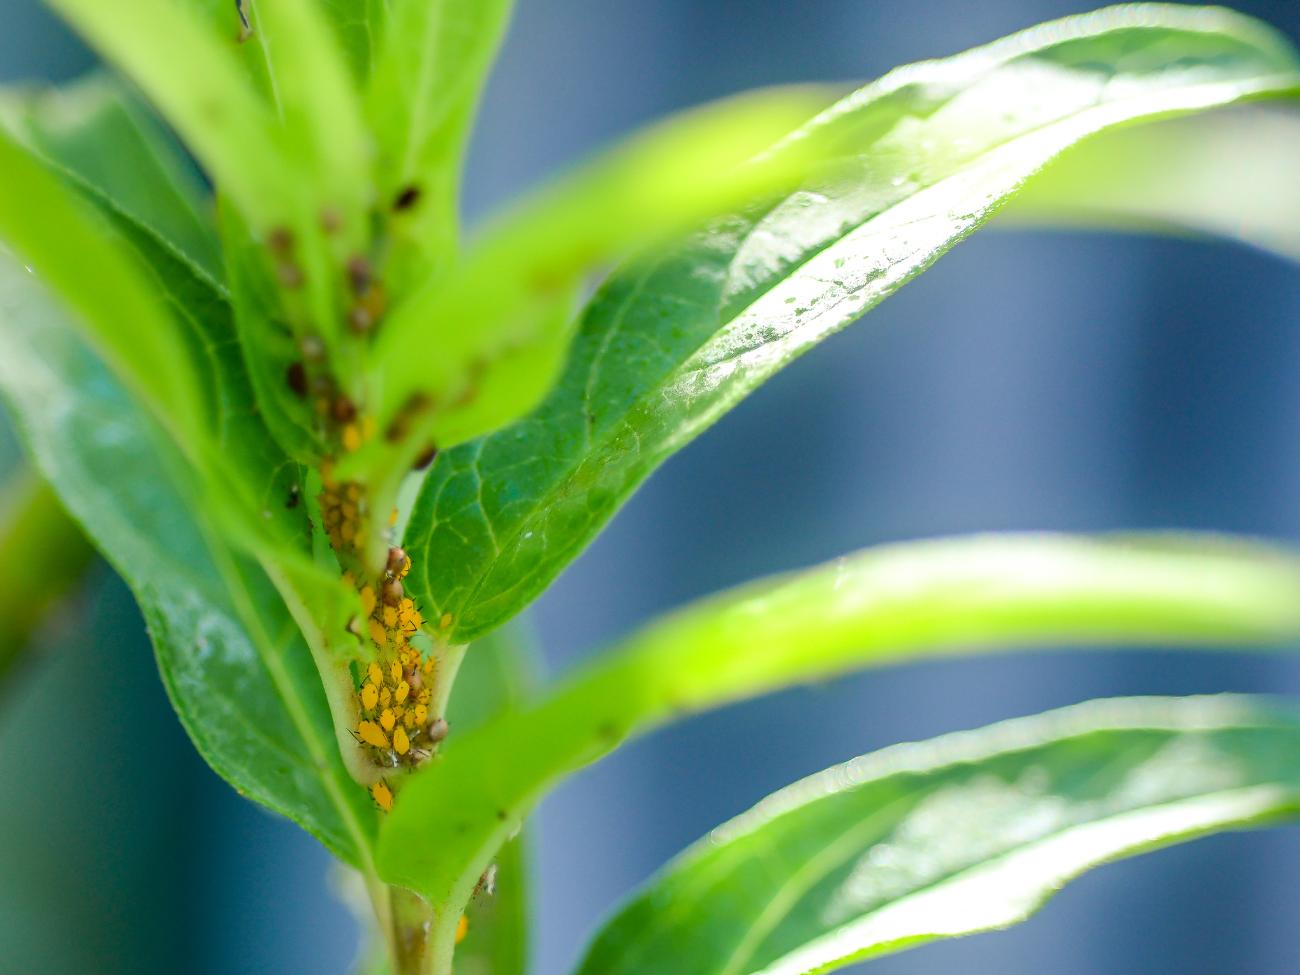
Japanese beetles, whiteflies, spider mites, and aphids are some of the most common pests that attack sage plants.
Spider mites love devouring the sap from sage plants’ leaves. Leaf discoloration is one of the main symptoms of a plant with a spider mite infestation.
Your plant’s leaves will display tiny white spots, which will become more prominent and brownish if you leave them untreated. Spider mites may also reside in the soil, so pay close attention to your growing medium to avoid other significant problems.
Aphids are tiny, round-shaped, greenish pests that are typically challenging to spot. These annoying little critters feed on Salvia leaves. Inspect the undersides of your plant’s leaves if you notice fewer flowers and stunted growth; aphids usually hide in such areas.
Whiteflies, like spider mites, feed on the sap from sage leaves. Your Salvia won’t grow fast enough if the infestation is severe, and you won’t see many flowers.
Japanese beetles also eat the leaves of Salvia plants, leaving holes in them.
Dealing with Pest Infestation
Even though applying insecticide to your plants to deal with pests may seem like the most ideal and simple solution, it should actually be your last resort.
Chemical solutions can harm or deter pollinators when you use them to eliminate pests.
You can apply insecticidal soap during flowering to control pests. Neem oil is another ideal choice if the pest infestation isn’t severe.
Companion planting is the most common way to deal with pest infestations in your garden. Celosia plants and Salvias are great companion plants since they attract pollinators.
Brown Leaf Tips
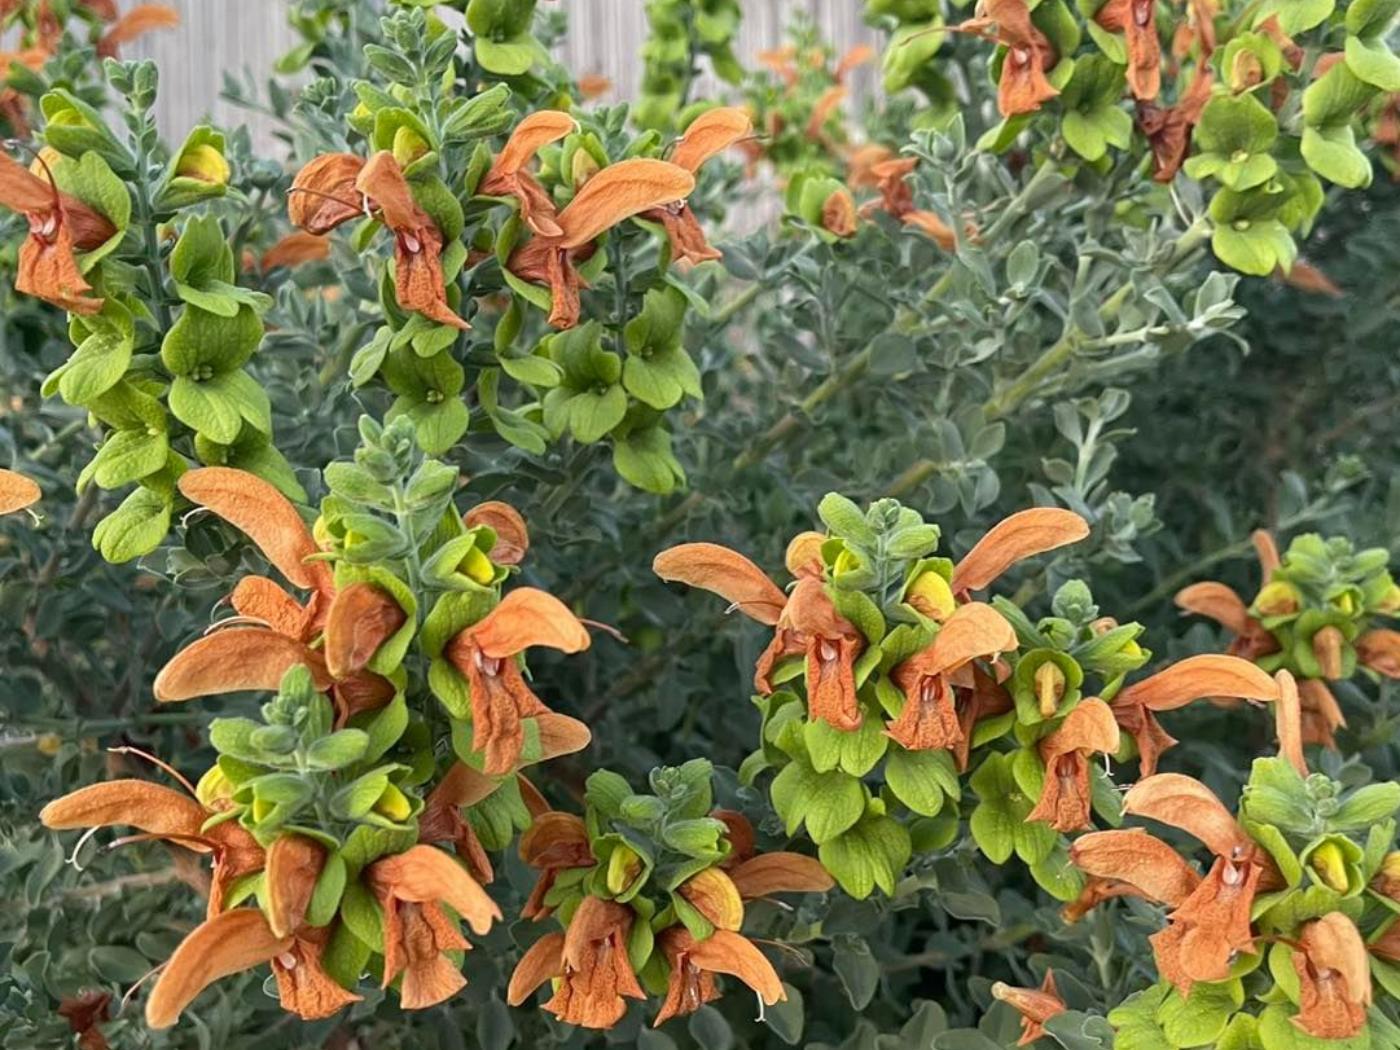
Brown leaf tips in your sage plants normally indicate stress in your plants. For instance, your sage plants may become stressed if you take them indoors to overwinter or change their spot in the garden.
It would be best to take quick action once you notice your sage plant leaf tips turning brown because once the brown color covers the entire leaf surface, you might be unable to save it.
Your stems may also turn brown! Once you notice this, reduce watering since excessive watering can cause rotting.
Dealing with Brown Leaf Tips
Provide your sage plants with the right conditions until they fully adapt if they’re stressed.
Also, ensure your sage plants receive an inch of water per week as well as adequate sunlight.
Cut the leaves of your sage plant using a sterilized pair of pruners if they all turn brown. Keep in mind that these leaves are dead already, so trying to revitalize them is futile.
Botrytis Blight
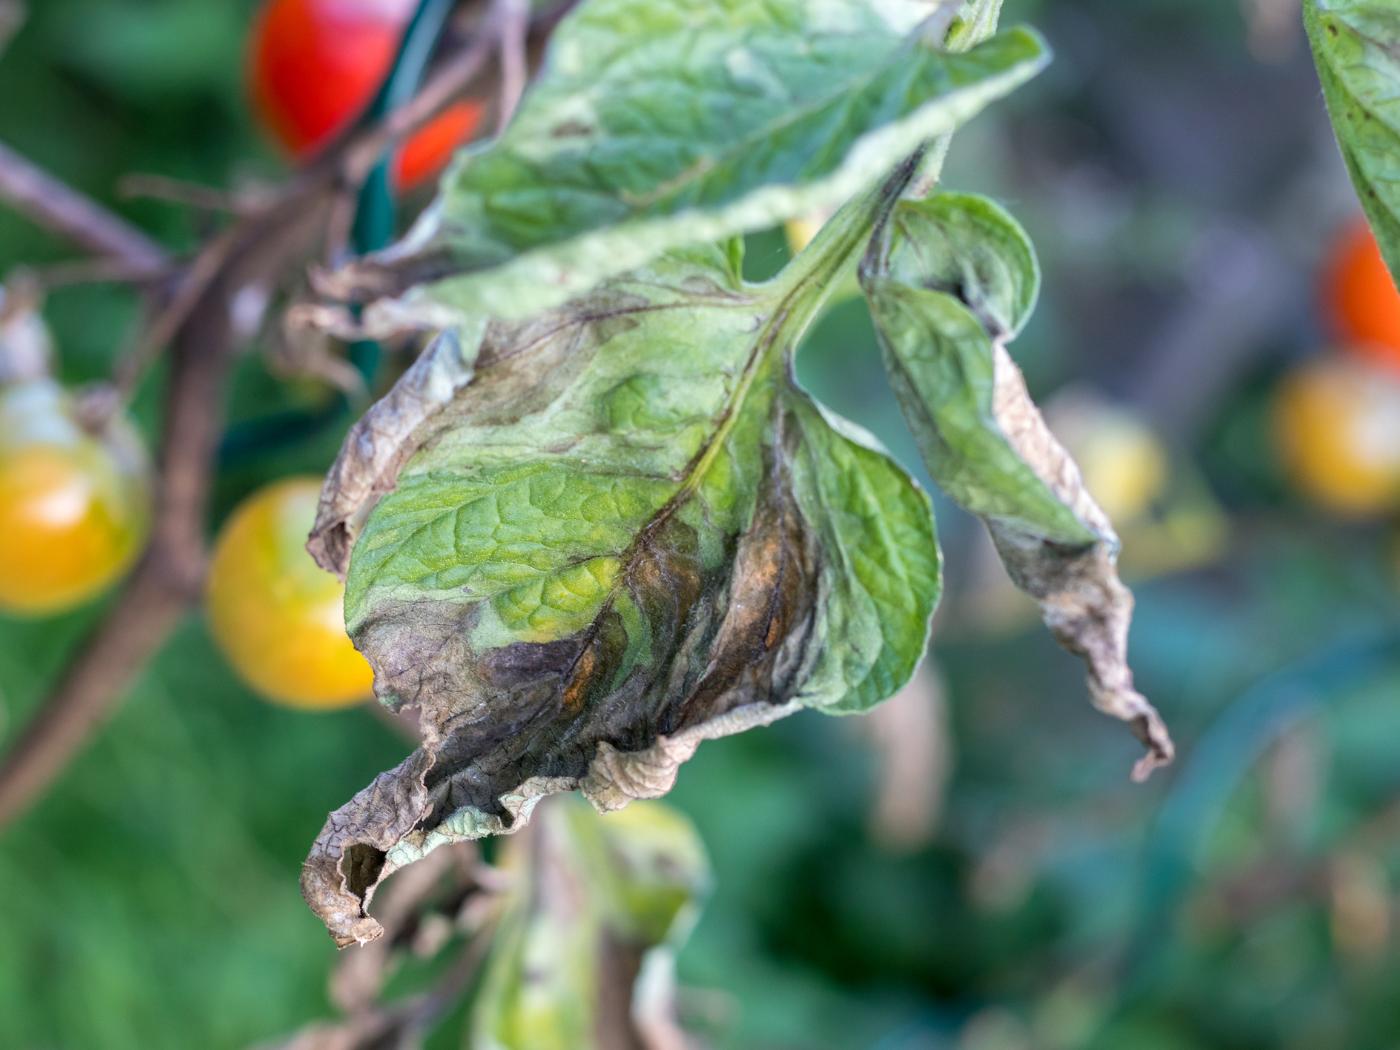
Some indicators of Botrytis blight in your sage plant are gray mold on the leaf surface and dark lesions on the leaves.
The fungus responsible for Botrytis blight flourishes in overly wet soil, cold temperatures, and high humidity. Similar to powdery mildew, this disease loves poor circulation, so spacing your plants inappropriately may also contribute to fungal growth.
Dealing with Botrytis Blight
You need to remove the affected leaves and adjust the conditions if your plant suffers from Botrytis blight.
Pay close attention to spacing before planting your Salvias; 12 inches between each plant will be enough.
If the damage is severe, you must dispose of your sage. Inspect other plants in your garden to see if they’ve also been affected, and never add the diseased plants to your compost pile.
The key here is disinfection; fungi can easily transfer through unsterilized tools. Keep in mind that this fungus can survive winter, so it’s critical to get rid of it ASAP.
Root Rot
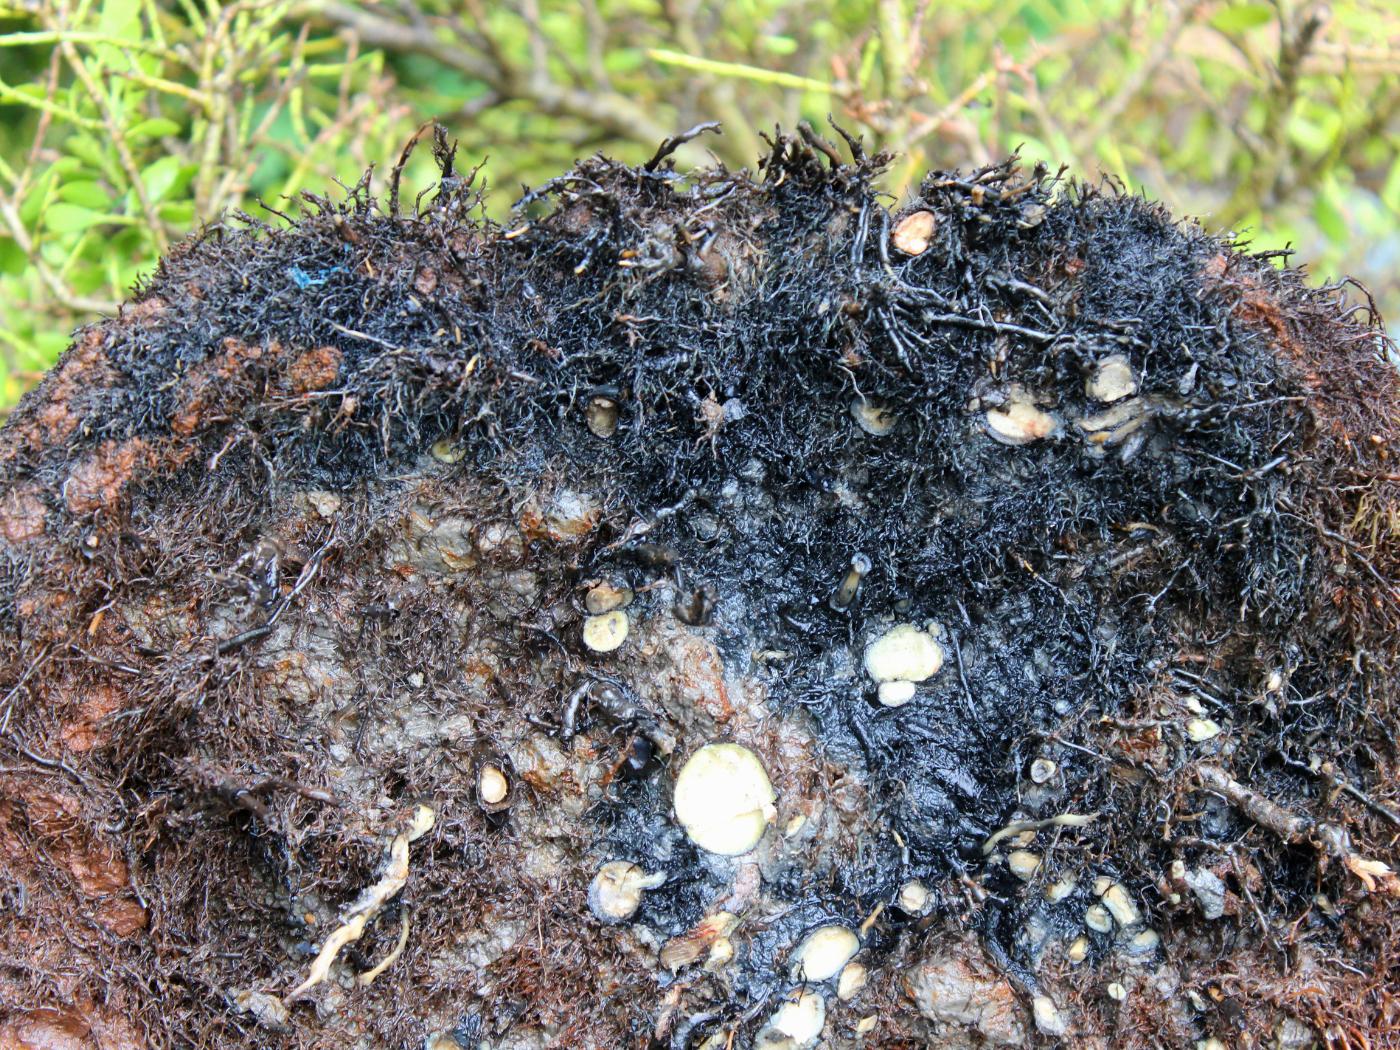
Sage plants are prone to root rot, which is a result of water accumulation in the soil.
Some indicators of root rot in Salvias include wilting, stunted growth, browning, and yellowing.
Most people associate wilting with a lack of moisture in plants, but you should check for root rot once you notice this in your sage plants. Believe me, the last thing you want is to water a Gentian sage suffering from root rot.
Dealing with Root Rot
Take your sage plant out of its planting container if it has root rot. Search for dark and mushy roots when inspecting the root system since such roots are the ones that are infected. Discarding your plant is probably the best solution if you find all the roots looking as such.
Suppose you notice some grayish-white and firm roots. Carefully cut off each affected root using some sterilized pruners. We also recommend applying fungicide to healthy Salvia roots to prevent root rot from spreading.
Always dispose of the old soil; using it for other plants increases the risk of them getting infected, too.
Summing Up
Salvias are the go-to plants to add a pretty view to your garden. Sage plants begin their flowering season in mid-summer and continue blooming throughout fall.
The plants live up to their reputation of being hard to kill, but similar to all other hardy plants, sage plants aren’t entirely problem-free.
We have discussed some common problems you may experience when growing Salvias, as well as some effective ways you can deal with these issues.
So, if your Salvia doesn’t look happy and healthy and is suffering from the above-mentioned issues, don’t be alarmed; just follow our advice, and you’ll have a healthy-looking plant within no time!
See you next time, bye!

