Have you ever wondered what to do with the old sofa left out in the garage? It takes space but you don’t want to throw it away because it brings tons of happy family memories?
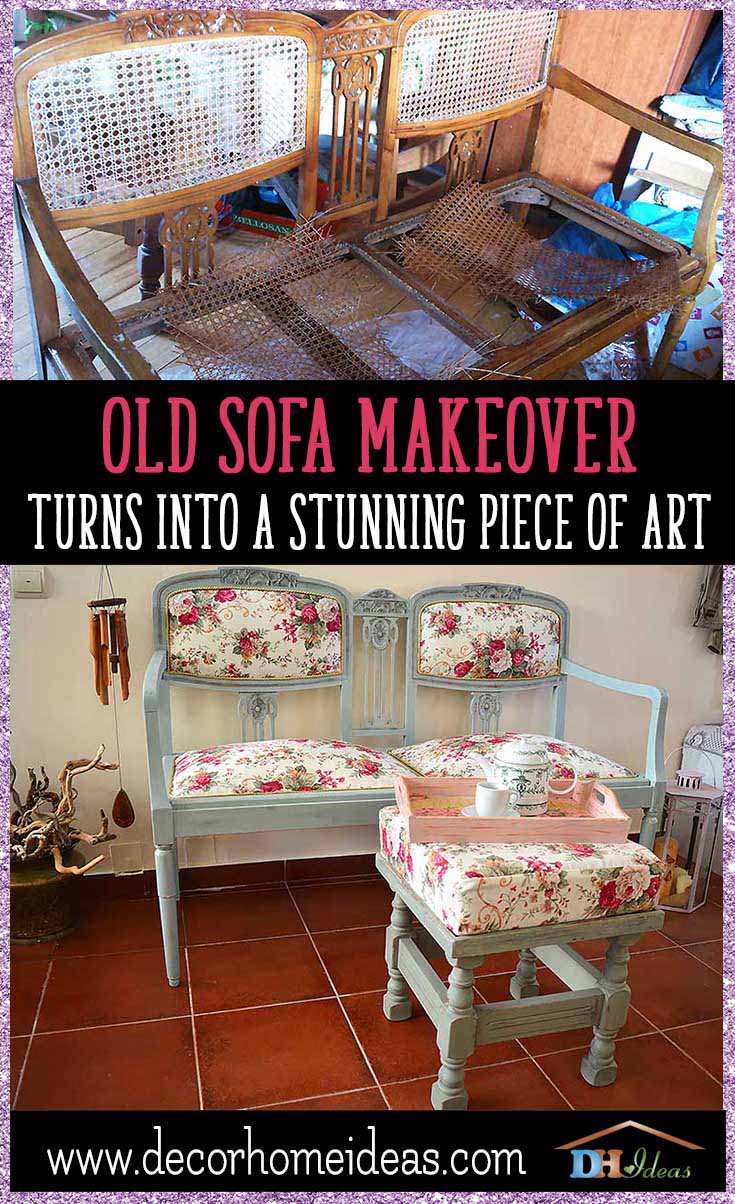
Guess what – today is your lucky day because I will share with you how to bring the old couch back to life into 6 easy steps. 🙂
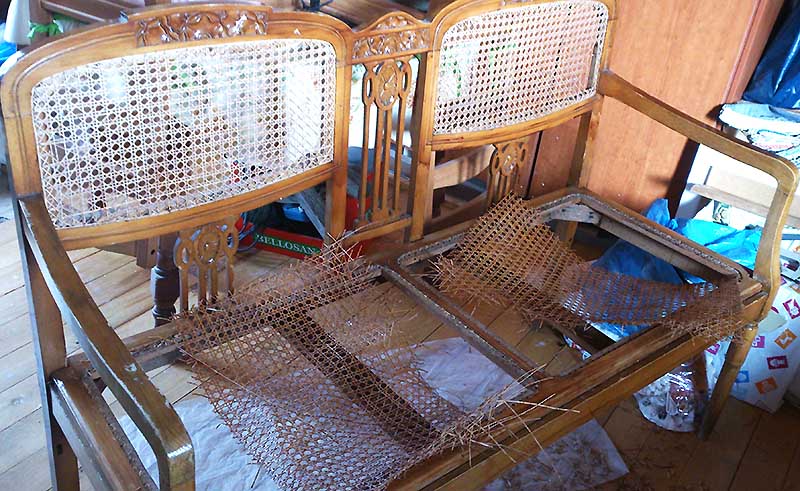
The sofa on the pictures is an old one that I found on a second-hand furniture website. For most of you, It may seems totally unrecoverable…but I really loved it. Unfortunately, the pebble knitting was irreparably damaged and I was not able to fix it myself. A nice sofa slipcover wouldn’t do the job, right? So I had to think of another solution and improvise.
Suddenly, my creativity started coming out.
Materials and Tools
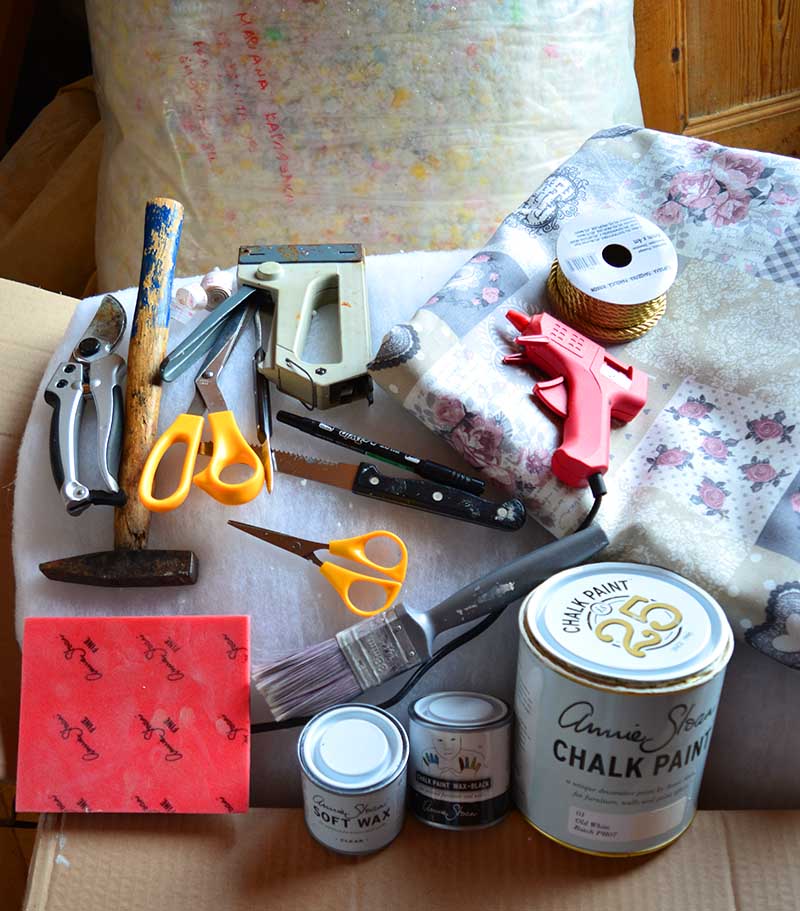
Before to start – here are the tools and materials that I’ve used, Here is everything you need to start with:
- Chalk paints – I use Annie Sloan Chalk Paint
- Colorless and black wax – Annie Sloan Soft Wax & Black Wax
- Brushes
- Twine
- Wadding
- Foam
- Fabric – Floral motives
- Gold Decorative cord – DecoPro Collection
- Hot glue gun, scissors and a roll of tape.
 1. Preparation
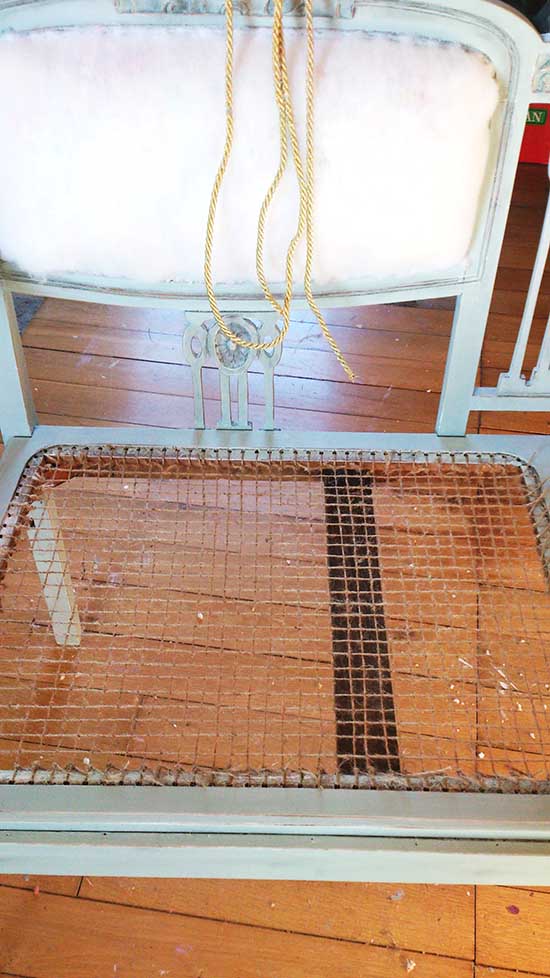
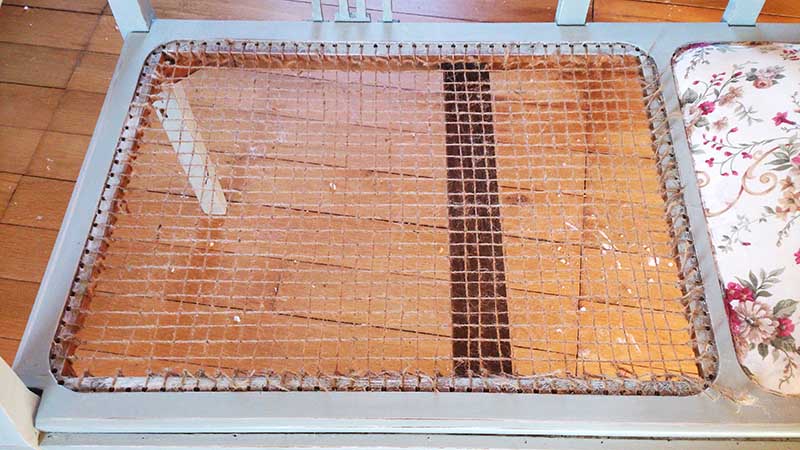
I decided to keep the pebble knitting on the backrests because it was in a much better condition. I removed it from the seats carefully so that nothing remained in the holes.
2. Chalk Painting
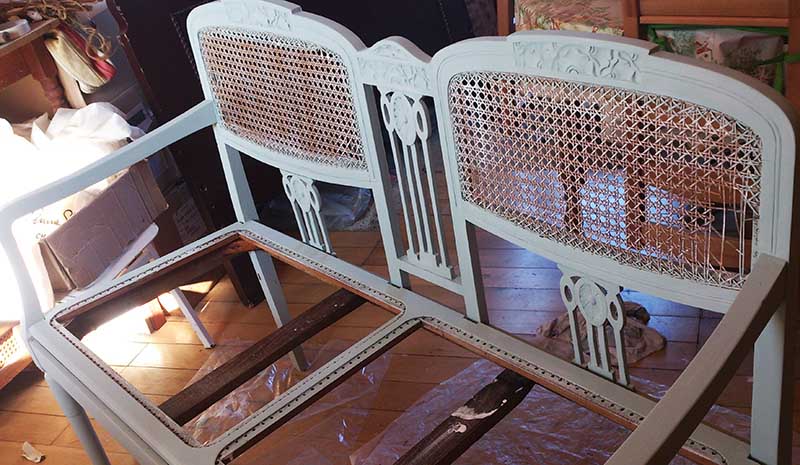
Then I painted the entire wooden part with chalk paints. I personally love using Annie Sloan Chalk Paint – it is easy to work with, dries out immediately, the final result is stunning…and the best part is that you don’t need to pre-sharp the furniture before using it.
 3. Waxing
When the chalk paint dried out, I did seal with a colorless wax of the same brand and then scribbled the wooden part with fine sandpaper in some places (mainly the edges) to get a vintage effect.
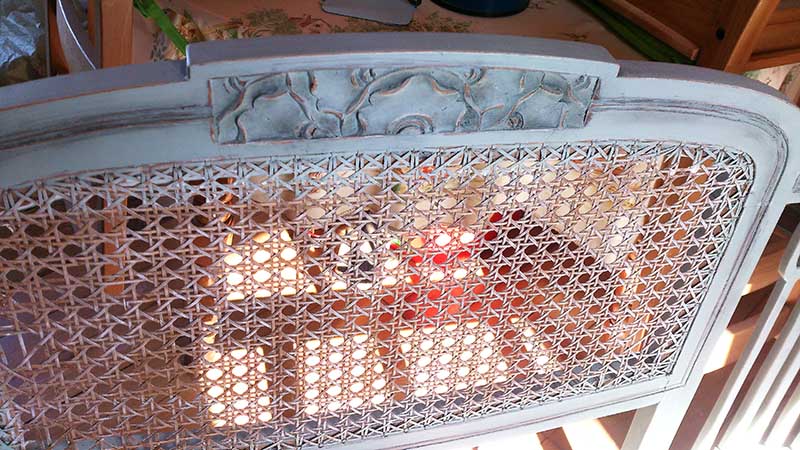
During the process, led by my creativity, I decided to reinforce the effect of carvings with black wax.
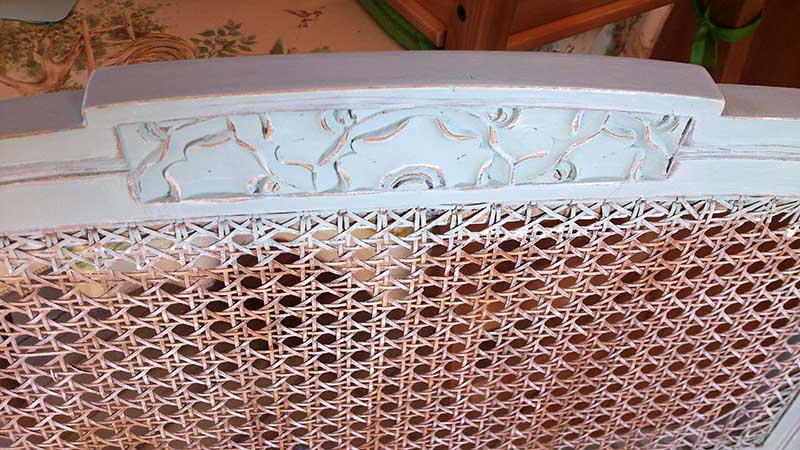
During the process, led by my creativity, I decided to reinforce the effect of carvings with black wax.
4. Stapling
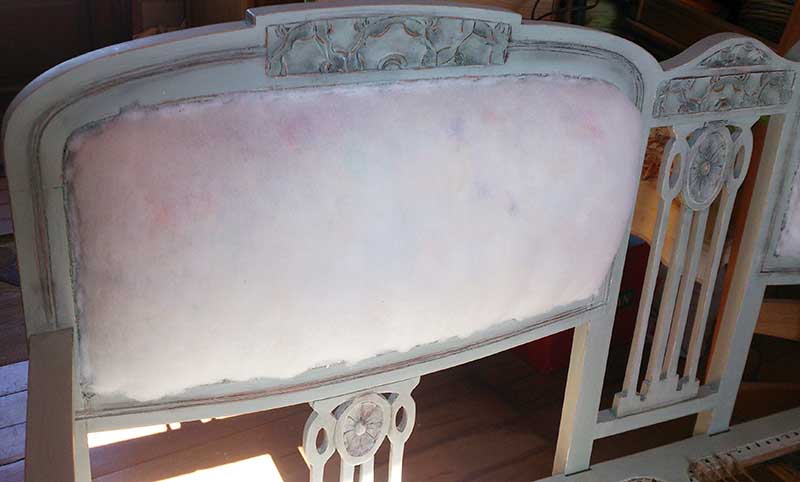
Then I formed fluffy cotton foam cushions for the backrests and attached them to the seats with a stapler.
Pro Tip: you can use the filling from some old night pillows (if you don’t use them anymore).
5. Caning
On the seats in place of the missing caning, I managed to do something like a string of twine as a basis for the seating.
6. Decorating
Once I chose the coloring, I stretched out the top of the fabric and attached it with a stapler. In the end, I stuck a chic decorative edge with a hot glue gun.
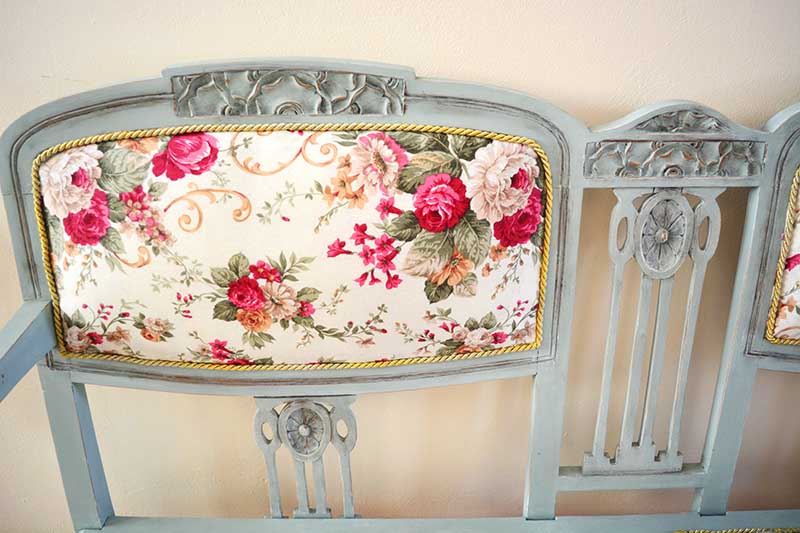
…and voilà. Here is my new stunning piece of art!
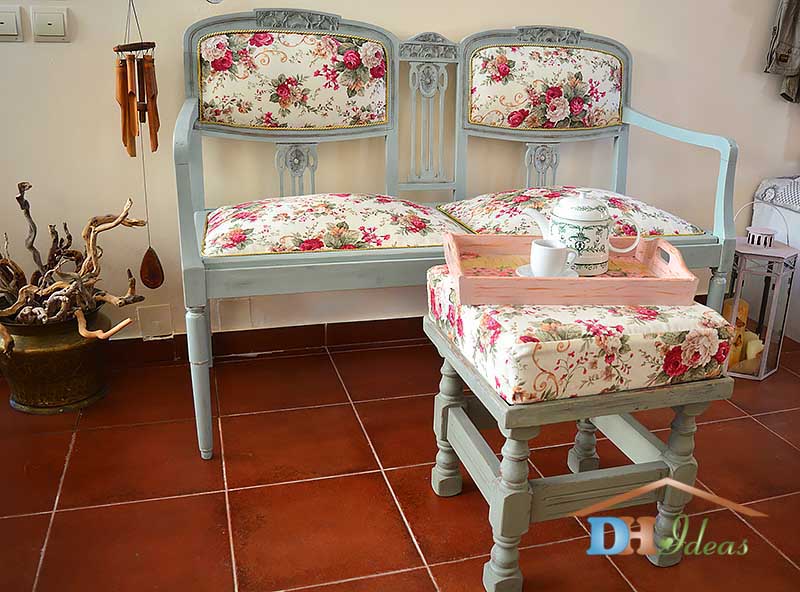
I hope you enjoyed it! Can’t wait to see yours!
SHARE and PIN this beauty with the share buttons below. Thanks!
You can get more fabulous DIY projects on my Facebook page: Created by Mariana

