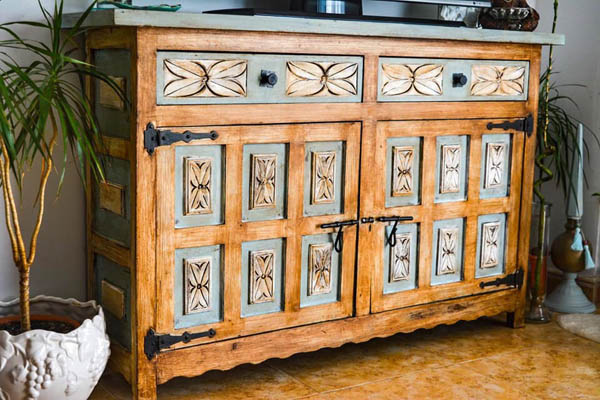
I finally found some muse (and free time) to transform an outdated dresser I had purchased at the flea market into an outstanding piece of furniture.
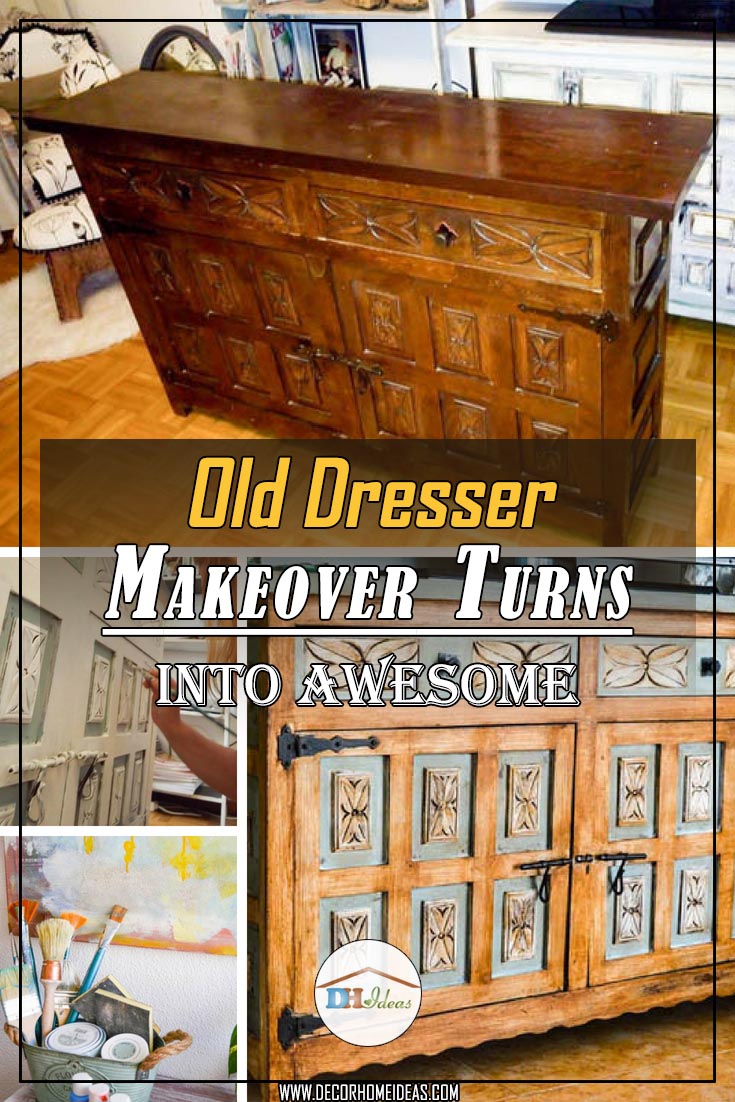
Even though my husband wasn’t that positive about the result, I was brave enough to work on it thanks to the fact that my granddad used to be a professional furniture renewer.
He was a true craftsman who put his heart in everything he was doing. So that’s him who gave me a solid understanding of what made a good piece of furniture and how to take care of it.
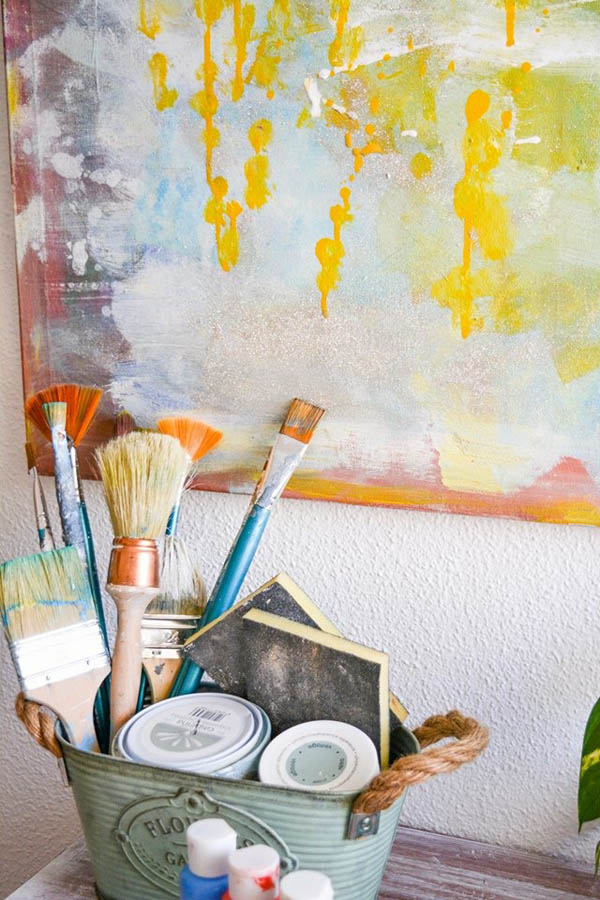
Before to get started, here is a list of all the materials you will need:
- Chalk paint / American decor
- Dark Wax / American Decor
- Brush
- Shrimp
1. Clean the surface
The first thing you have to do is to clean the surface from dust and stains.
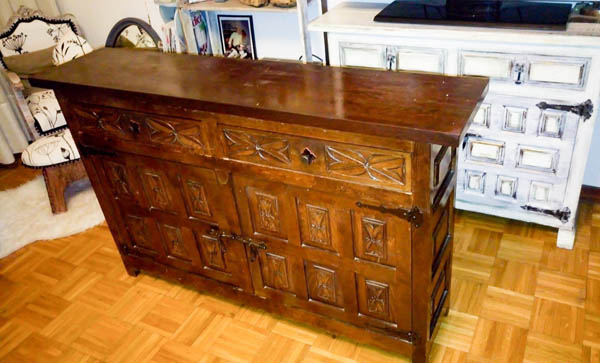
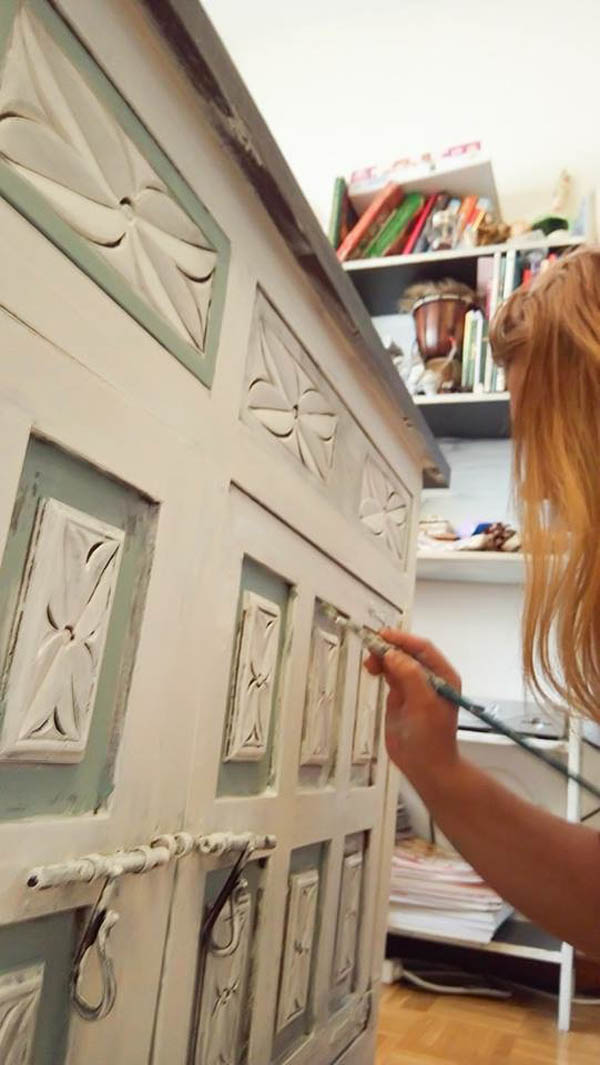
2. Apply the white paint
It’s best to apply 2 shots of the white paint to get a nice saturated result. Just make sure to do your painting outside in the garden or somewhere that is well ventilated, especially if there are kids in the house. 🙂
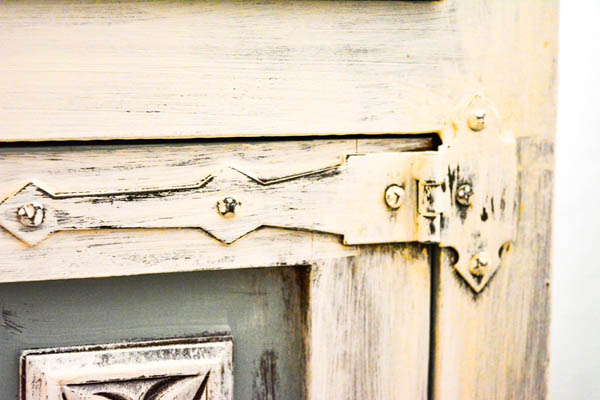
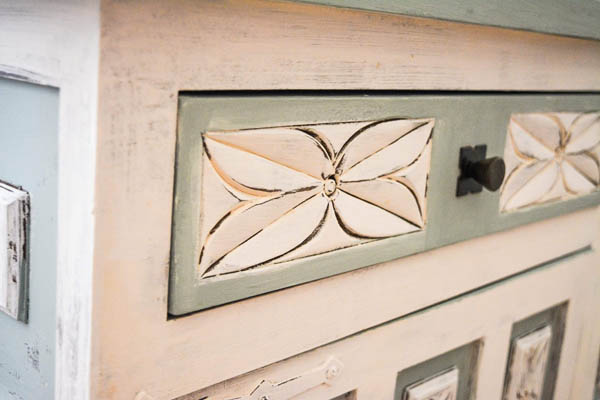
3. Apply the other color paint unevenly
Next step is to apply the other color only in certain places.
For my dresser, I’ve chosen the blue-green paint in order to give a vintage vibe to the new piece of furniture.
Feel free to mix and match the colors that you like most to create an entirely different look. The point is to have fun and make your furniture unique, right?
Here some other cool ideas for vintage color combinations:
- Aubusson blue + Graphite
- Duck Egg Blue + French Linen
- Rustic Green + Black
4. Give it some time
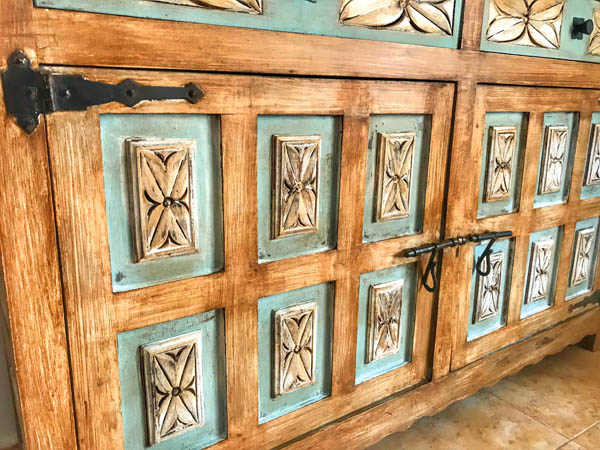
After applying the paint, wait until it dries out, preferably for 24 hours. Afterward, you should apply the dark wax to the entire chest to get this effect.
For all the beginner DIYers, here are some steps to follow when applying a dark wax:
- Use a smaller wax brush ( 💡 once you use it for wax applying, you don’t have to use it for painting)
- Move the brush in all directions, making sure that you get the wax into the atom of the wood as you go. Keep working into the wax while it is still wet.
- Use an old fabric to remove the overload wax.
- Leave overnight and glaze the wax with a fabric the next day to achieve a high shine.
5. Final touch
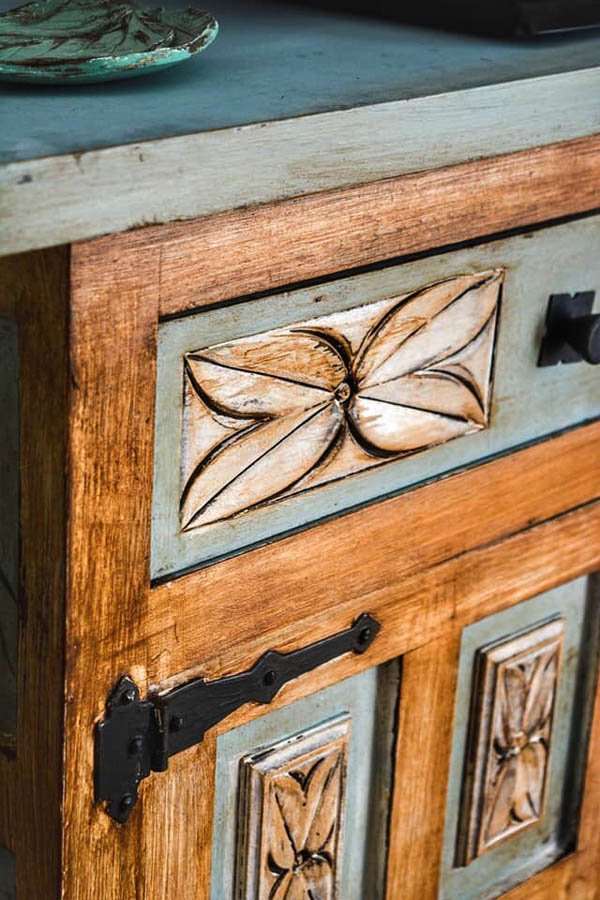
And finally, I highly recommend to sand down the chapels and the wood carving with a Fine (150-180) sandpaper.
Additional info:
The interior of the dresser is also painted with 2 shots of chalk paint (to create a chalky appearance) and a colorless wax on top.
For those of you who are not that well informed, the wax usage is required when painting with chalk paint to seal the color and keep water and moisture from getting in the finish.
The chalk paint lacks a sealer itself. Before applying the wax, make sure the paint is completely dry.
Also, you have to use a separate brush for applying wax. Various types of brushes specific to the wax application are available in the stores.
They usually have a slightly rounded tip and are a bit heavier in the handle. These brushes are fairly pricier, but you can use them several times to apply wax. Just keep in mind that once you’ve used a brush for wax, you cannot use it for painting.
The chalk paints of Annie Sloan are the ones I would suggest you buy.
The result:
And voila – you have a brand new stunning piece of furniture at home! Mine is positioned in the living room as we are using it as a TV stand.
However, you can freely use it as a makeup vanity in the bedroom, or as a cabinet in the entrance hall. It is totally up to you! 😉 Enjoy!
You can get a lot more great furniture makeover ideas here: VEG ART


