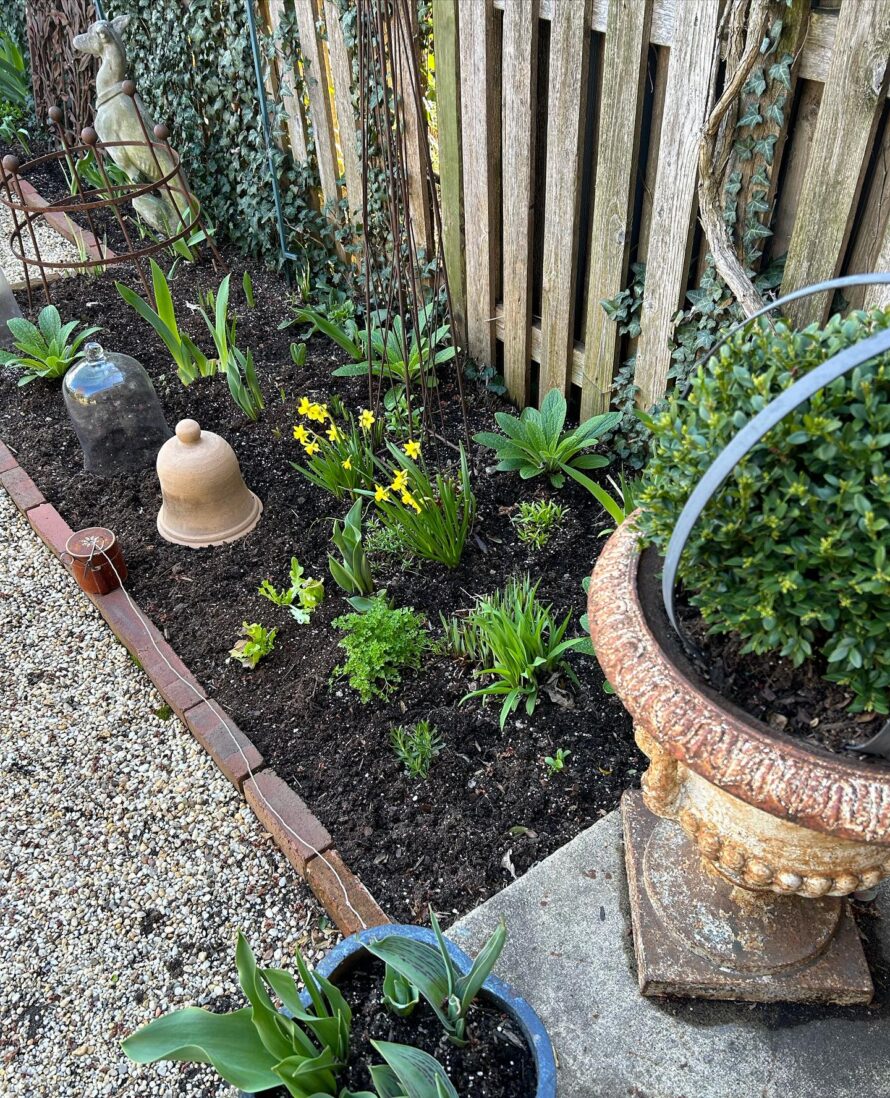
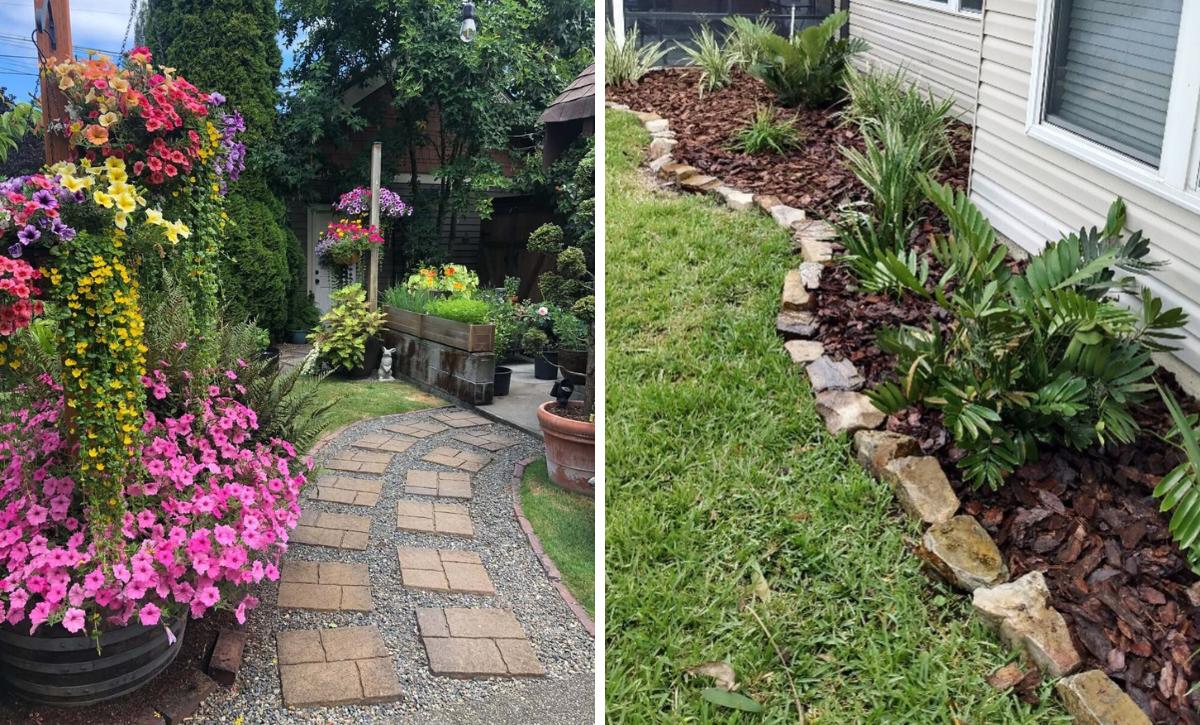
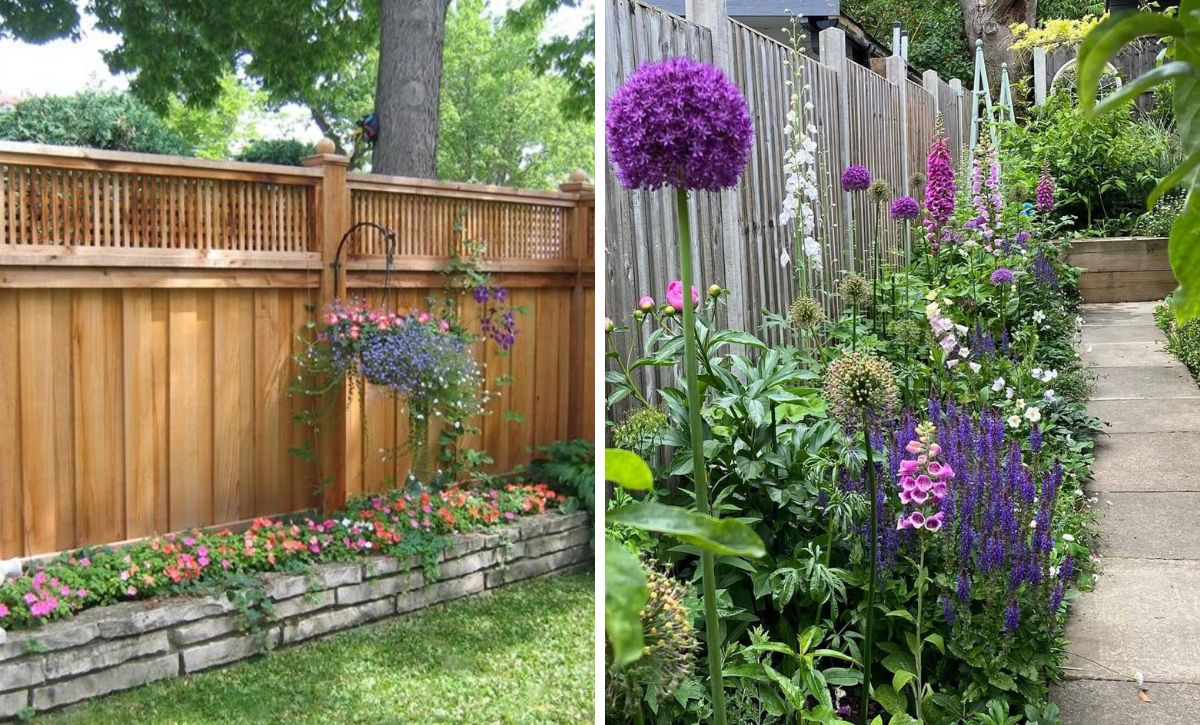
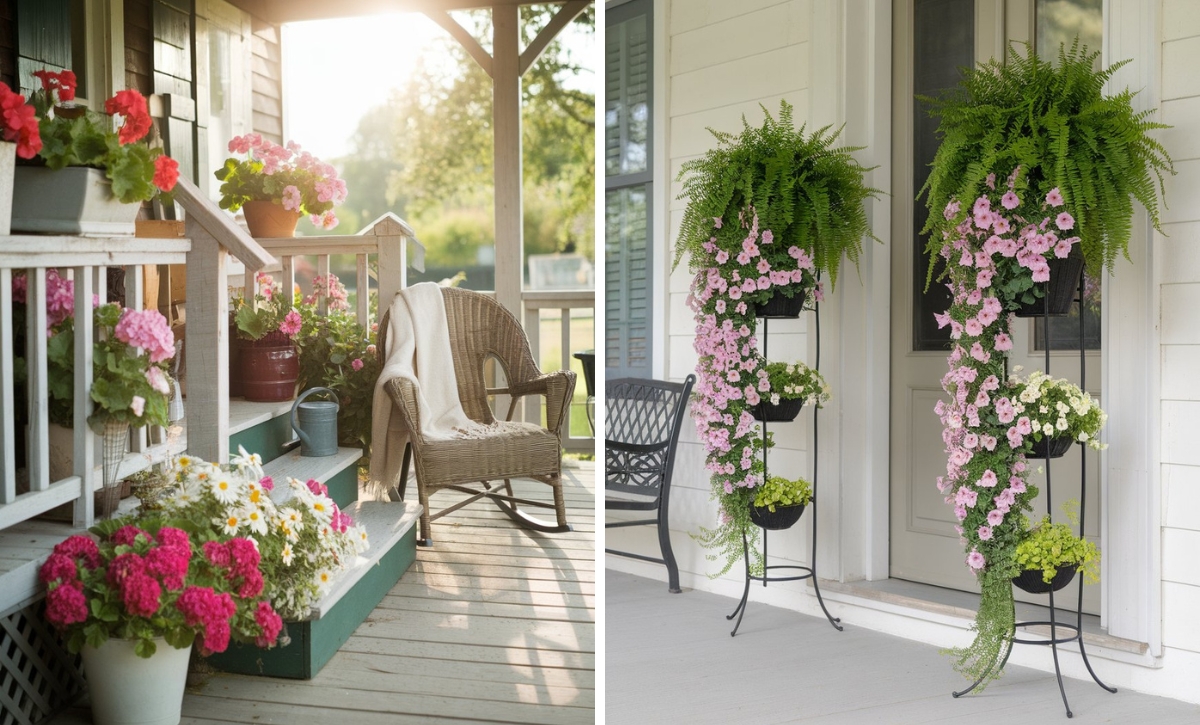
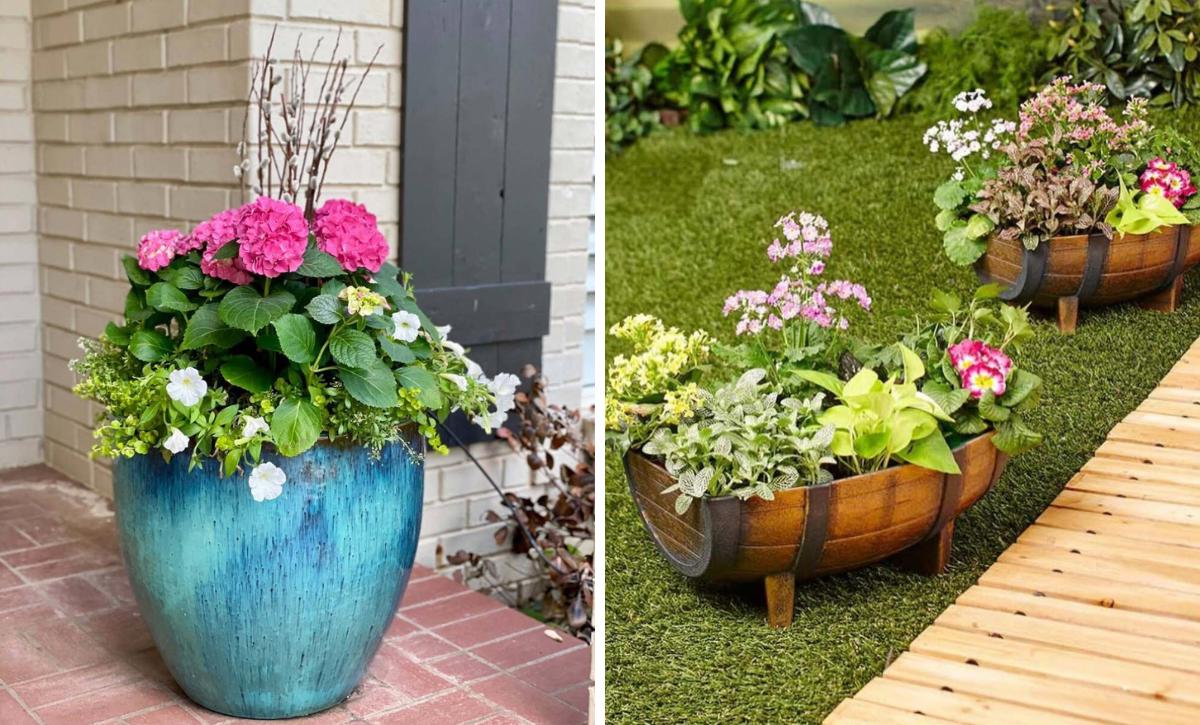
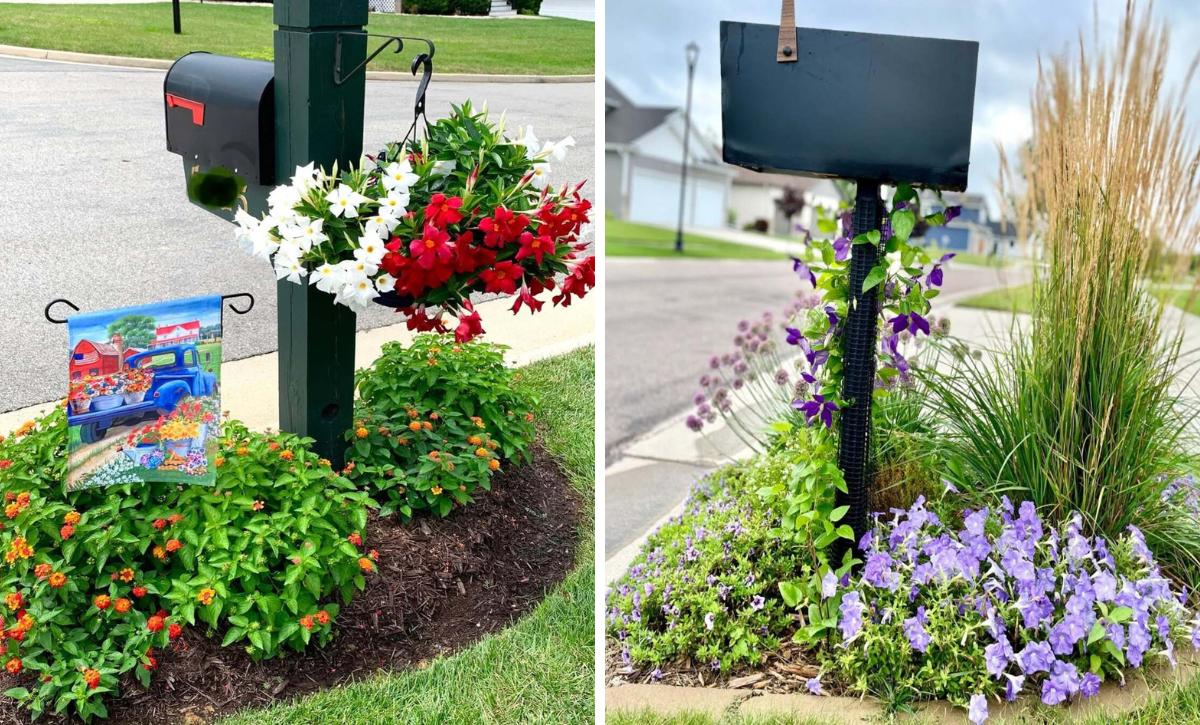
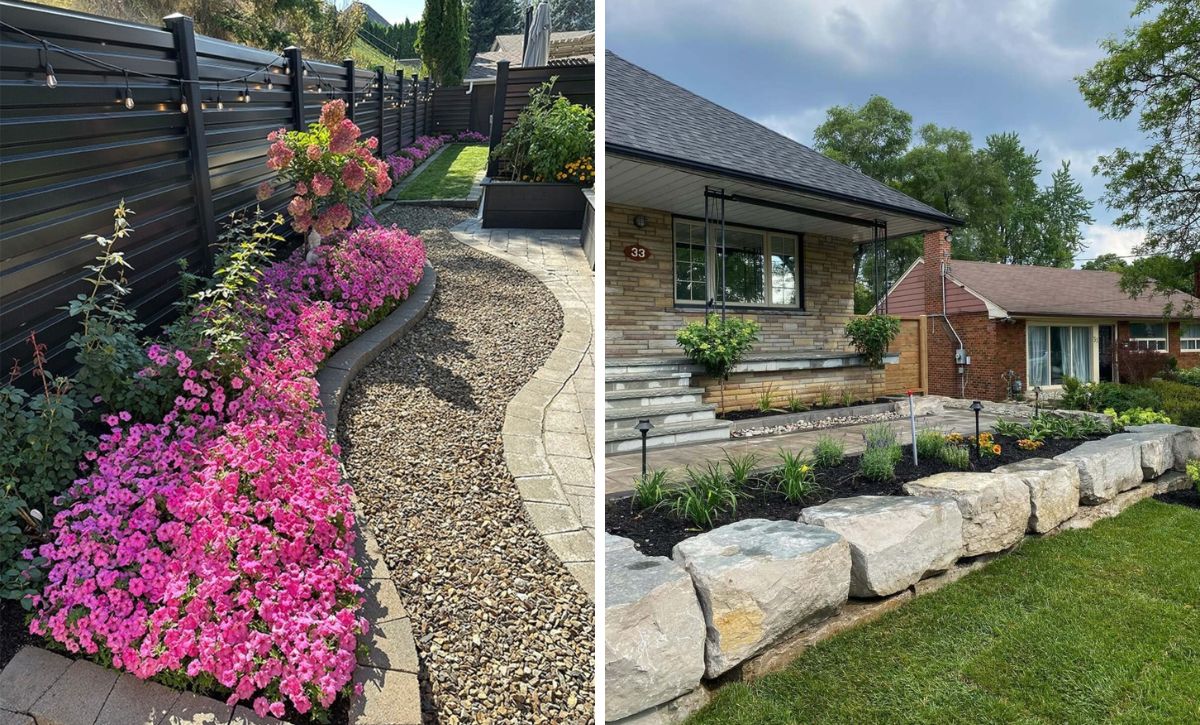
Garden beds can change the outlook of any outdoor space with their design and colorful plants. However, if you want to add even more pizazz and visual appeal to your landscape, adding brick edging is just the way to go.
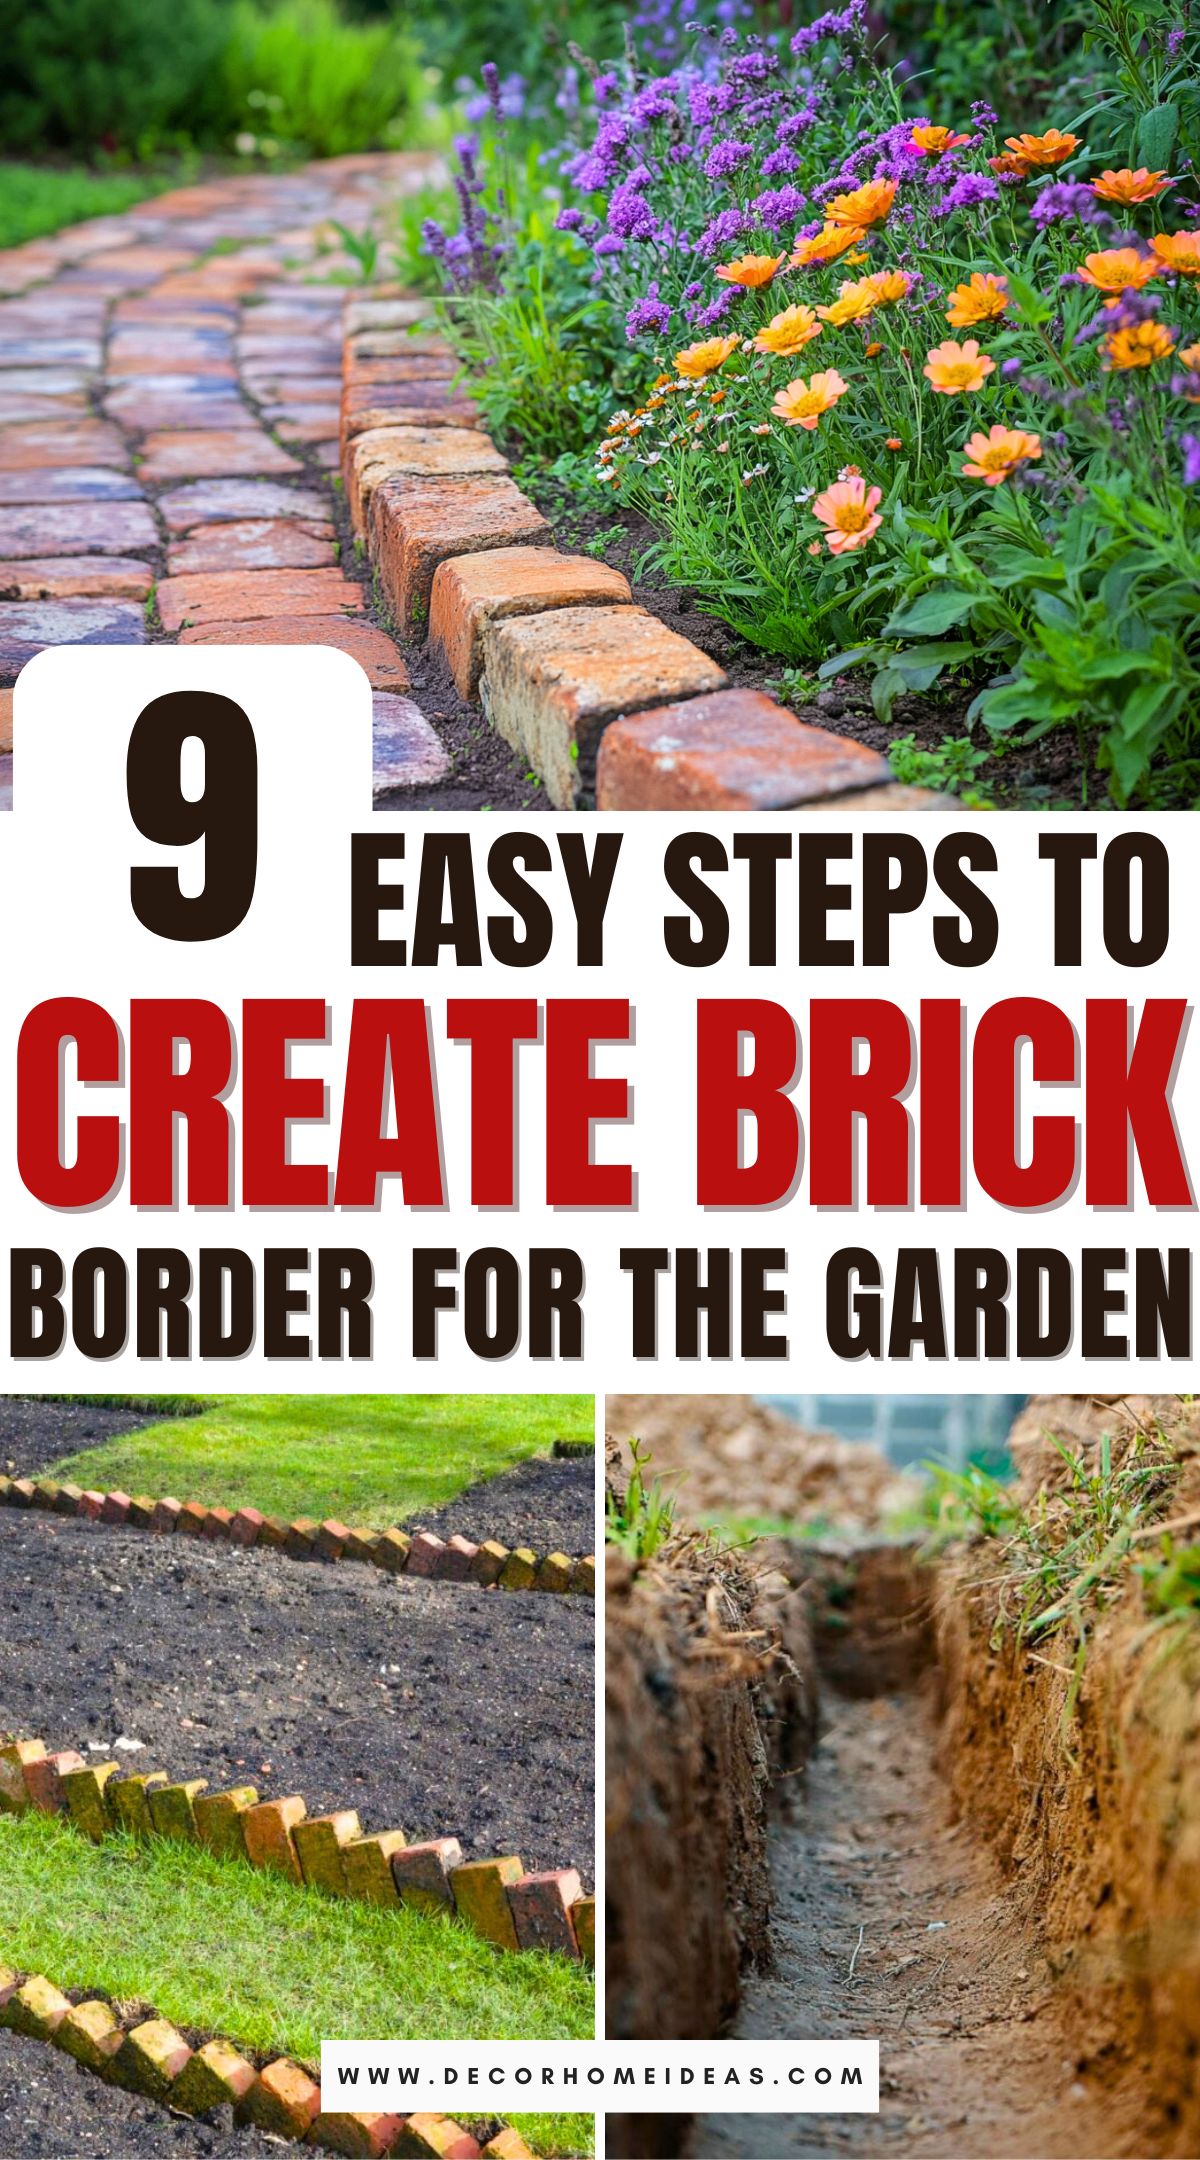
Amending your garden design with a classic edge border brings several benefits besides aesthetic appeal. For one, brick edging protects your garden or lawn, especially if it lines up with the driveway. Additionally, it makes the mowing process easy since the lawn has a noticeable barrier, so you don’t have to mow it often to define it.
Edging a garden has many benefits, so it should definitely be part of your next garden project. The good news is that the process is straightforward; all you need is enough bricks for the edge, and you can assemble it in no time.
Here are the critical steps to creating a beautiful, classic border garden edge.
Requirements
Equipment
- Garden shovel
- Rubber mallet
- Tamper
- Cultivator (optional)
- Trowel
Materials
- Twine
- Cement
- Sand
- Wooden stakes
Edging Your Garden Bed in 9 Easy Steps
1. Assemble a Mason’s Line
One key tool when building structures or landscaping is a Mason’s line, which helps straighten the path. Once you have decided on the location of the garden, use a Mason’s line to mark or define the path that you will follow in the assembling process.
2. Line the Path With Bricks
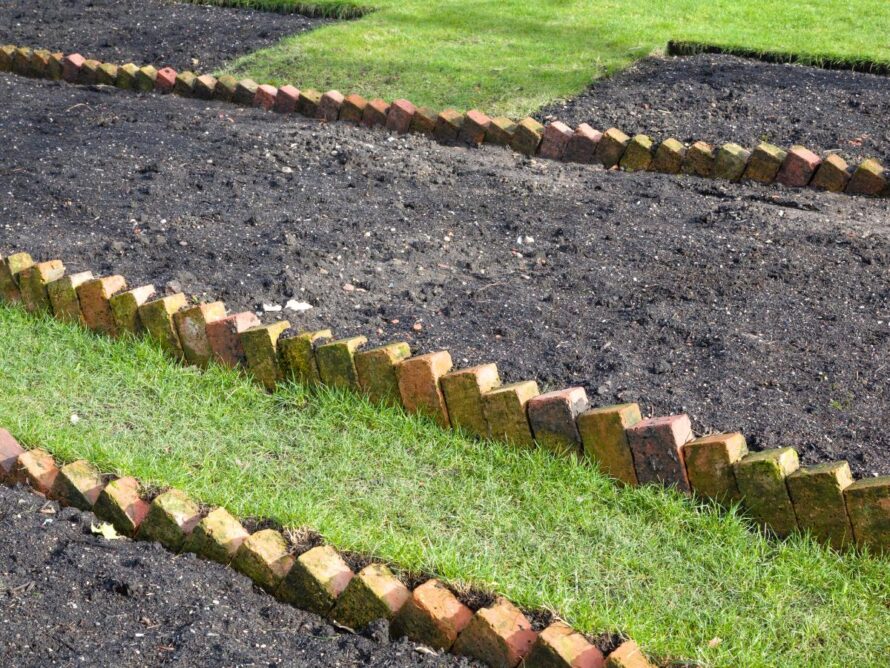
Using the rubber mallet, set several stakes at each corner of the garden edge. Next, place the bricks along the marked path from one stake to the next. Ensure you follow the marked path so the edge doesn’t become crooked.
Once you’ve assembled all the bricks along the line, use a twine to tie the stakes and stretch from one stake to the other until you have covered each one. The defined line will guide the trench you’ll dig in the next step.
Once you’ve covered all the stakes with the twine, you can remove the bricks to begin the next step.
3. Dig Your Trench
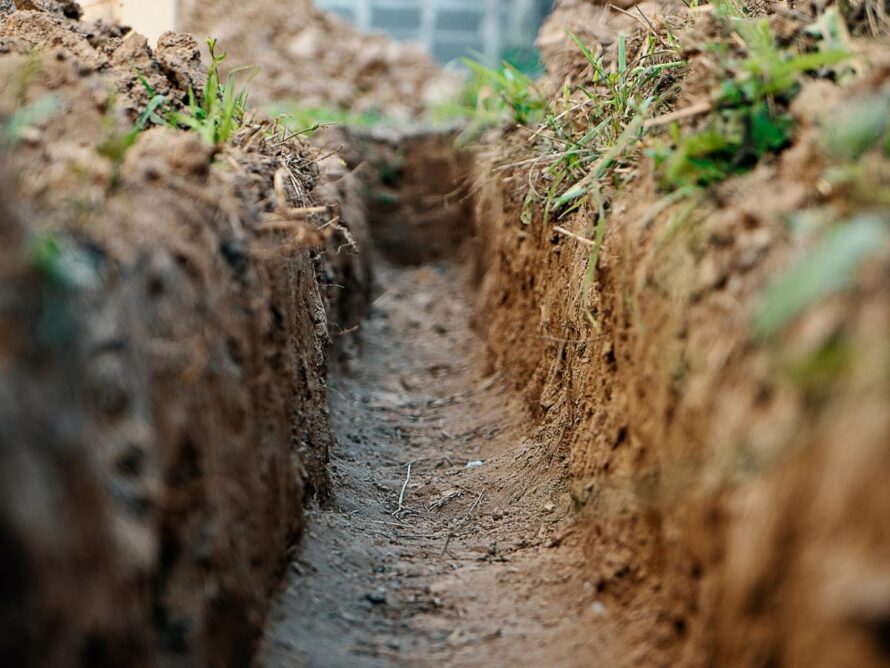
Start digging the trench along the marked Mason’s line using a shovel. The trench should be about 2-3 inches deep and flat on the bottom. Use a tamper to help ensure that the bottom is flat. While digging the trench, place a few bricks in to ensure that they fit perfectly.
4. Prepare the Soil for a Garden Bed
If you don’t yet have a garden bed, it’s time to prepare one. If you already have one, you can skip this step.
You’ll need a cultivator to till the soil from inside the edge to ensure that it’s ready for the flowers or plants you’re looking to grow. As you begin tilling the land with a cultivator, you can amend the soil by adding extra nutrients or planting soil.
5. Add in the Base
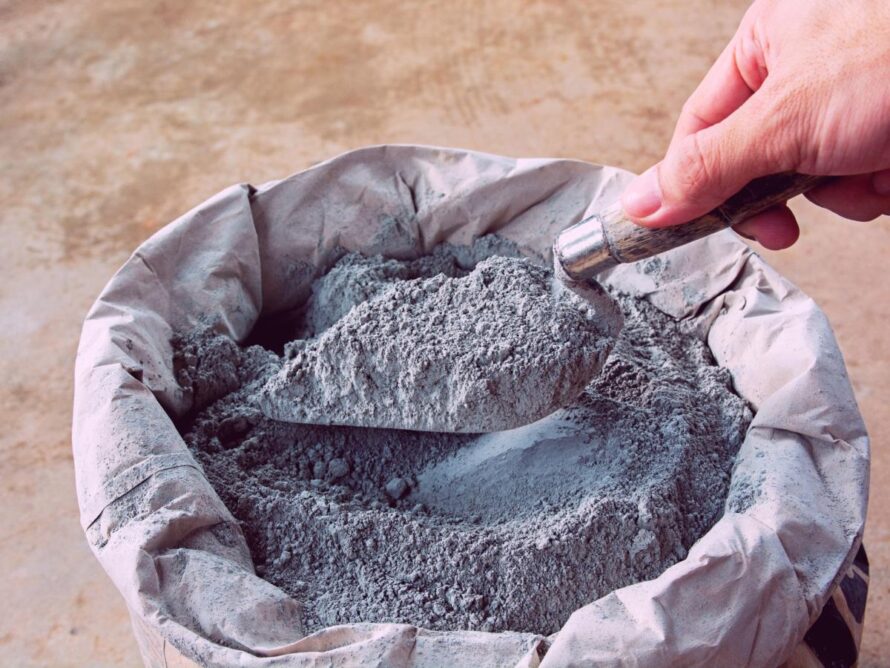
Before adding bricks to the edge, you’ll first need to create a base with cement so that when you place the bricks, they easily stick. In a bucket, mix sand and cement in a ratio of 4:1 to form a thick paste. Once the paste is formed, use a trowel to spread it along the trench.
6. Add the Bricks
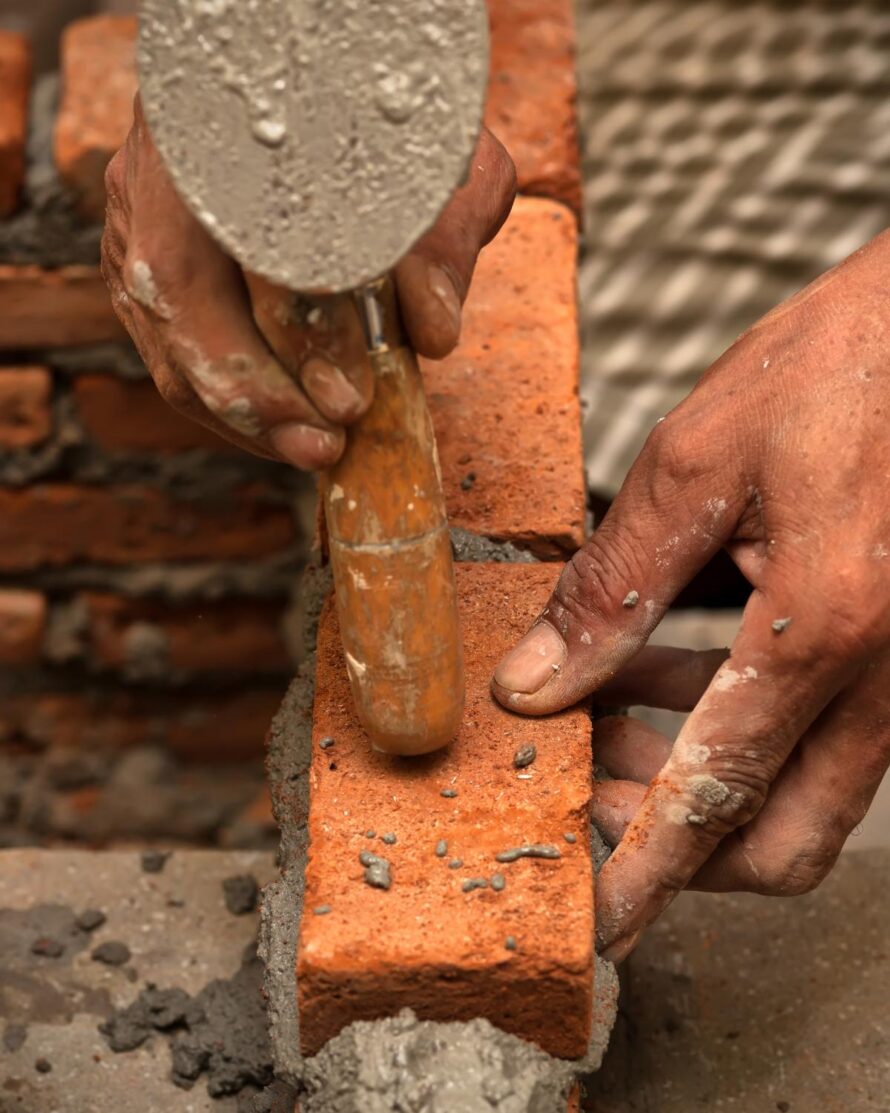
Now, it’s time to begin setting the bricks. Lay the bricks individually once you’ve covered the trench with mortar paste. Ensure they’re firmly placed; you can use your hands or gently beat the brick down with a rubber mallet until it’s flush with the ground.
If the edge has borders or corners, you may need to adjust its shape so that the bricks fit nicely. Use a pickaxe to make the curve and adjust the bricks so that you don’t need to cut or shape them to fit the terrain (uncut bricks have better aesthetic appeal).
Work in small sections, applying the paste and placing the bricks until you’ve covered the entire edge.
7. Backfill Both Sides
Once you’ve finished laying the bricks along the edge, backfill both sides using the soil dug up earlier. This will provide the edge with extra stability.
8. Push the Soil to the Bricks
Now that you’ve already established the edge, you can push off the soil of your garden bed and begin growing your plants.
9. Wash Off the Bricks

Let the bricks sit in the paste for a few days, but to tidy up the space, you can gently spray the bricks with a garden hose to remove excess dirt.
Once you’ve tidied up and planted your flowers or plants, let the bricks sit in the paste for at least two to three days, and then you can thoroughly clean the edge.

