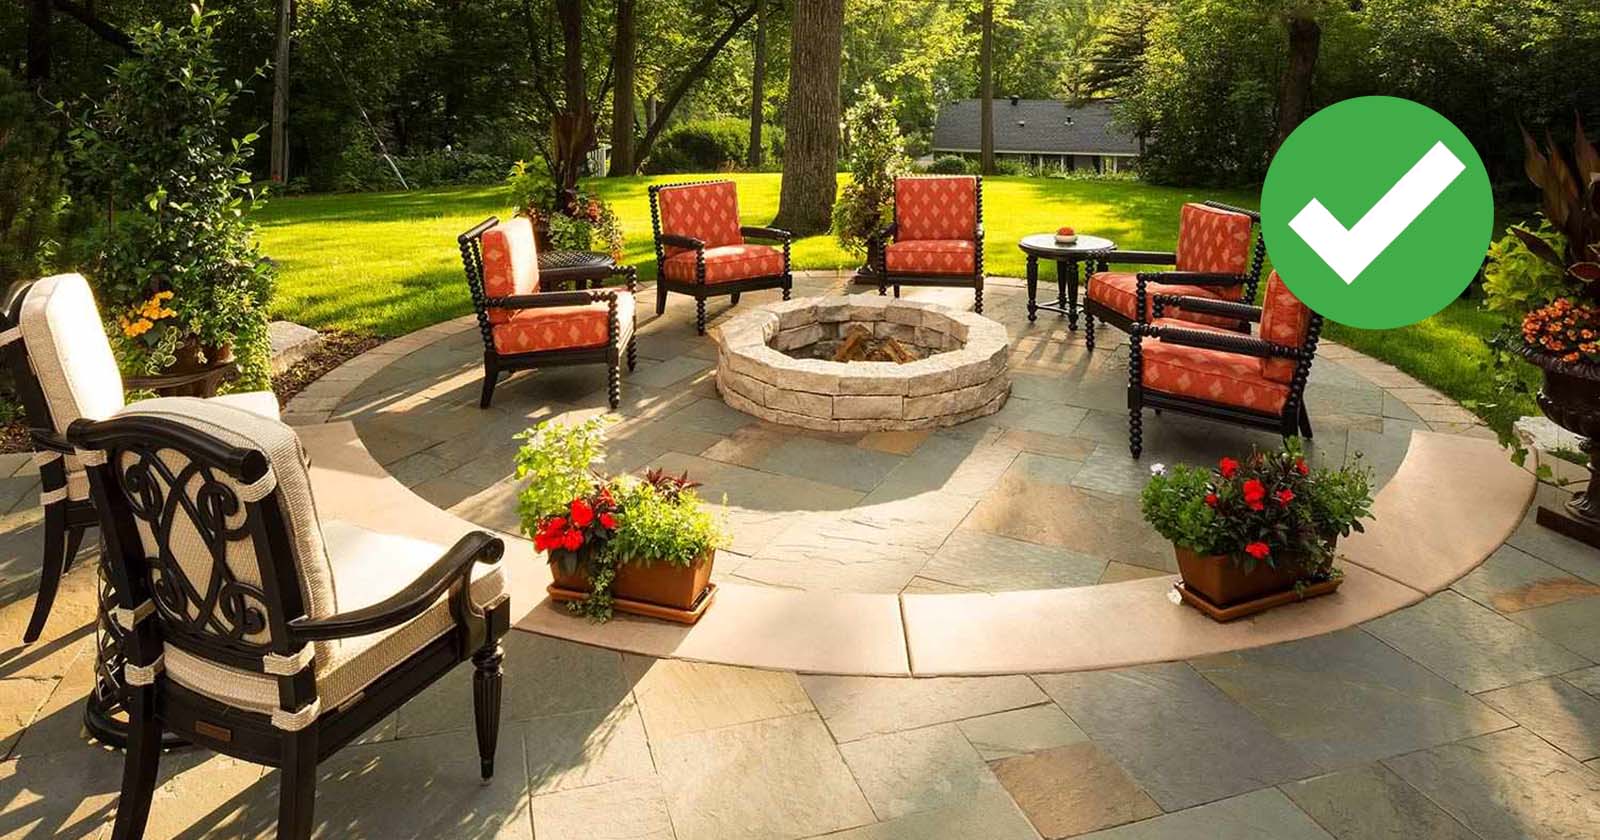
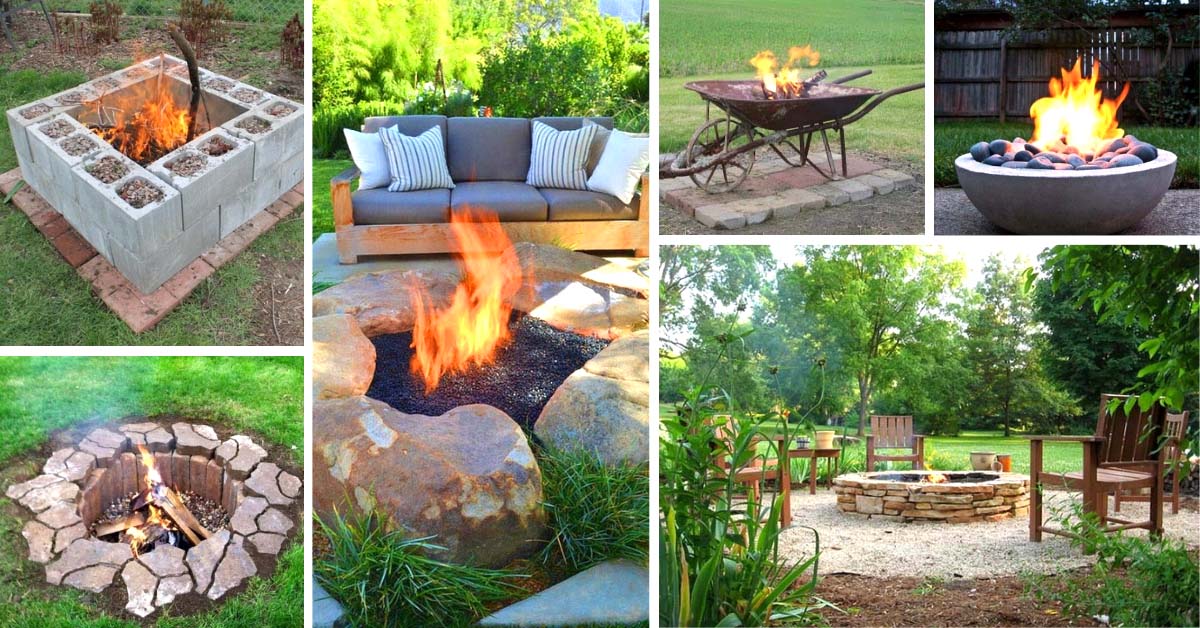
A fire pit is popular for entertaining or for spending time with family. They’re also a great solution for transforming an otherwise unusable area in your backyard.
You’ll encounter unique challenges if you want to build a fire pit near a hill. We have put together instructions on how to build a fire pit on sloped yard.
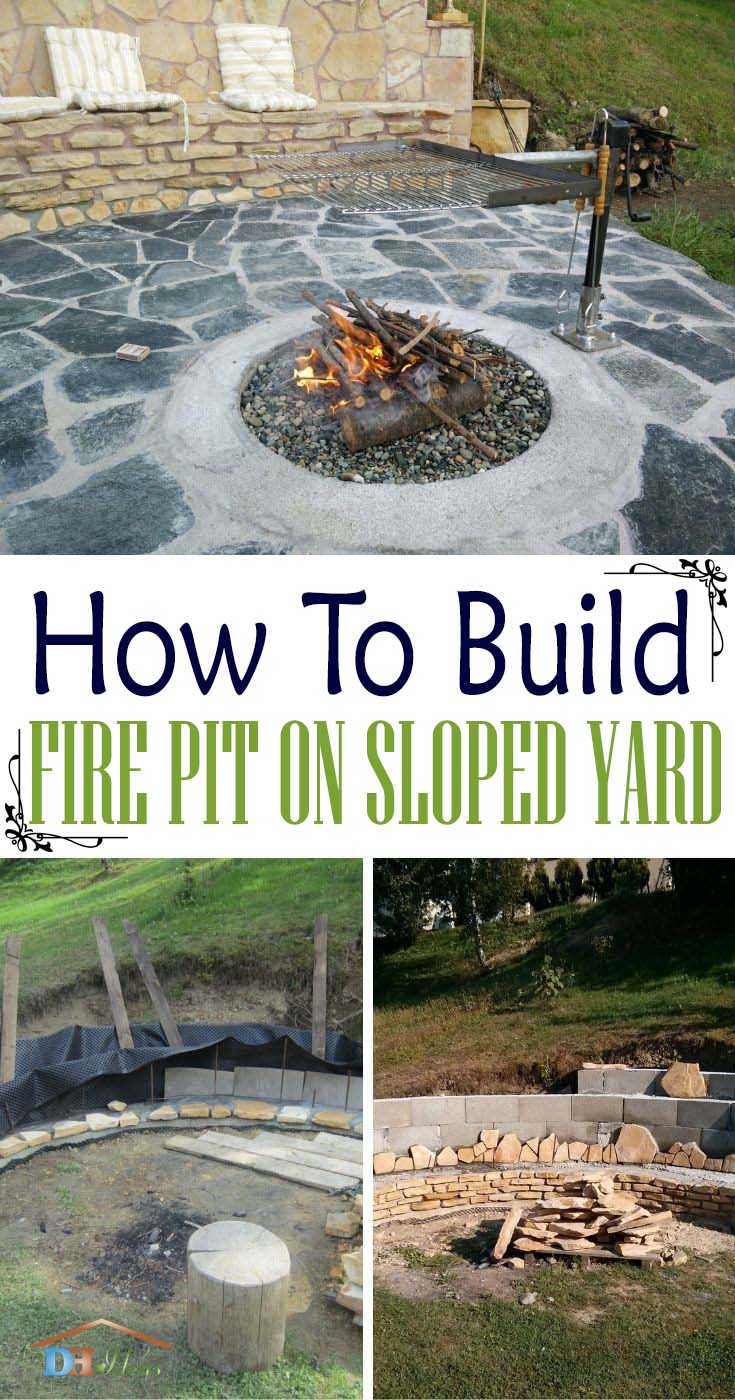
We found an experienced do-it-yourselfer who documented his four-year project. He mentions mistakes he made along the way. We’ve included some tips to make this go much faster.
Material and Tool List
- Pavers
- Cinder blocks
- Spray paint
- Construction adhesive and gun
- Sand
- Gravel of various sizes
- Cement
- Drainage pipe
- Weed control barrier
- Tamper
- Levels – 2 foot, 4 foot, and torpedo
- Rebar
- Tiller or cultivator
- Shovel – It should be a garden spade or transfer shovel. Both have flat blades.
Planning is the most important step for success. Choose an area that’s 10 feet away from structures and has 20 feet of overhead clearance.
Once you’ve determined the placement and size of your fire pit area, check with local authorities for the right permits. You don’t want to put a cement structure over an area where city workers may need to access a gas line or water main.
You also need to consider if you need to build a retaining wall. The wall shown here was built as an afterthought. It works with cinder blocks and poured cement. This is very time-consuming and sometimes unnecessary.
The wall shown here was built as an afterthought. It works with cinder blocks and poured cement. This is very time-consuming and sometimes unnecessary.
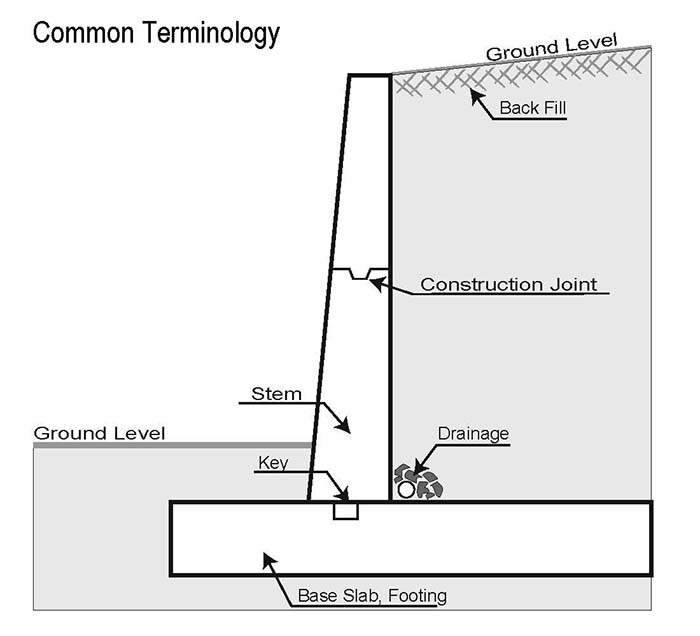
Determine the height and length needed to build your wall. It should come close to level to the top of the hill.
The general rule is if the hill is higher than 29 inches, your retaining wall needs to be reinforced. Under 29 inches and you can build a simple rock wall.
For a wall that measures from 30 to 48 inches, a stepped back wall using blocks will work. If you need a retaining wall taller than 4 feet, consult a professional engineer.
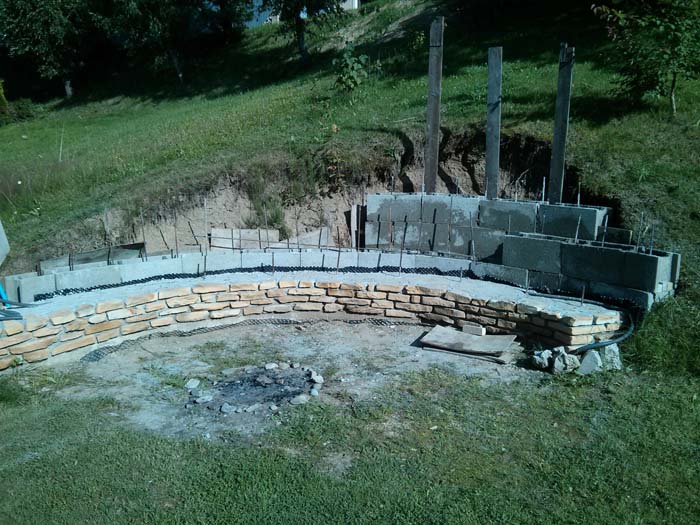
To build a retaining wall as shown, dig a trench, lay down a layer of sand. Tamper it until it’s level. Build out your forms for the cement, add rebar at every level. Leave at least 12 inches in the back to make room for backfill.
Add the drainage pipe behind this row. It should extend past the wall. Fill the front of the trench with soil to prevent the blocks from shifting. Tamper both sides to secure the blocks.
Build out cement sections using wood forms and rebar. After the first level dries, add the drainage pipe behind this row. Add backfill to cover it. If you want to add an electrical conduit pipe, this is the time to do so.
Remove the forms after the cement dries.
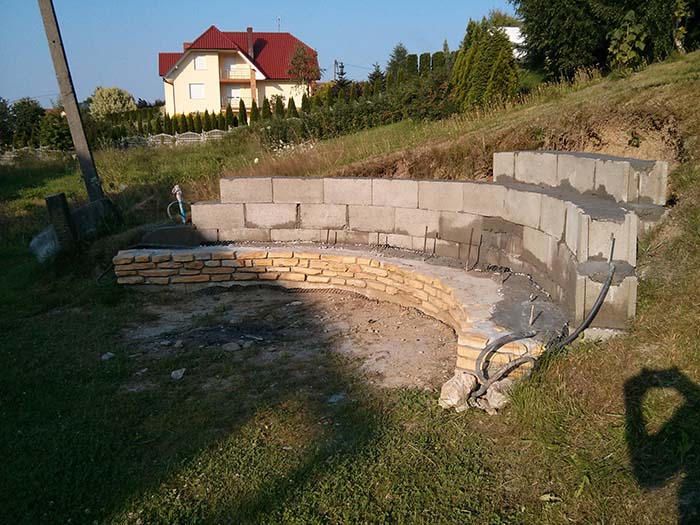
Completed retaining wall.
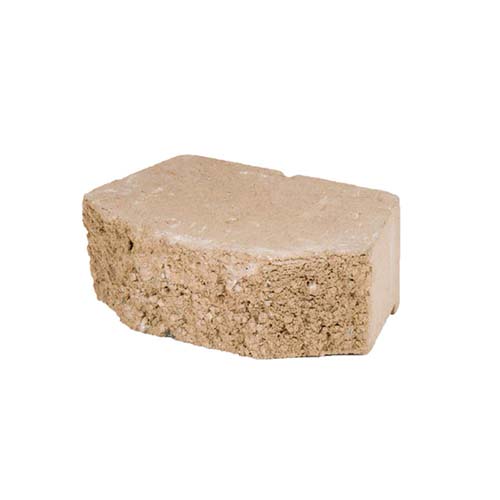
Retaining wall block available at Lowes.com
You can make a retaining wall faster using retaining wall blocks. These are designed especially for use in retaining walls. They have a lip near the front that locks them between rows so you can use them without cement.
To build it with these blocks, dig the trench with room for the backfill as described.
Continue adding rows of block and backfill.
Secure the last row and top blocks with construction adhesive.
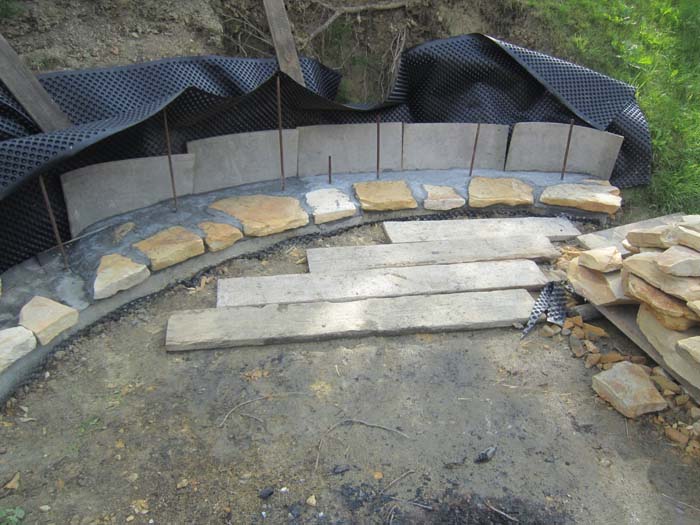
Build out your bench. The bench area is on reinforced concrete. The pavers have been laid into place on the mortar. Build up rows until it’s about 18 inches high.
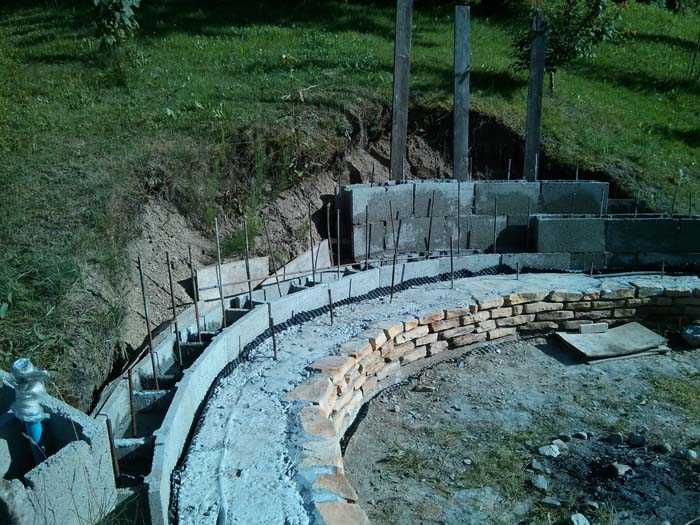
Build a backrest. Use concrete and mortar and follow the same steps for laying out the backrest as you did for the bench.
As shown in the picture, you can include a channel for electrical conduit. This will make it easier to run lights in the future.
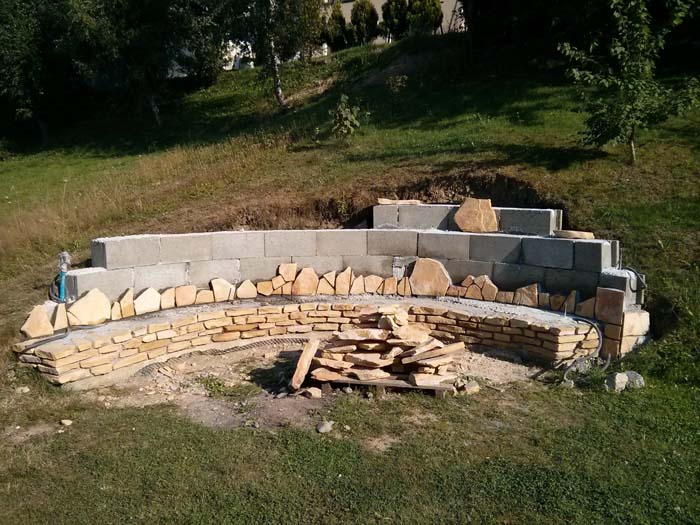
Start gluing up the pavers onto the backrest. Construction adhesive works best.
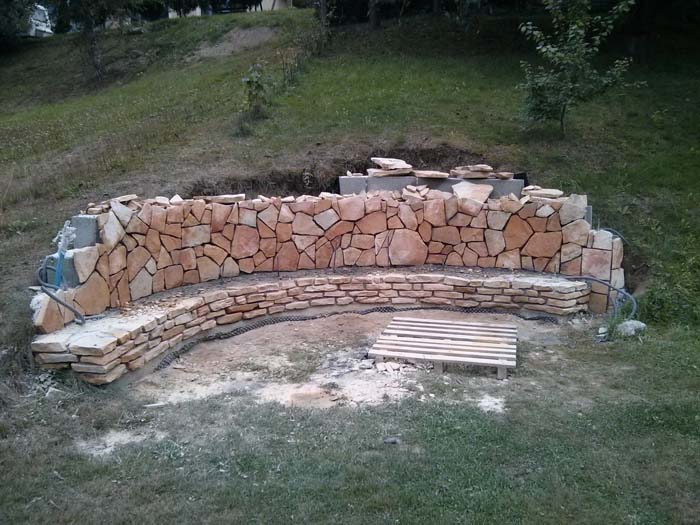
Fill in-between the pavers with joint compound tinted to suit your style.
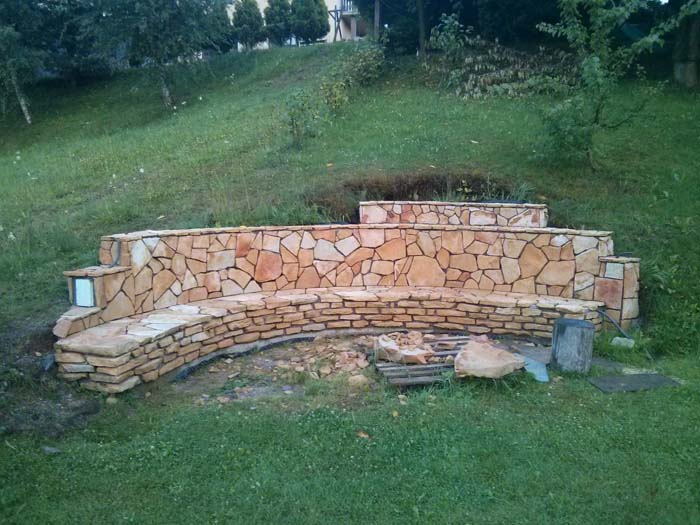
Finish off the top of the wall with flat stones. Add an electric power box at one end. Flagstone will keep it hidden.
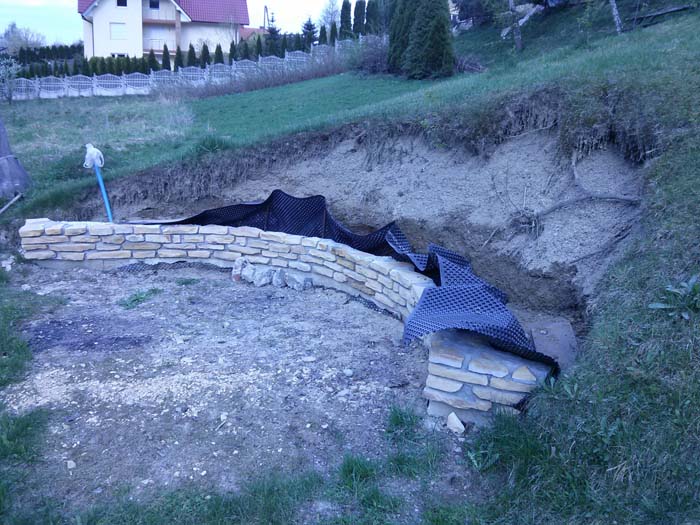
Clear out the area in front of the bench. Use the tiller for clearing grass and your flat blade shovel to remove dirt.
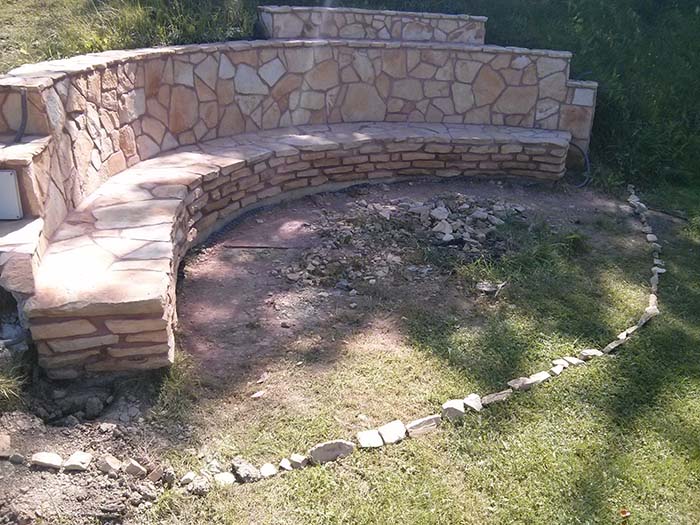
Using some bricks, map out the area in front of the fireplace. You can also just use spray paint.
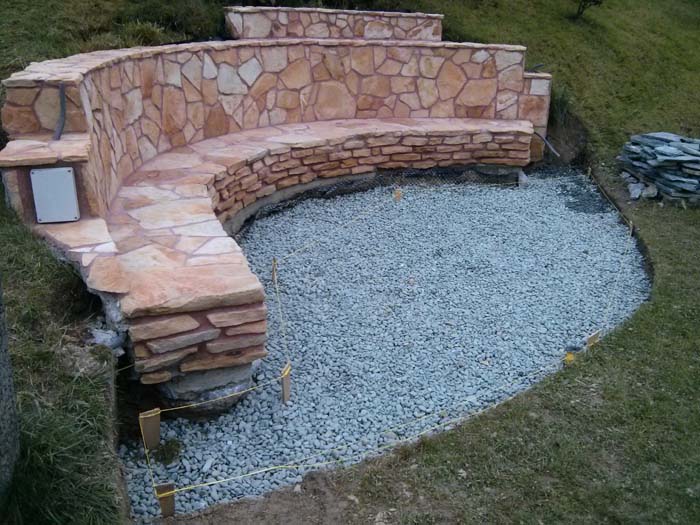
Dig out the area in front of the bench to a depth of about 8 inches. Add a layer of sand and tamper it down until the ground is level.
Drop down the weed control barrier over the tampered sand. Smooth out any rough spots or wrinkles. Avoid the area where you’re building the fire pit.
Add gravel. Make sure all the weed control barrier material is covered. It will shift if it isn’t weighed down.
You need to build your fire pit before you finish the patio.
How to Build Your Fire Pit
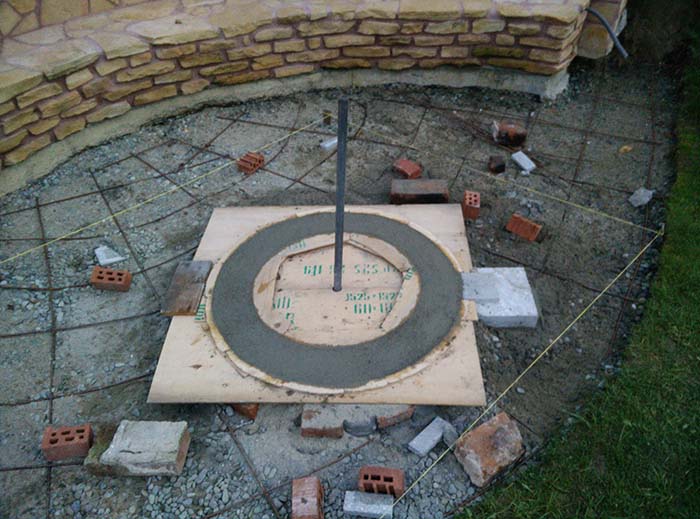
Your DIY fire pit should be at least 36 inches wide and 12 inches high from the base to the top. It can be built right on top of the tampered sand.
Add your rebar.
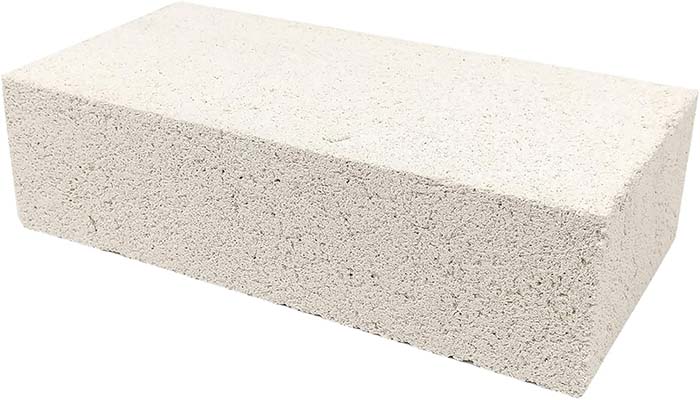
Build the inner wall of the pit with fire bricks. Build your concrete form around the bricks.
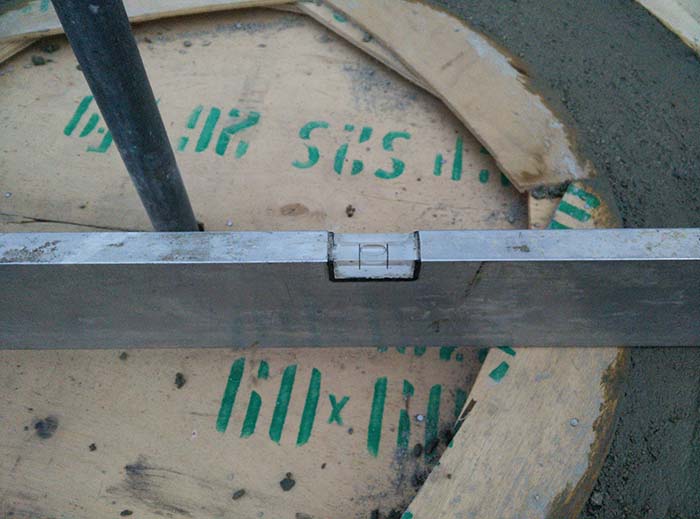
Check that the form is level before you pour the cement.
Finish the top with a skim coat of mortar. This concrete will take about 30 days to cure completely.

Add a steel ring around the inside of the pit – available on Amazon. This will slow the natural deterioration of the bricks.
Fill the bottom of your pit with a layer of gravel, lava rocks, or fire pit glass. Don’t use pea gravel in your pit. It may be combustible.
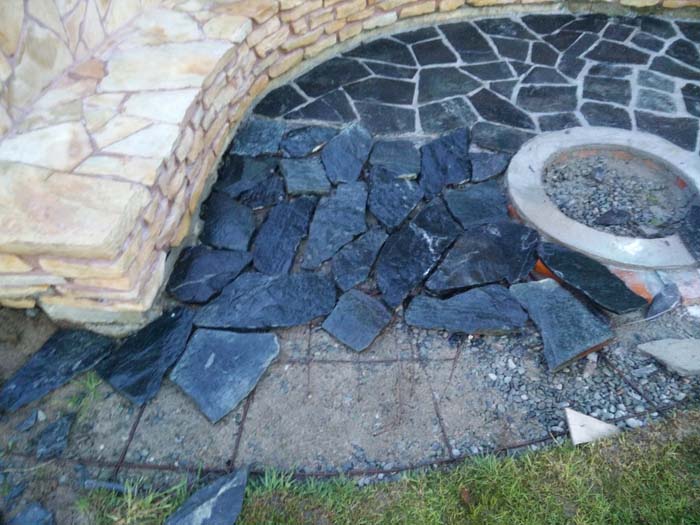
Finish building out the patio. Work in smaller sections to place your pavers in the cement.
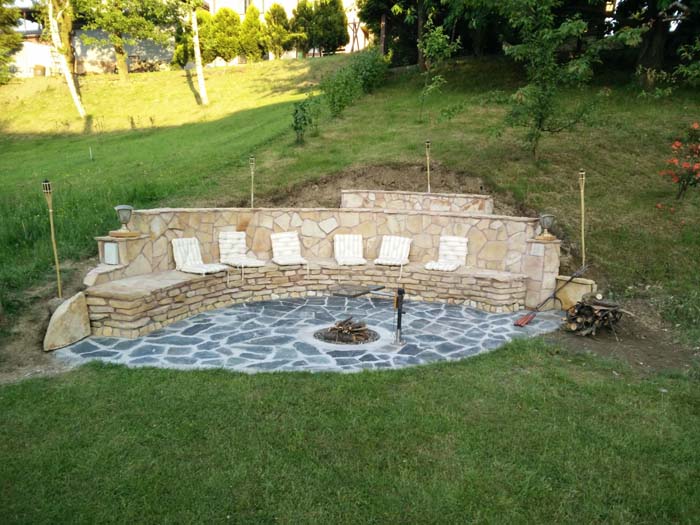
Finish building out the patio. Work in smaller sections to place your pavers in the cement.
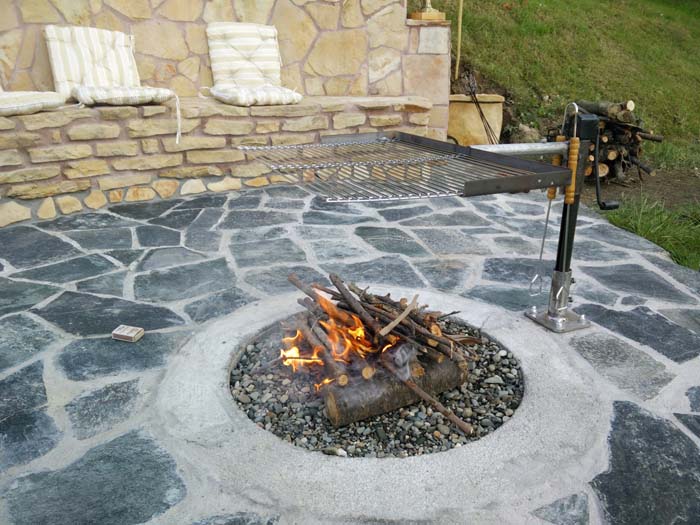
Here is the final result – your fire pit is built on a sloped yard and looks awesome.

