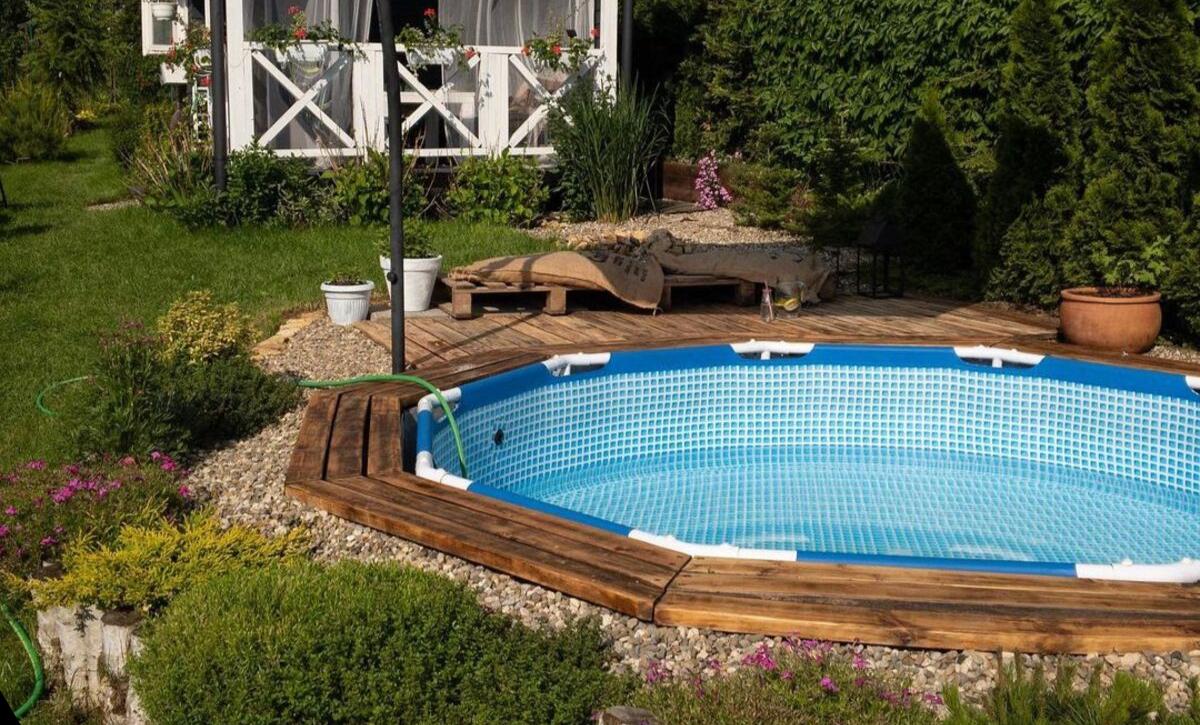
If you’re ready to beat the heat and enjoy a swim in your own backyard, why not try a DIY pallet pool?
It eliminates the need to go to the beach or public swimming pool, and it provides great relief from the burning summer sun.
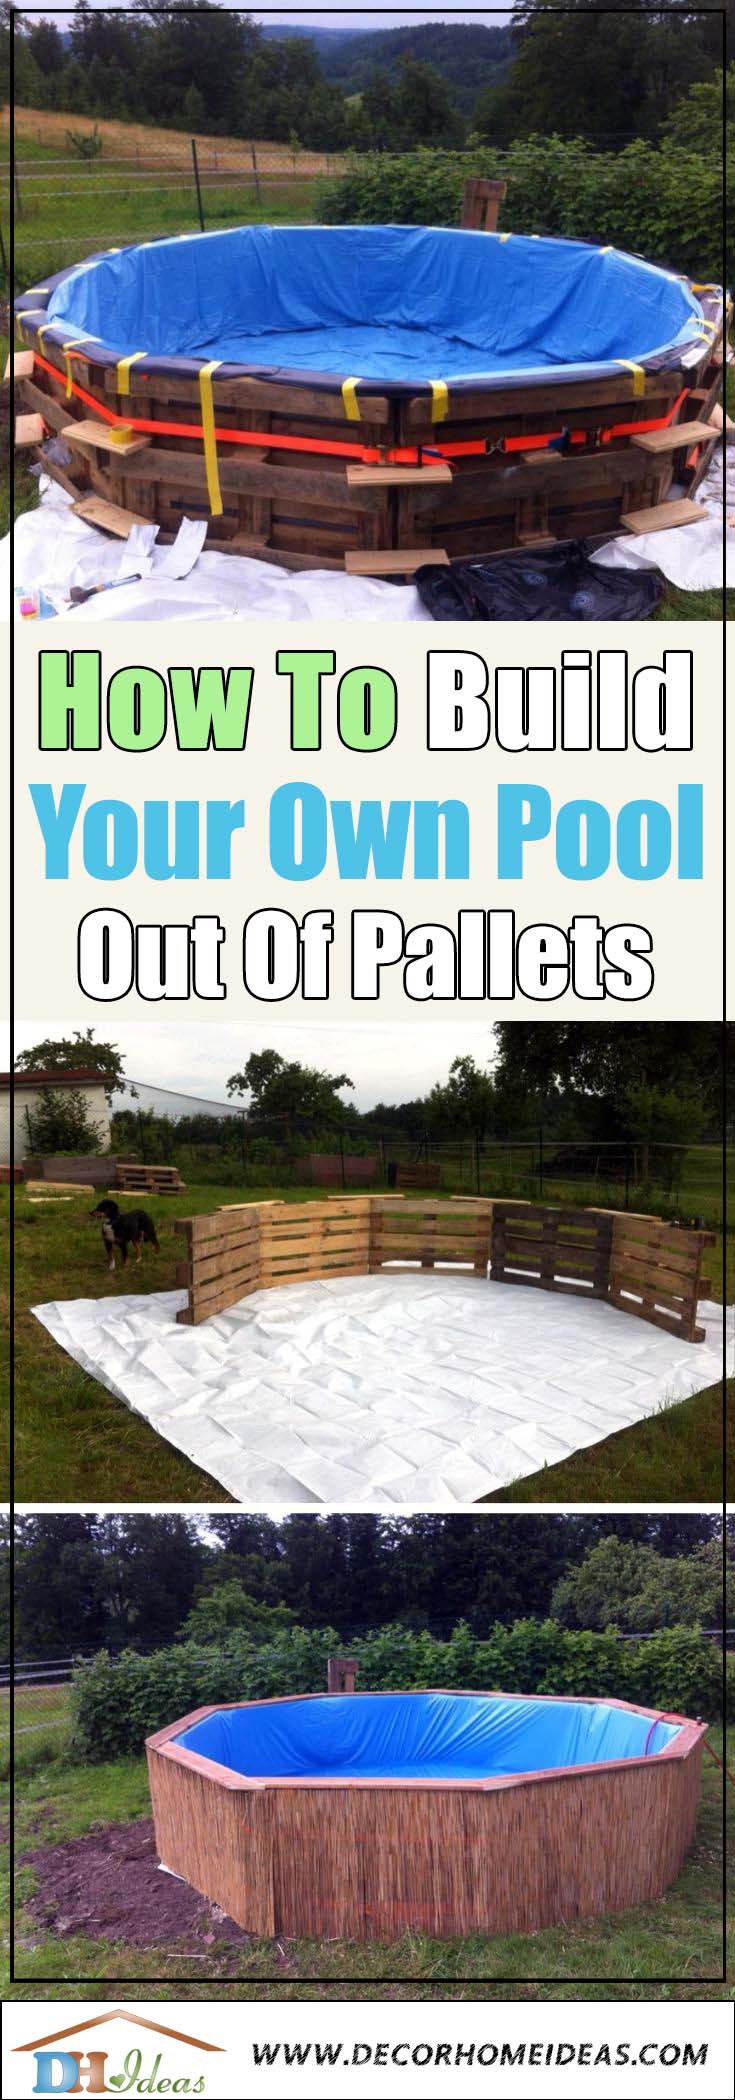
Don’t forget to PIN this image for quick access to the project!
Take a cue from Torben Jung, who shared a post about his DIY wooden pallet pool on Facebook.
These DIY pallet pool instructions are relatively easy, and you might even end up spending less on this project than if you were to go out and buy a pool.
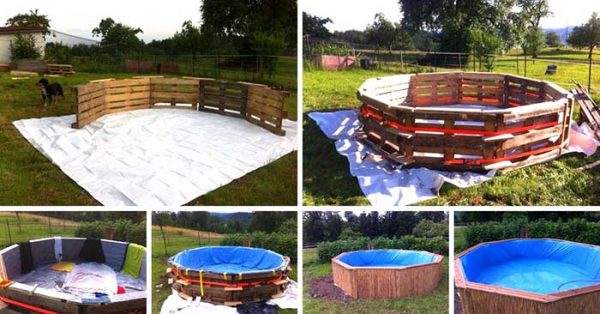
While this isn’t a totally complete step-by-step tutorial, these DIY pallet pool steps will guide you in the right direction when it comes to planning out and constructing your pool.
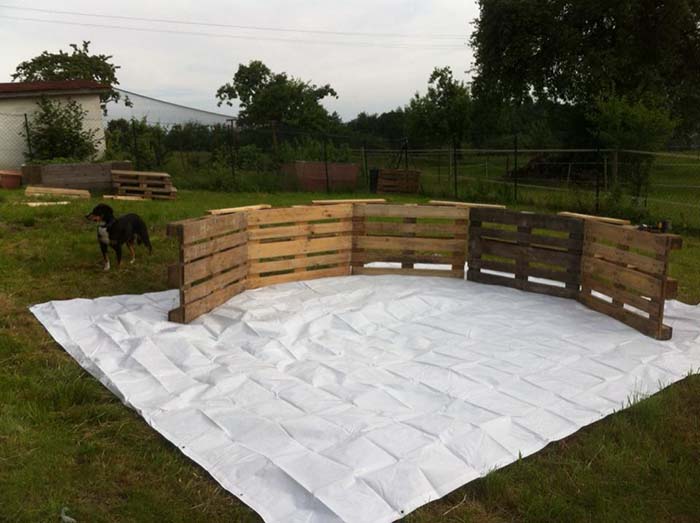
Start with a large tarp and nine wooden pallets.
You can find big tarps at home improvement stores such as Home Depot, and even local retailers like Walmart.
Make sure that it is made with industrial grade polyethylene. That way, you’ll know that it’s resistant to rotting, tearing, and all of the water it will come in contact with.
As for wooden pallets, you might already have these in your garage from another do-it-yourself project, or perhaps your neighbors or friends have some lying around.
If you want brand new wooden pallets, check out the Home Depot or Lowe’s, where you can find them for around $12 a piece.
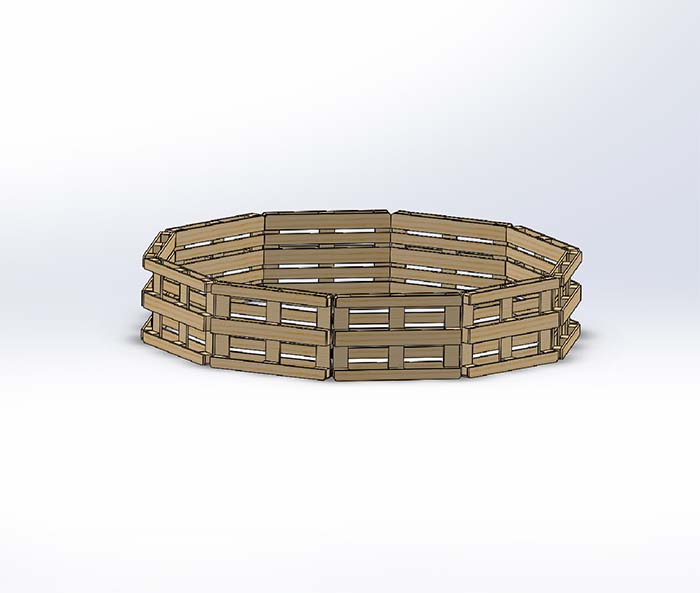
Now that you have your pallets, being by placing them horizontally on their sides.
You can then use a drill to connect them in a large circle so that you have an enclosed decagon. Jung used some additional wooden pieces to securely attach the pallet together.
For extra stability and safety, securely connect the pieces at the top, middle, and bottom, where two pallets meet, as well as along the top ledge.
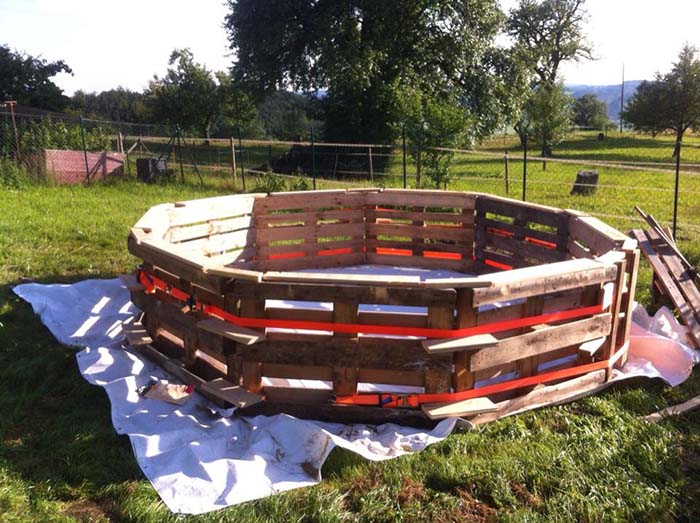
Jung also took some heavy-duty industrial belting and wrapped it around the perimeter of the pallet swimming pool.
Related: 30 Ways Of Turning Wooden Pallets Into Unique Pieces Of Furniture
You can screw some hooks into the sides of the pool so that you can secure the belting all around the perimeter.
This adds another layer of protection and stability to keep the pallets in the correct place without any budging.
At this point, it is time to make sure that the entire structure is waterproof.
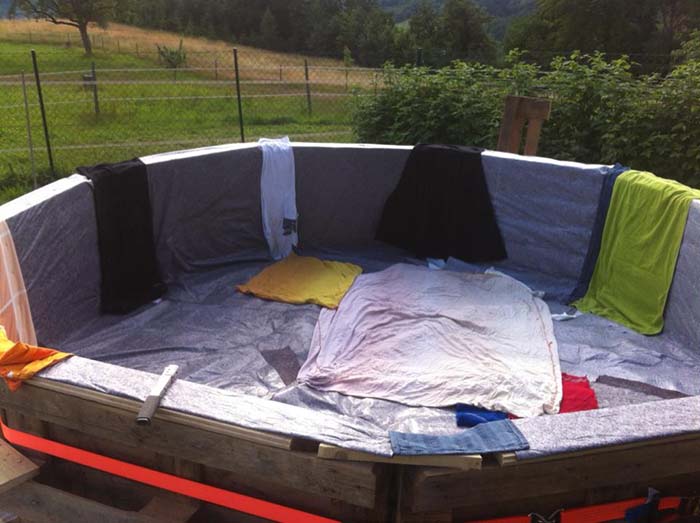
Again, you can use a tarp for this step, covering the entire interior of the pool. You can have a friend help you, and you can try placing wet towels along the sides of the pool to help hold the tarp down in place.
After that, Jung used a piece of blue overlay and placed that over the tarp covering.
He used heavy duty, water-resistant tape to secure the overlay in place.
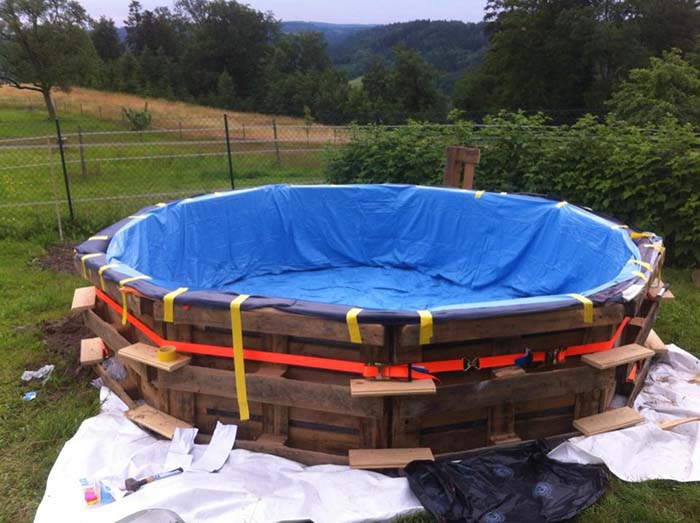
At this point, you need to decide if you want to add a pump to your swimming pool.
Although your pool isn’t going to be huge, it might still be a good idea to include a pump to help keep the water clean and pristine.
That way, you can enjoy it all summer long without any hiccups.
Home improvement stores sell pool pumps, and you can find a decent one for around $200.
You will also want a hose and filter to keep all the yucky stuff out of your pool.
The pump should sit level with the ground, and it should be pumping water along the lower edge of the pool, beneath the water.
Again, this isn’t a required step, it’s just for those who want to go above and beyond.
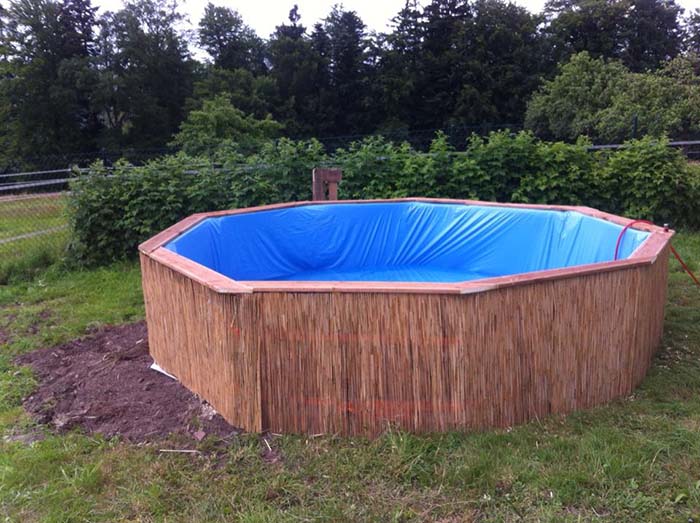
By now, the basic construction of the pool is complete. You have the overall shape and design, which is covered in heavy-duty, waterproof tarp and blue overlay.
You secured the sides and even added the top ledge so that you can rest your elbows on it or place your cold drink.
To add more style to your homemade pool, try making the sides look a bit more streamlined and pleasing to the eye.
If you look at Jung’s pool, it appears as though he added some bamboo or wood paneling to the exterior sides of the pallets.
This creates a much better look, one that doesn’t have your pool looking so incomplete.
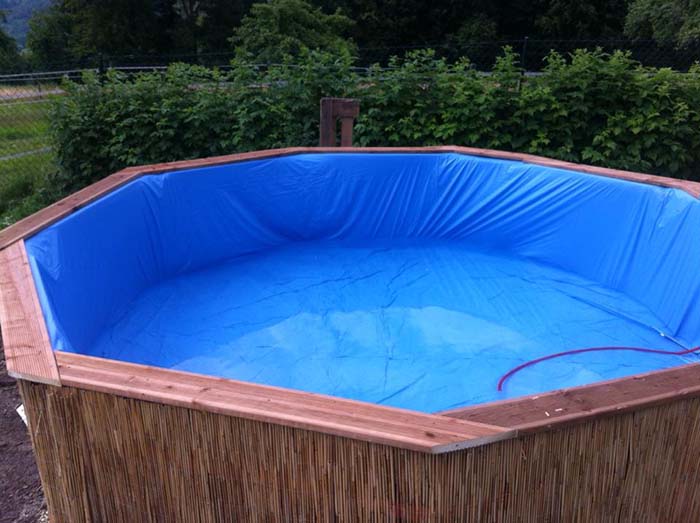
You can add the bamboo, wood paneling, or whatever you’re using by employing some simple nails and a hammer.
This might be a time-consuming process, but it will be well worth in the end when you have a much nicer-looking pool in your backyard. In addition, you can brag all you want that you built it yourself.
All that’s left to do now is fill up your pool with water and jump on in.
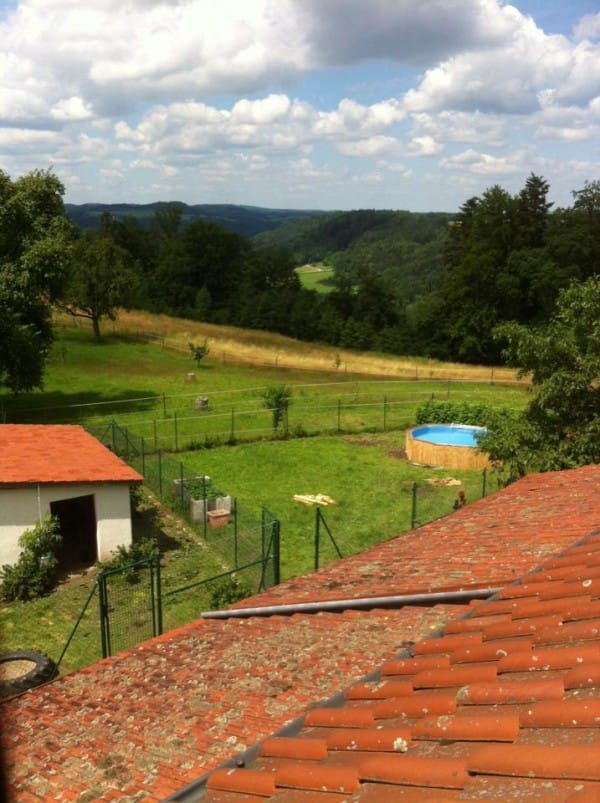
It might be helpful to have a step ladder that you can use to easily get in and out of your new pool.
This is good for keeping youngsters safe, too. So, there you have it, some simple DIY pallet swimming pool instructions.
We also have a nice DIY above ground pool post.

