Have you been looking for the perfect bookshelf to display books, pictures, and other knick-knacks?
If so, you have probably seen a lot of things that you like, but have yet to find something perfect that matches your style.
If you want the perfect bookshelf that will have your guests stopping and staring at it you should consider making your own one-of-a-kind corner tree bookshelf.
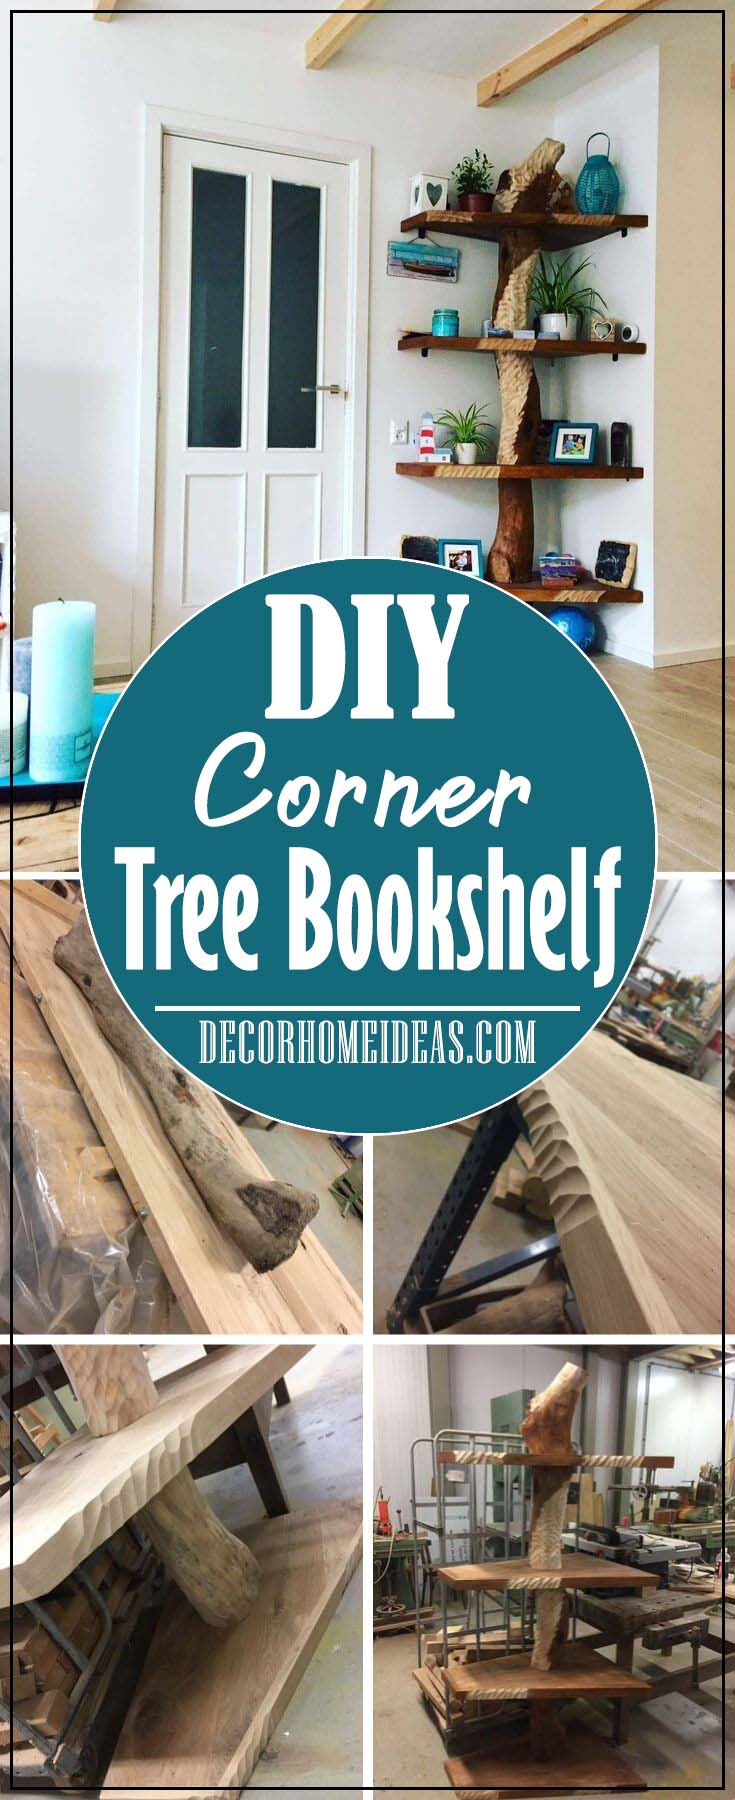
There are a lot of corner tree bookshelf options that you can make yourself but this one is ideal for any home because of its character, durability, and overall appeal.
Making your own DIY corner tree bookshelf will not only leave you with a work of art, but it will also provide you with a sense of accomplishment knowing that you were able to make it on your own.
Whether you are a woodworking expert or not you can follow these tips and instructions to help you make the perfect shelf.
This awesome DIY project was made by my friend D.Dochev in 2 days and even though he is not a professional, the end result is stunning.
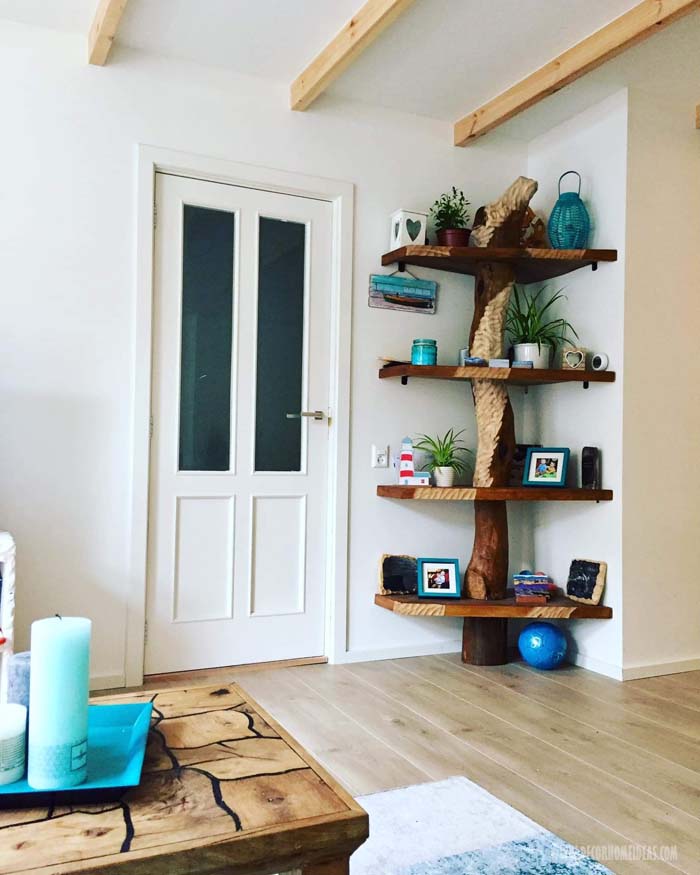
Where To Start?
The first place you should start when making your DIY corner tree bookshelf is to find a tree trunk that appeals to you.
You need to find one that is about six feet tall and at least 6 inches in diameter.
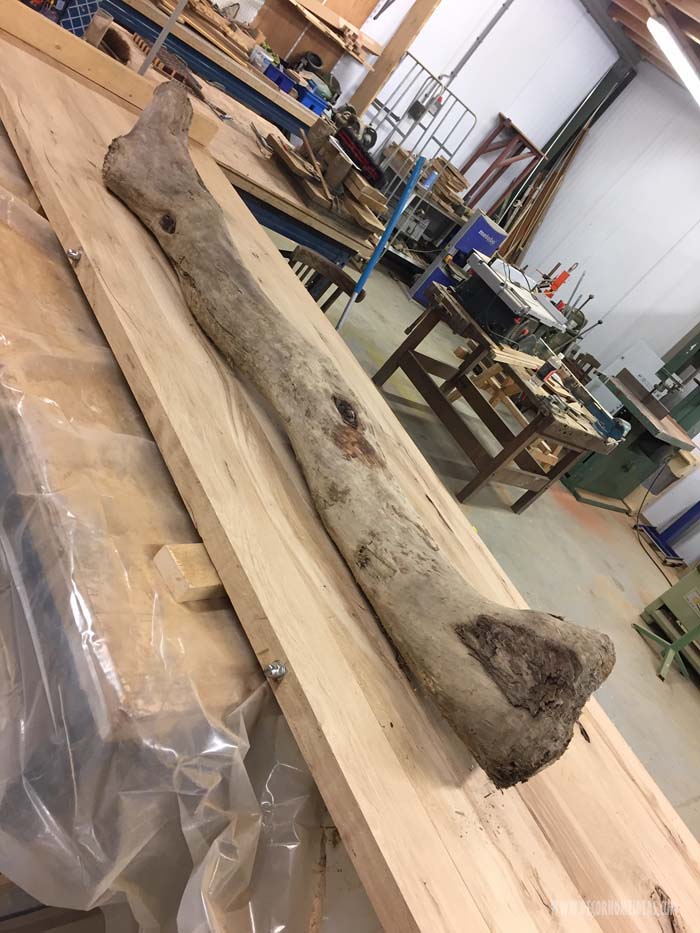
The height and width of your tree bookshelf can vary depending on the height of your ceiling and the size of your room.
These dimensions are a recommendation for a normal-sized living room.
I would not recommend using a tree trunk smaller than this because you want to ensure that the trunk is sturdy enough to hold the shelves and anything that you decide to put on the shelves.
Finding the perfect tree trunk can be a little challenging, but once you find one that is relatively straight and sturdy you can start molding it into your dreams.
Using a piece of driftwood, or another trunk that you find near the beach may be ideal for the base of the shelf because these pieces of wood are often strong enough to withstand pressure. Honestly, that’s how I found mine.
Once you have the ideal piece of wood you should sand it down to make sure all areas are smooth and ready to be stained or painted if you want.
Design
The design of your corner tree bookshelf is completely up to you. You should start by drawing yourself a set of blueprints that you can follow during the project to keep you on task.
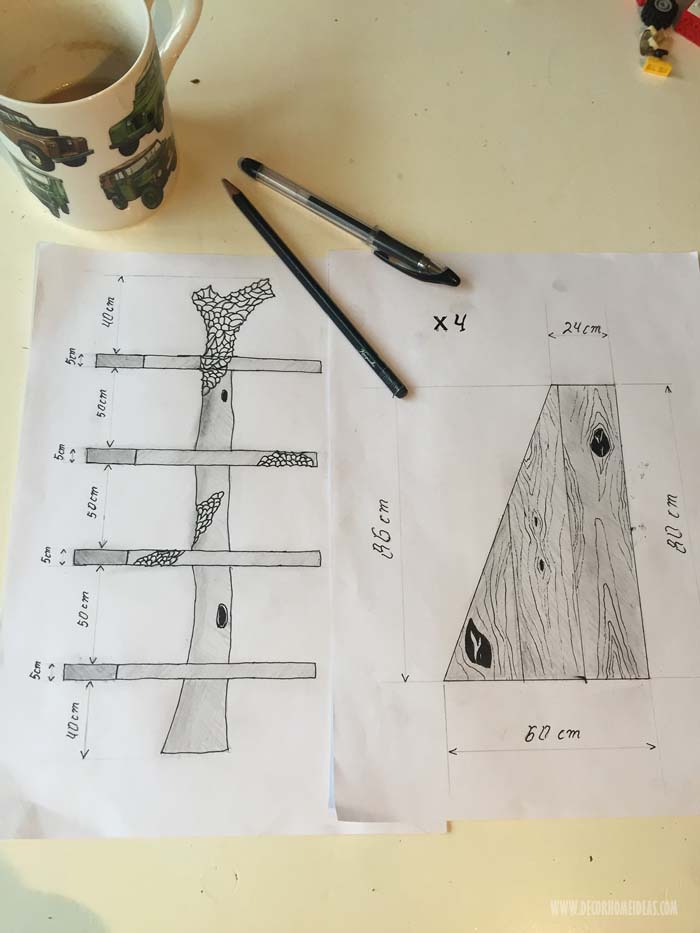
For this specific tree bookshelf, I decided to use four individual shelves.
Each shelf was a trapezoid shape so that it could fit nicely into the corner of any room.
The shelves measured 10-in by 31-in by 20-in by 33-in. I also decided to evenly space the shelves at 20-in apart.
You can stagger your shelves to accommodate the items that you would like to place on the shelves. For instance, you may want to have one shelf one foot apart from the next and another shelf two and a half feet away from the next.
Before you decide to do any cutting or building you should create your own blueprint of how you want your bookshelf to look.
This can ensure that you do everything right the first time. The great thing about doing a DIY project is that you get to design it how you want.
Building Your DIY Corner Tree Bookshelf
Once you have your blueprint drawn up you can start making cuts to the tree trunk.
Cut your tree trunk to meet the spaced areas in your blueprint. For example, mine would be 20-in each and the top would be whatever was leftover.
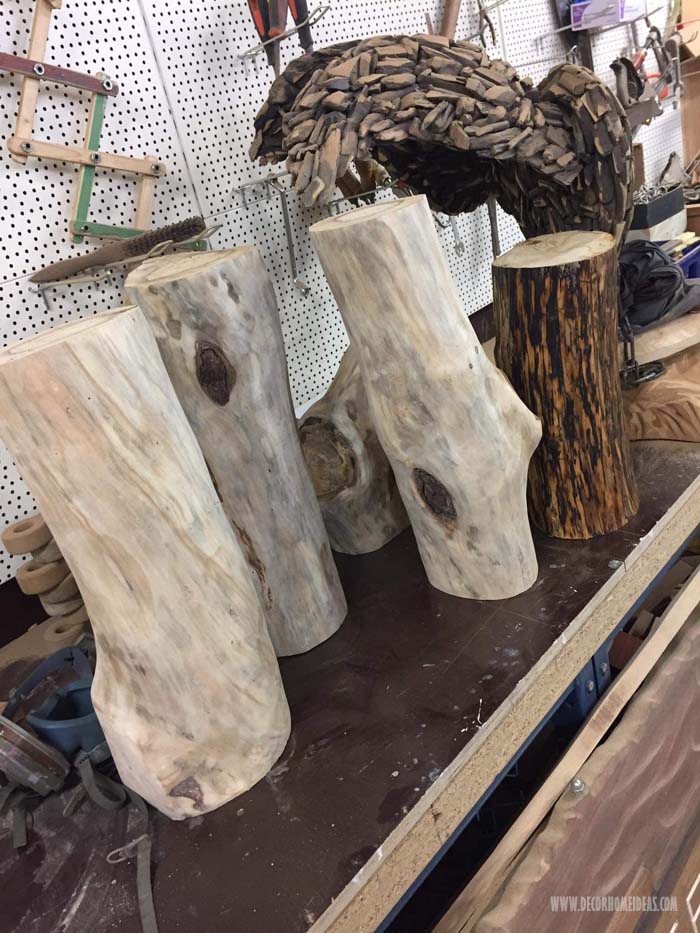
Make sure that you use a saw that can give you a clean cut at exactly 90 degrees to ensure that your shelves will be level.
This is to prevent things from falling over when placed on the shelves.
To make the shelves you should use 1-inch thick oak planks and glue three pieces together to make each shelf.
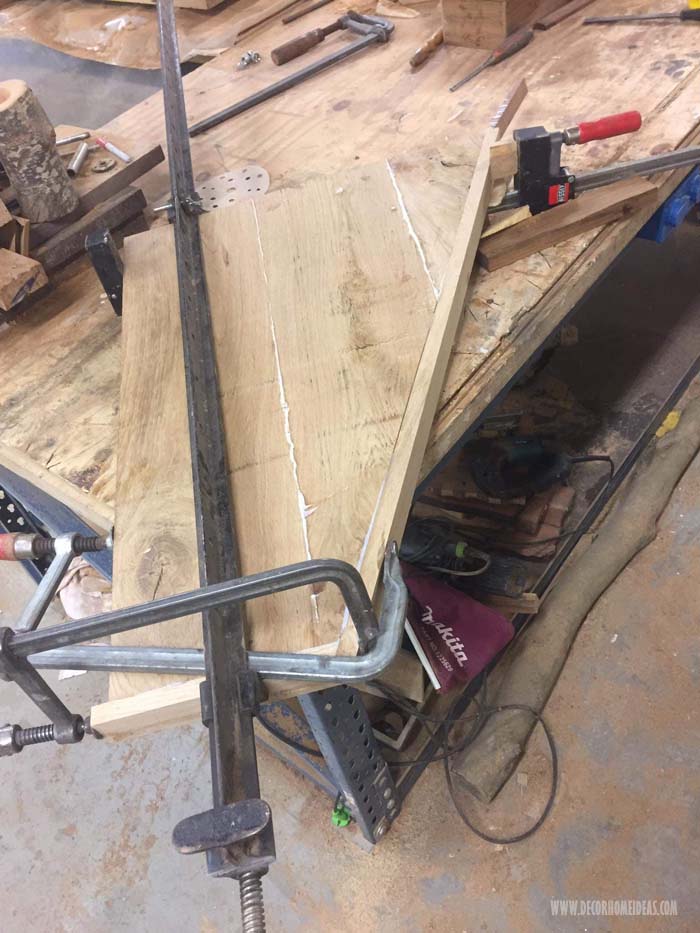
You should use wood glue to hold the pieces together and use a clamp to hold them until they dry.
Therefore if your final product has four shelves, you should have to cut twelve total pieces for the shelves.
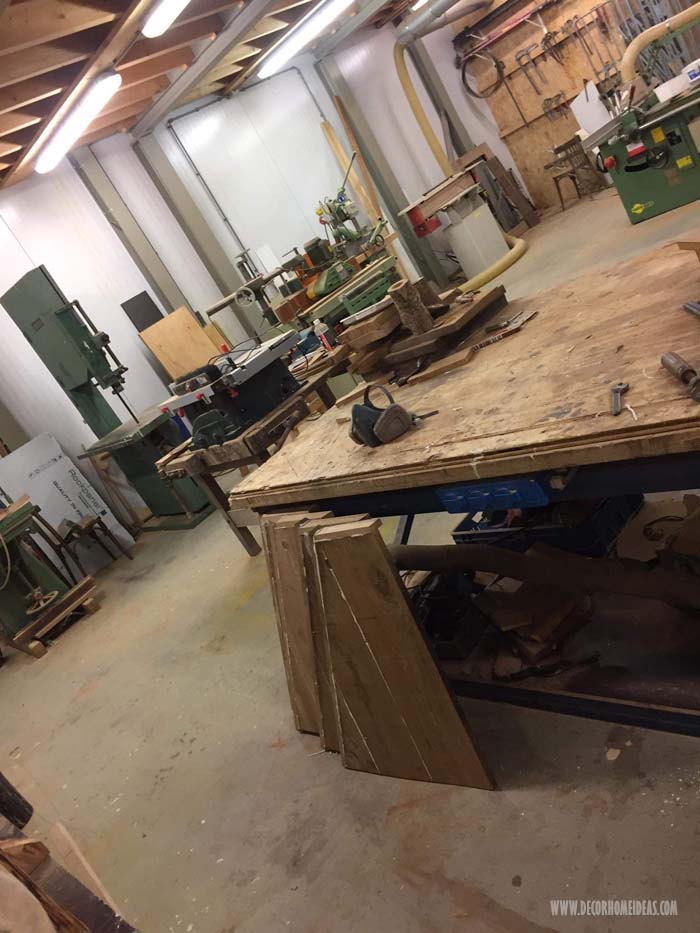
On the outer side, you could add a 1-in thick border to make it look heavier.
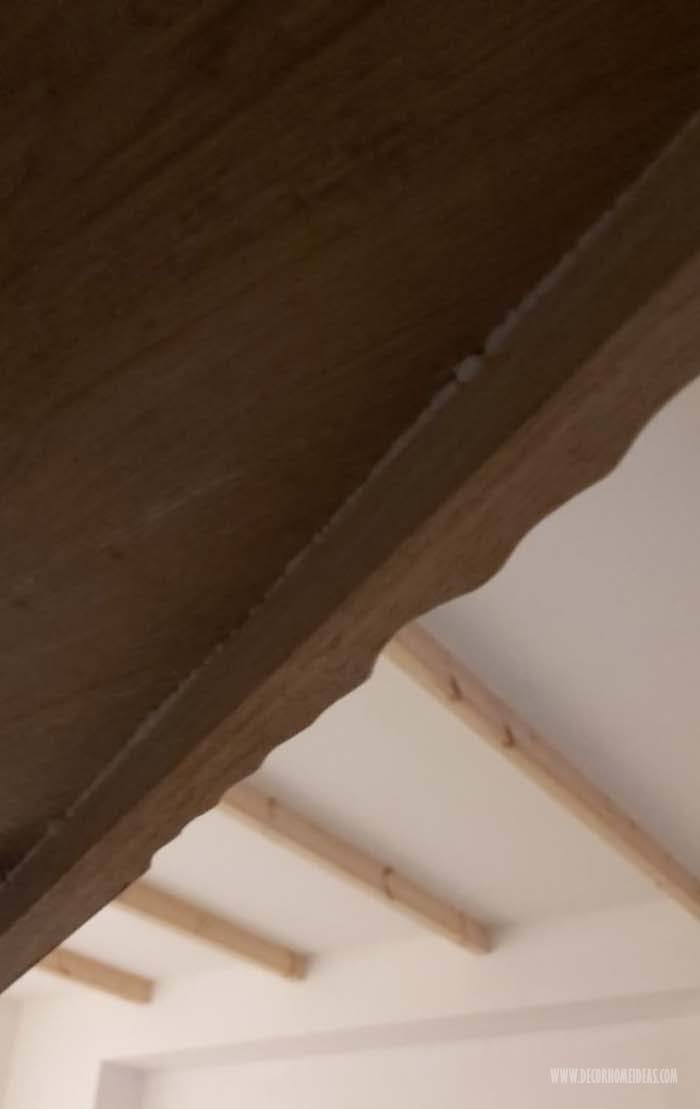
Once your shelves are assembled you can use wood glue to mount the shelves to the tree trunk. Allow time for each piece to dry together before moving on to the next piece.
Once you have all your pieces together you should sand them down to prepare them for paint or wood staining.
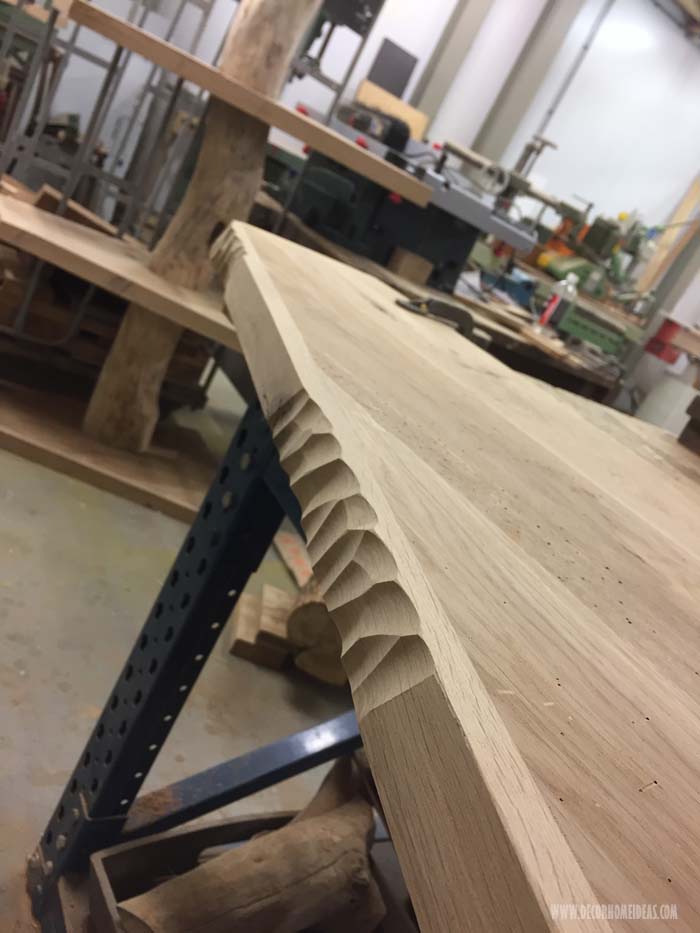
You should start by using P80 sandpaper and work your way up to P240 grit sandpaper. Once the bookshelf is sanded down you can use whichever type of coating you want.
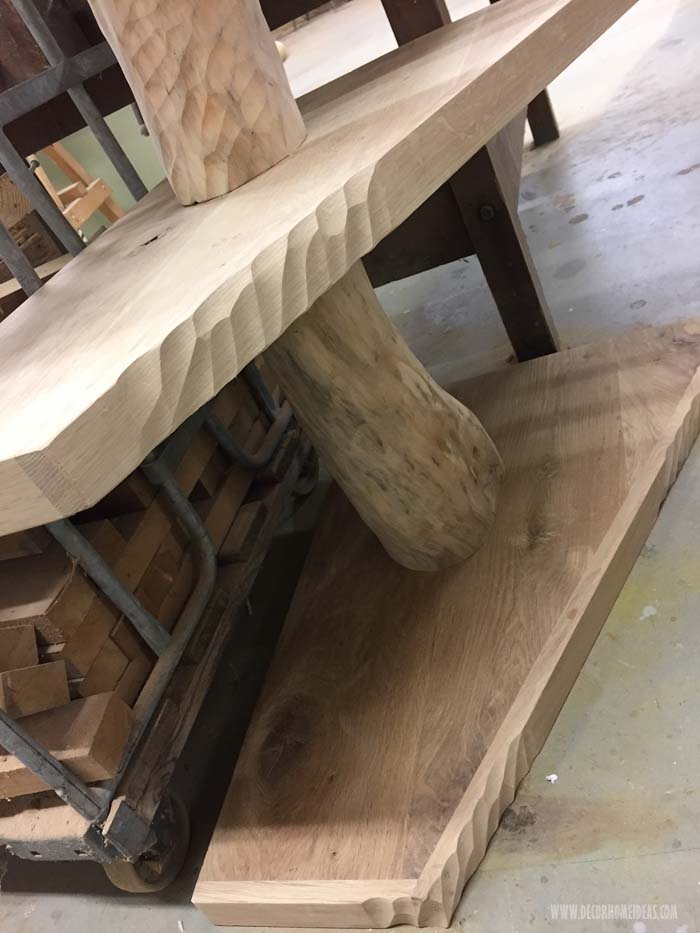
Again, making your own DIY bookshelf allows you to customize your shelf to your exact wants.
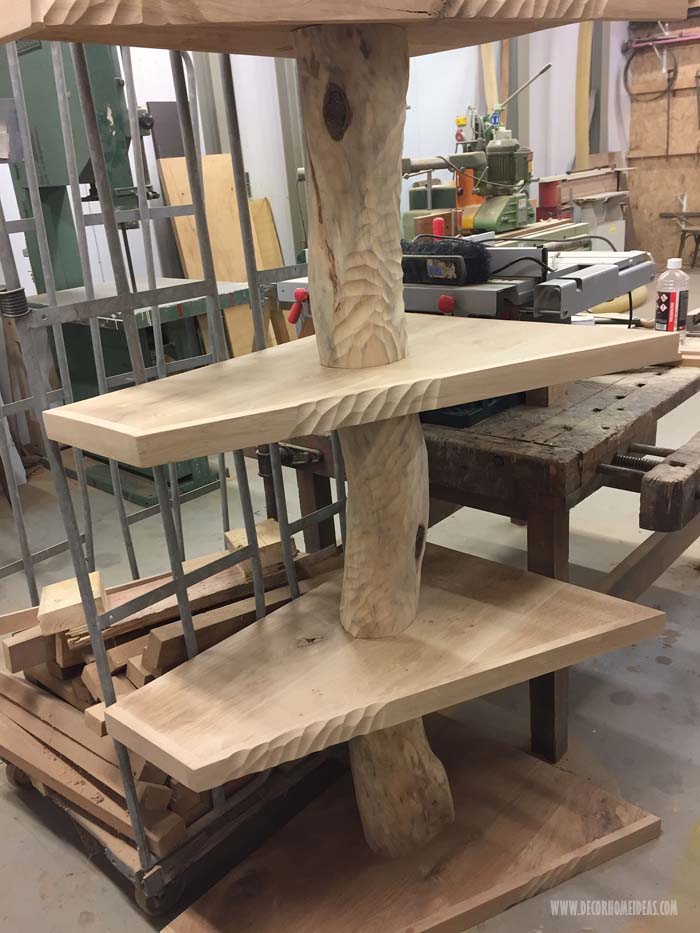
Once you are done staining you can use a wood wax to seal the bookshelf. If you want the wood to look more natural, you can use an angle grinder to make random cuts in the wood to give your bookshelf more contrast.
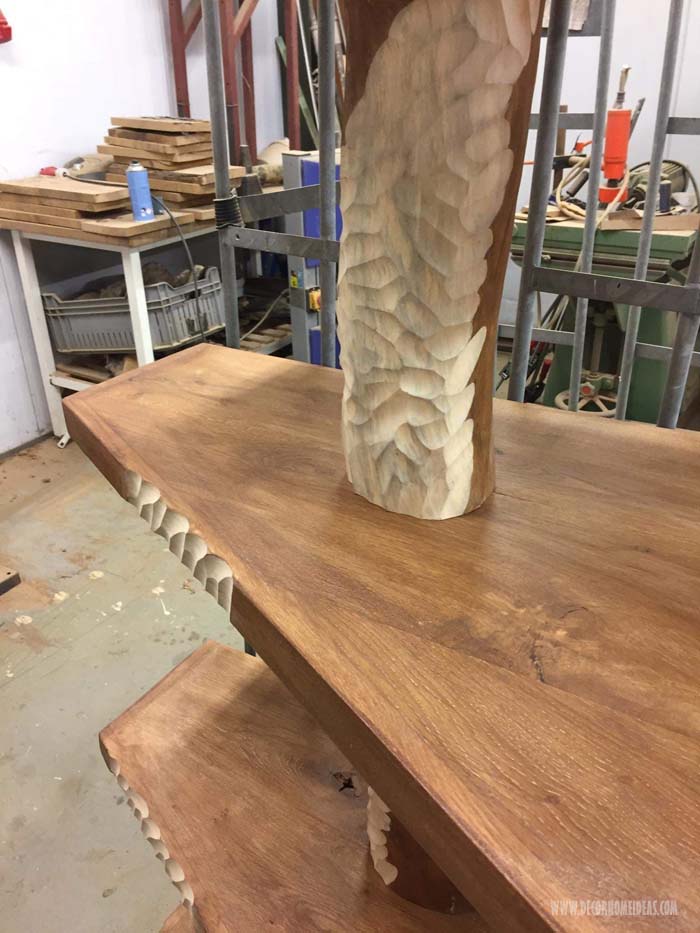
Safety
If you have young children at home you may want to fix each shelf individually against the wall by installing “L”-corner brackets. This will prevent it from falling over and causing injury.
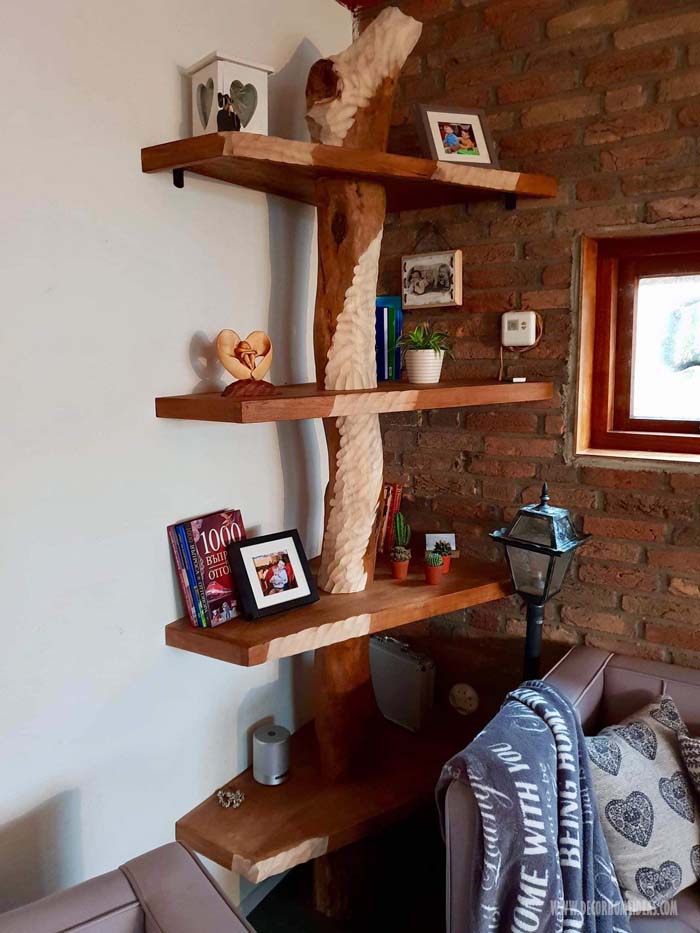
Tools
- Table Saw ( you can also go to Home Depot for the cuts )
- Miter Saw
- Angle Grinder – equipped with abrasive disc
- Sander – optional
- Sand Paper – P80,P120,P160,P240
- Tape Measure
- Paintbrushes ( for the glue and wood stain )
- Clamps
Materials
- Tree Trunk
- 1-in x 8-in x 8 ft boards – 4 pcs
- 1/4-in x 2 in x 8 ft – 2 pcs
- Wood Glue
- Wood Stain
- Wood Wax
- “L” – corner shelf wall brackets – 8 pcs
- Screws for brackets
The whole project took about 7-8 hours to complete. So you can do it easily on the weekend.
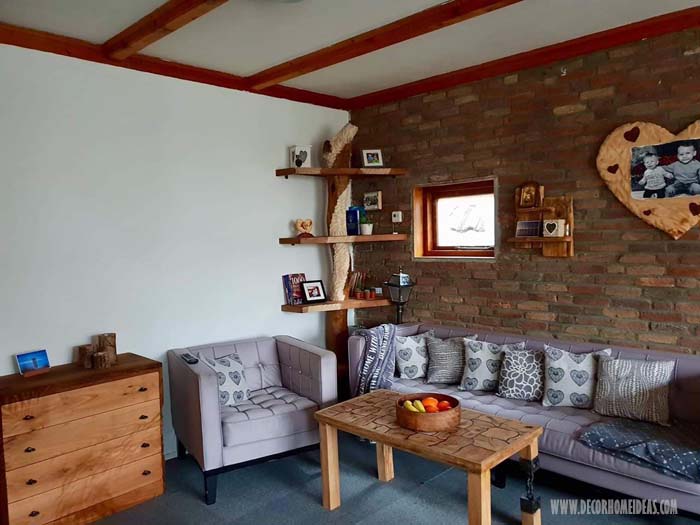
I hope you enjoyed this fabulous corner tree bookshelf made from real driftwood and oak boards.

