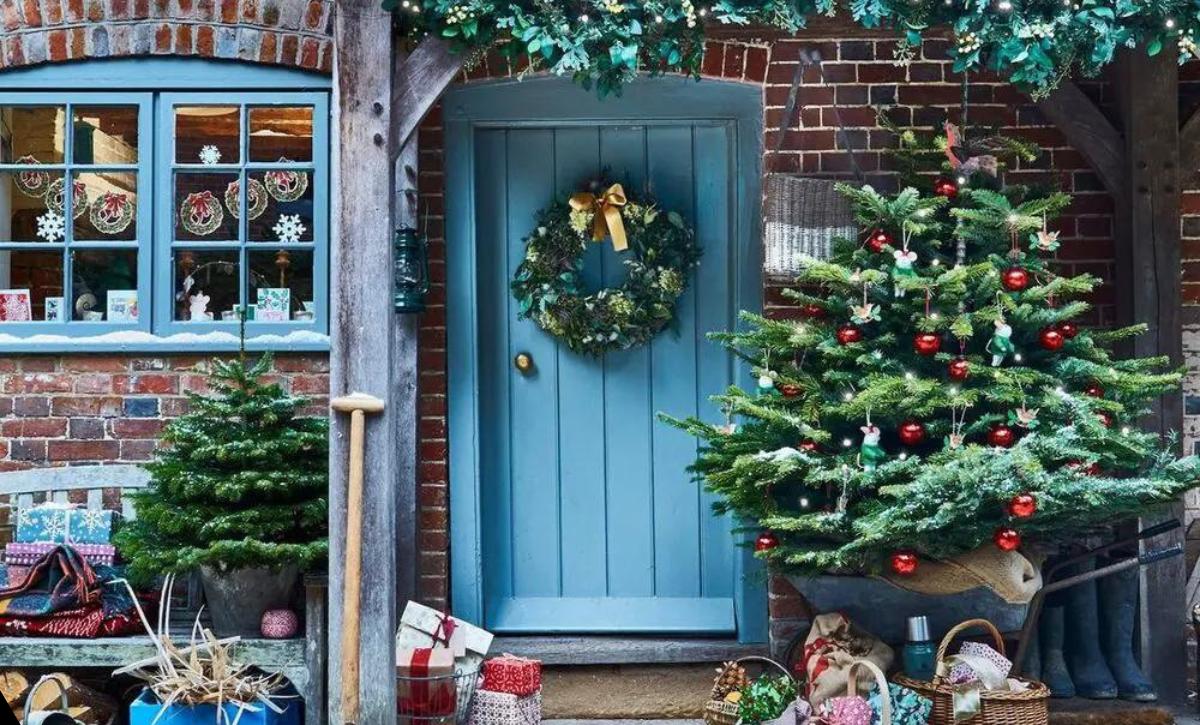
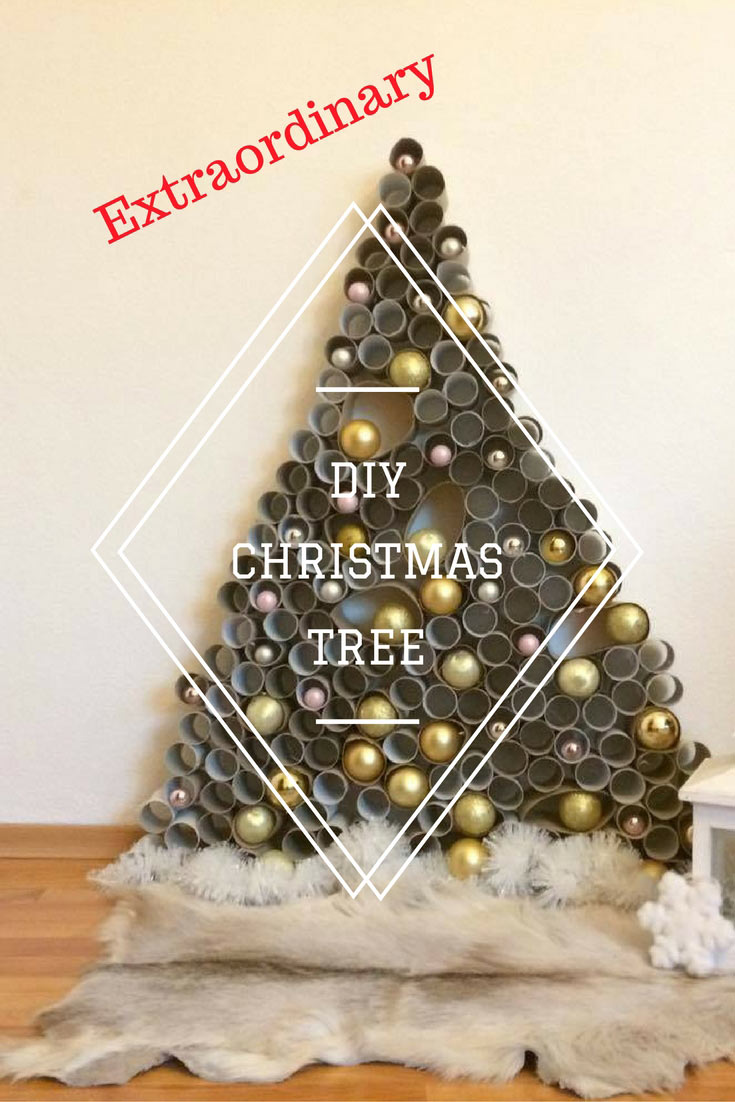
Days before the holidays of present year arrive in our homes, I am sharing a bright idea on how to create an extraordinary Christmas tree with none to minimum expenses.
Sometimes we bond with our kids better when we give them space to express themselves and show us they can do so much more than we know!
Rule of Thumb: The less creative control you apply to the DIY process, the better.
When it comes to Christmas decoration, we tend to go from using useless objects and turn them into wondrous.
Seemingly useless objects, such as empty toilet paper rolls, can turn out to be dazzling pieces of art. Decorating can help your kids feel calm, secure and grounded, there is sort of a meditative feeling to it.
This type of activity helps kids in building much-needed trust in his personal skills and capabilities. In this video, you can see how decoration can be created by children with ease, fun, and play.
Actually, children are often the ones that enjoy mastering the work they do with their hands.
What is more precious than watching your child`s artistry of creating something on their own?
Christmas Tree Base Prep
Let your kids watch this video as many times as they want before starting their project and during.
Then, set up all toilet paper rolls on the floor and find something that will help to make the sides of our Christmas tree equal later on.
A baseboard or a long stick, anything that you have laying around will do the trick.
It is preferable that the rolls are of various sizes, so opt for diversity, if you can.
Provide your children with a glue gun, a big number of empty toilet paper rolls, Chrismas tree ornaments such as balls or baubles you can go with silver and gold like in this example or choose any other color that you like.. Now you know what to do with all extra baubles you have in stock!
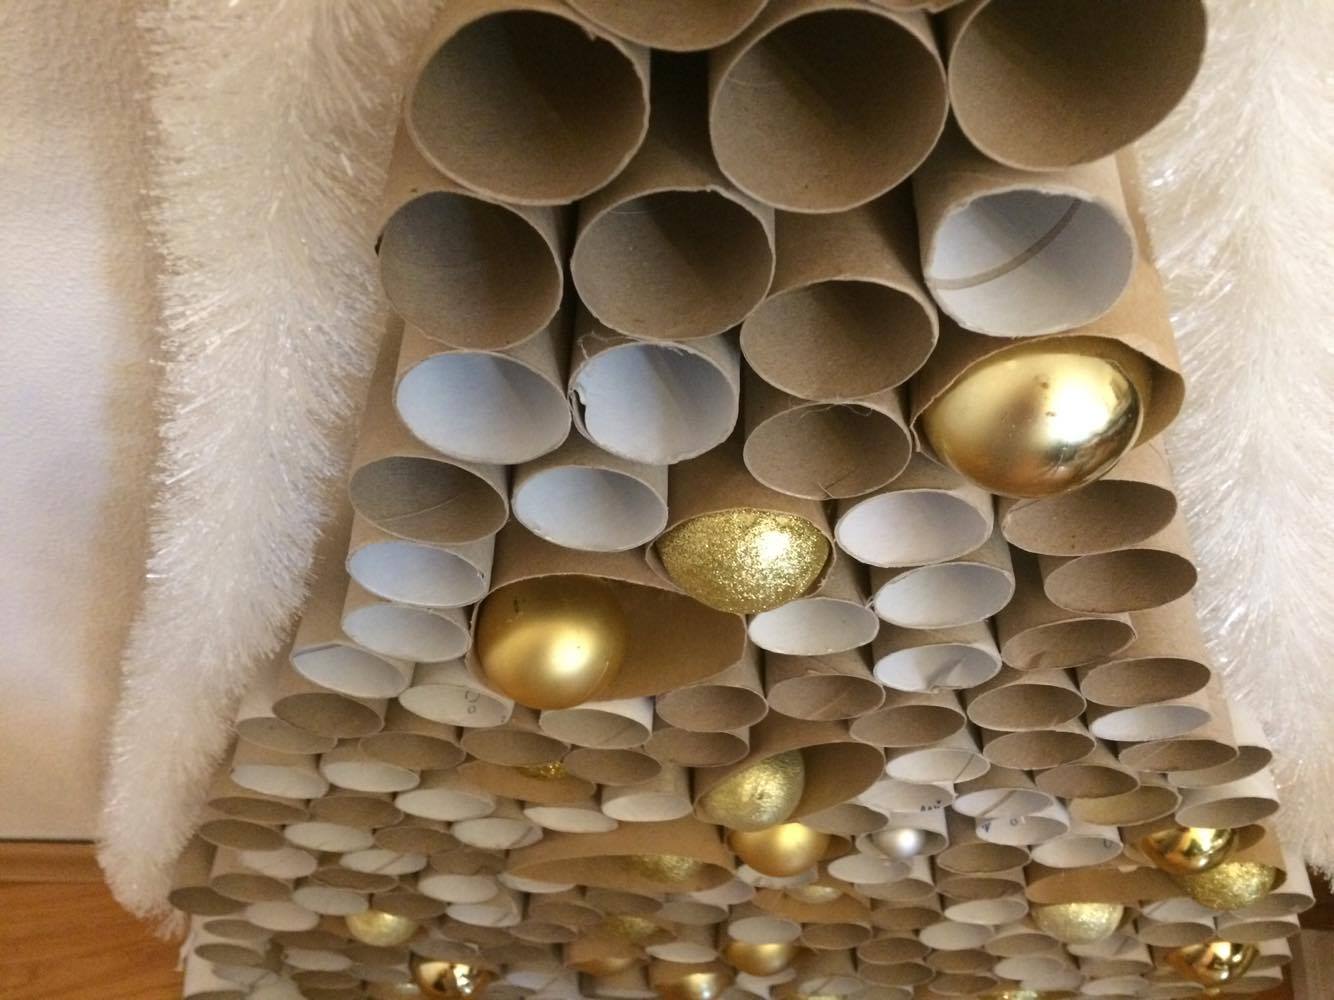
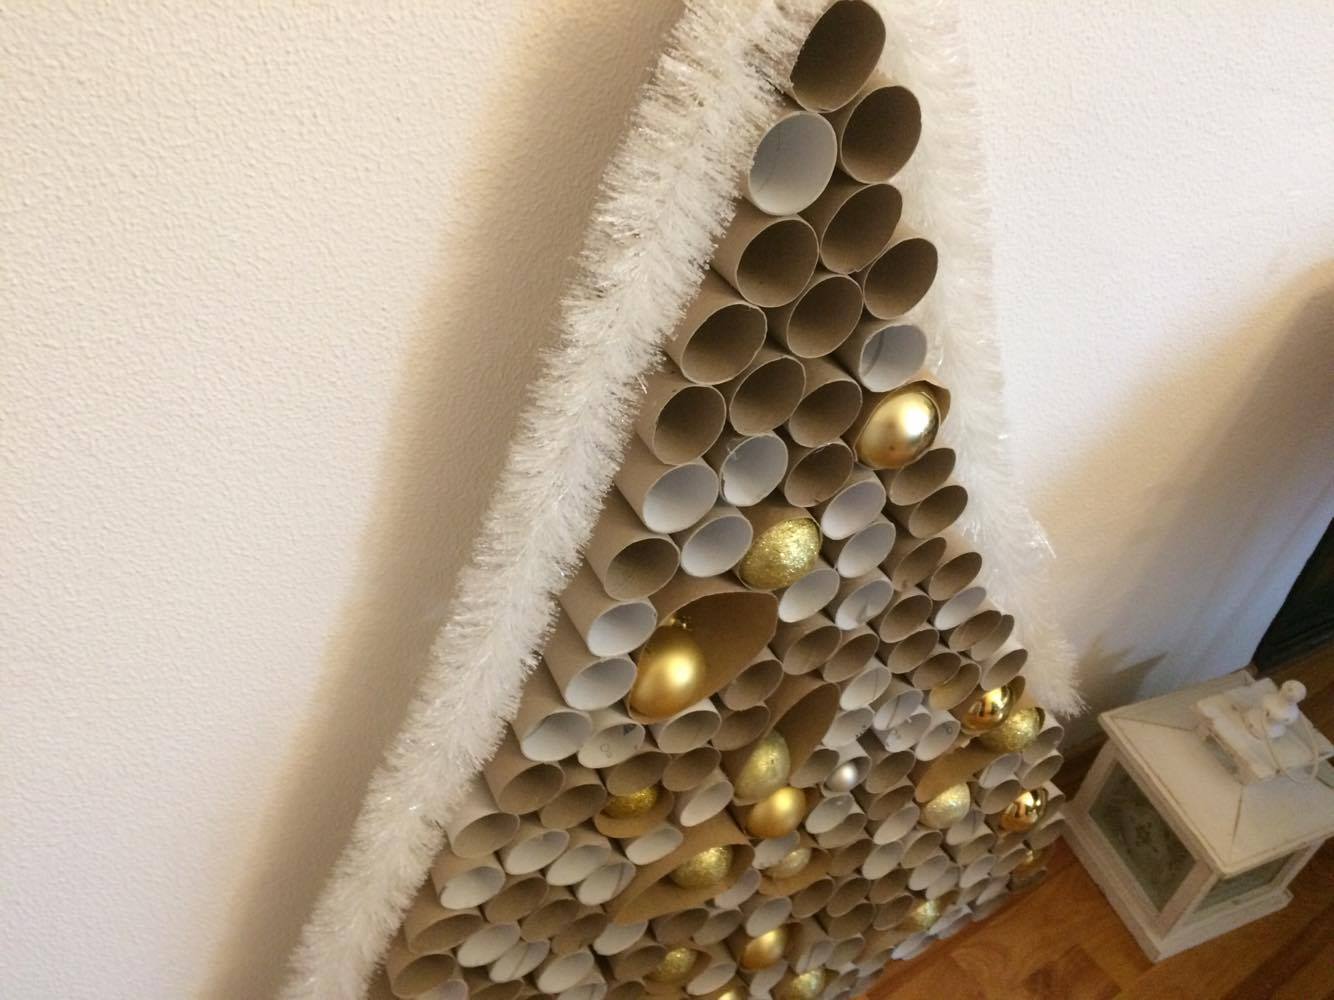
In simple words, every single toilet paper roll is glued to the next one and the rolls are glued to those that surround them.
The shape of the tree is the triangle you know so well – the isosceles triangle with two equal long sides. Once you are ready with the triangle, we press on each side with the baseboard to finalize the shape.
The Creative Team Phase
The children can also apply paint on every roll (FUN!) if they wish for a more colorful tree.
If they choose to do this, plan and prepare for this task in advance, so there is enough time for the paper to dry out. We also don’t want any loss of enthusiasm due to having to wait around.
Once the tree is all dry and ready, it is time to set it up straight.
Use one of the walls of your home, it will act as the back support for our project. Beneath the tree, you can make a base or a blanket from decorative snow.
You could also use white cotton, sprinkled with glitter. Add a lantern on the side to beautify and finalize the Christmas decoration.
The final play is for your children! Now ask them to fill the empty holes with matt, sparkling and shiny baubles one by one.
They will be incredibly proud and joyful to have done this on their own. While we are being busy bees on their quest to finish off the last chores for this year, it is time to give a shout out to our kids.
Let’s face it. Sometimes they outdo our creativity, tenfold!
There is a WOW moment!
We wish you a Very Merry Christmas!

