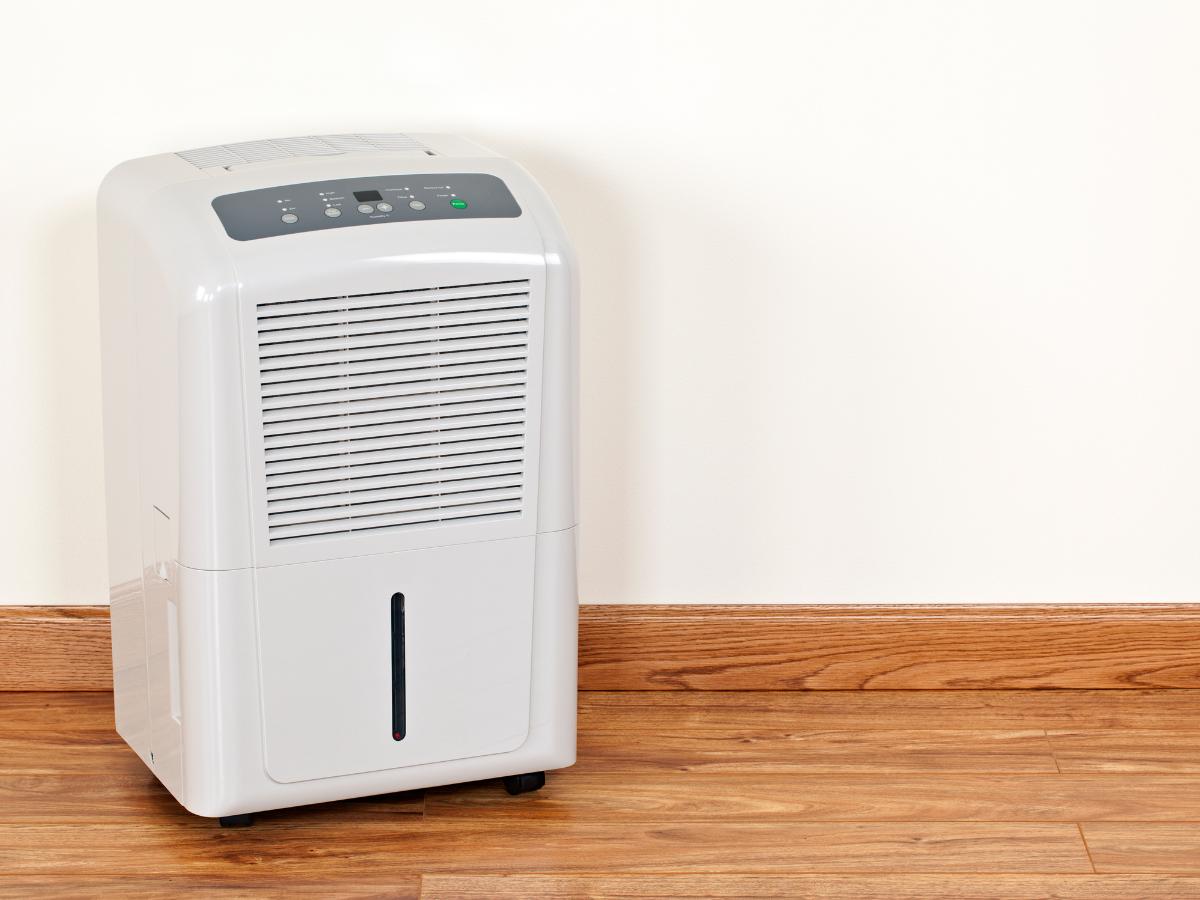
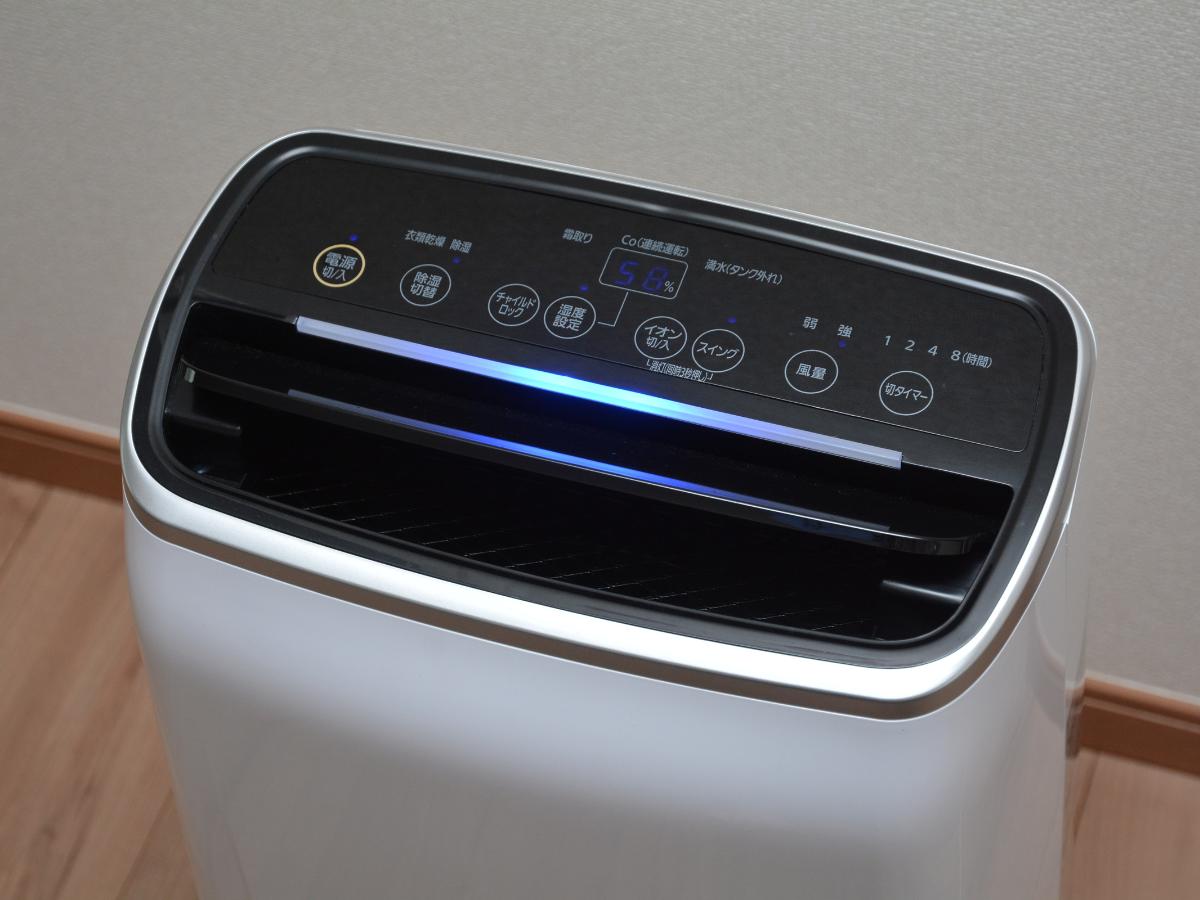
If you have a mold or mildew problem in your home, you should definitely get yourself a dehumidifier!
These devices are excellent for sucking moisture out of the air, and they need to be cleaned occasionally since they trap a lot of humidity internally; you don’t want mold and other bacteria growing from within your dehumidifier!

Luckily, cleaning your dehumidifier is quite a straightforward process. It would be advisable to clean your dehumidifier regularly and correctly to avoid damaging your unit and keep it operating efficiently.
Today, we will highlight a step-by-step cleaning tutorial for cleaning your dehumidifier and help it last for many years.
Have a look!
Do Your Due Diligence First
Dehumidifiers normally have several parts that need to be cleaned, and you’ll find some tutorials advising on disassembling your dehumidifier to gain access to the internal coils and clean them.
Without a shadow of a doubt, the internal coils are susceptible to dirt and debris, but taking apart your unit by yourself to clean it can void the product’s warranty.
You should always check first with a manufacturer’s manual before you follow any DIY guidelines for cleaning a dehumidifier. Additionally, contact an HVAC professional to lend you a hand and reduce the risk of making mistakes.
How Regularly Should I Clean My Dehumidifier

We recommend cleaning it every few weeks depending on how frequently you use your dehumidifier. At the very least, you should ensure no mold, mildew, lint, or dust buildup in the dehumidifier bucket and the unit’s filter.
There are also parts of your dehumidifier that’ll need to be replaced every now and then, particularly the filter. However, this will depend on the make and model of your dehumidifier (same for cleaning as well), so you need to refer to the manufacturer’s manual to get the correct maintenance instructions.
Cleaning Essentials
Materials
- Distilled white vinegar
- Dish soap
Tools / Equipment
- Spray bottle
- Microfiber cloths
- Sponge
- Soft scrub brush
- Replacement filter (optional)
- Vacuum cleaner (optional)
Cleaning a Dehumidifier: Step-By-Step Guide
Step 1: Switch Off and Disassemble Your Dehumidifier
The first thing you need to do before you take apart your dehumidifier is to turn the power off and unplug your unit.
Next, take out the dehumidifier bucket and filter. The manufacturer’s manual will guide you on locating and removing these parts on the particular model you’re using.
Step 2: Clean the Dehumidifier Bucket
Take your dehumidifier bucket and drain the dirty water in a utility or kitchen sink. Then, pour some mild dish soap into the bucket and fill the bottom with a few cups of warm water.
Take your sponge and thoroughly clean the inside of the tank, then rinse out the soap.
The next thing you need to do is disinfect your tank and prevent mildew, bacteria, or mold from developing. Take a spray bottle, mix equal parts of water and distilled white vinegar, and coat the inside of your tank.
Finally, use a dry cloth to wipe down the dehumidifier bucket and carefully place your dry and clean reservoir back in your dehumidifier.
Pro tip: Let your vinegar solution sit for at least an hour before wiping it down if there are brown residues or discoloration in your dehumidifier bucket. This usually indicates the presence of mildew and mold, and you should allow the solution to kill it.
Step 3: Clean the Filter
A vacuum with a hose attachment is one of the best equipment for cleaning your dehumidifier filter; it’ll remove every speck of dust or lint collected in the filter.
Some filters will need you to go the extra mile for them to be clean. If so, use some mild soap and a soft scrub brush to remove debris from the filter while running it under water.
Rinse your filter and allow it to sit and dry completely before putting it back into your dehumidifier.
Pro tip: Try soaking your filter in a tub of warm, soapy water if you notice it’s very dirty, then gently scrub away the dirt. If this method fails to clean your filter, it’s probably time to go and buy a new one.
Step 4: Clean the Outside of Your Dehumidifier
Once you’ve adequately cleaned up the internal parts of your dehumidifier, the next thing is to focus on the outside of your unit.
Take a slightly damp cloth and wipe down your dehumidifier. Please do the same to your air grate (or vacuum it) to remove any lint buildup that may be present.
After you’ve assembled your dehumidifier and ensured that everything is back where it was, you can plug it into the wall unit and switch it on.
Pro tip: Never use water or soap to spay your dehumidifier directly; it poses a great risk to your unit’s electrical components.
How to Make a Dehumidifier Stay Clean Longer
- If you don’t use your dehumidifier frequently, meaning it stays turned off for long periods, unplug your unit and place it in storage once completely dry.
- To prevent bacteria, mildew, and mold from growing in your dehumidifier, empty the tank daily unless your unit drains passively.
- Replace your filter every few months to prevent bacteria, mildew, and mold buildup in your dehumidifier; this will depend on the make and model of your unit.
Commonly Asked Questions

Can the inside of a dehumidifier be cleaned?
Some cleaning tutorials normally recommend disassembling your dehumidifier to ensure everything from the coils inside to the exterior shell is clean, but this will likely void the product’s warranty.
Still, you can thoroughly clean the inside of your dehumidifier; you just need to refer to the manufacturer’s manual and seek an HVAC professional for assistance.
Should we clean dehumidifiers?
Dehumidifiers should always stay clean for them to perform optimally. Also, cleaning prevents the growth of mold and mildew in your unit, making your air free of contaminants.
What is this brown residue in my dehumidifier?
Bacteria, mildew, and mold are the likely causes of brown discoloration in your dehumidifier. The detailed guide above will help you disinfect your unit and prevent the buildup of these contaminants.
