I bet you have seen all those beautiful clothespin sunflower wreaths that are all over Pinterest and probably wanted to make one by yourself, right?
Well, my thoughts exactly!
Unfortunately, most of the projects were not catching my attention as they were either too simple or too boring. What I needed was something more vibrant that will stand out when displayed on my front door or used as a wall decoration in my home.
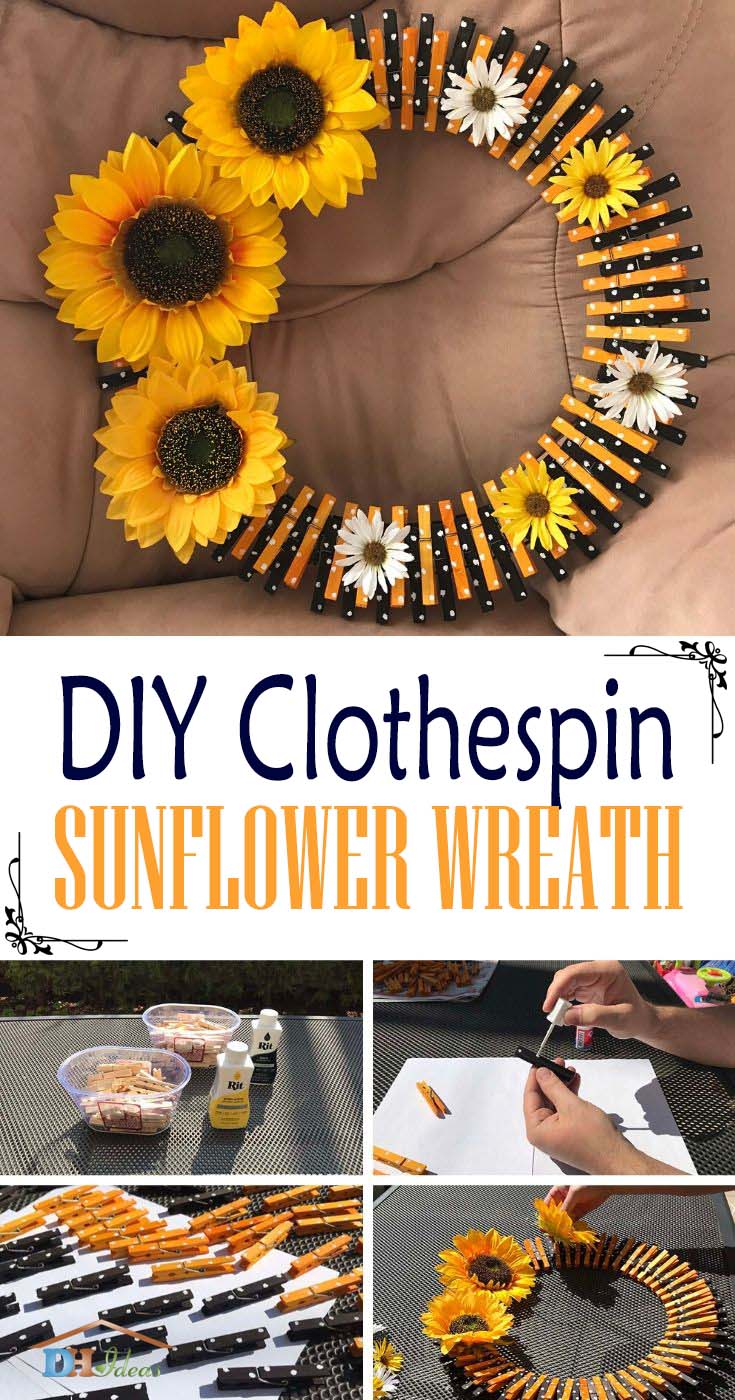
Don’t forget to PIN this image for quick access this DIY project.
Related: 48 Best DIY Clothespin Wreaths You Can Try Today
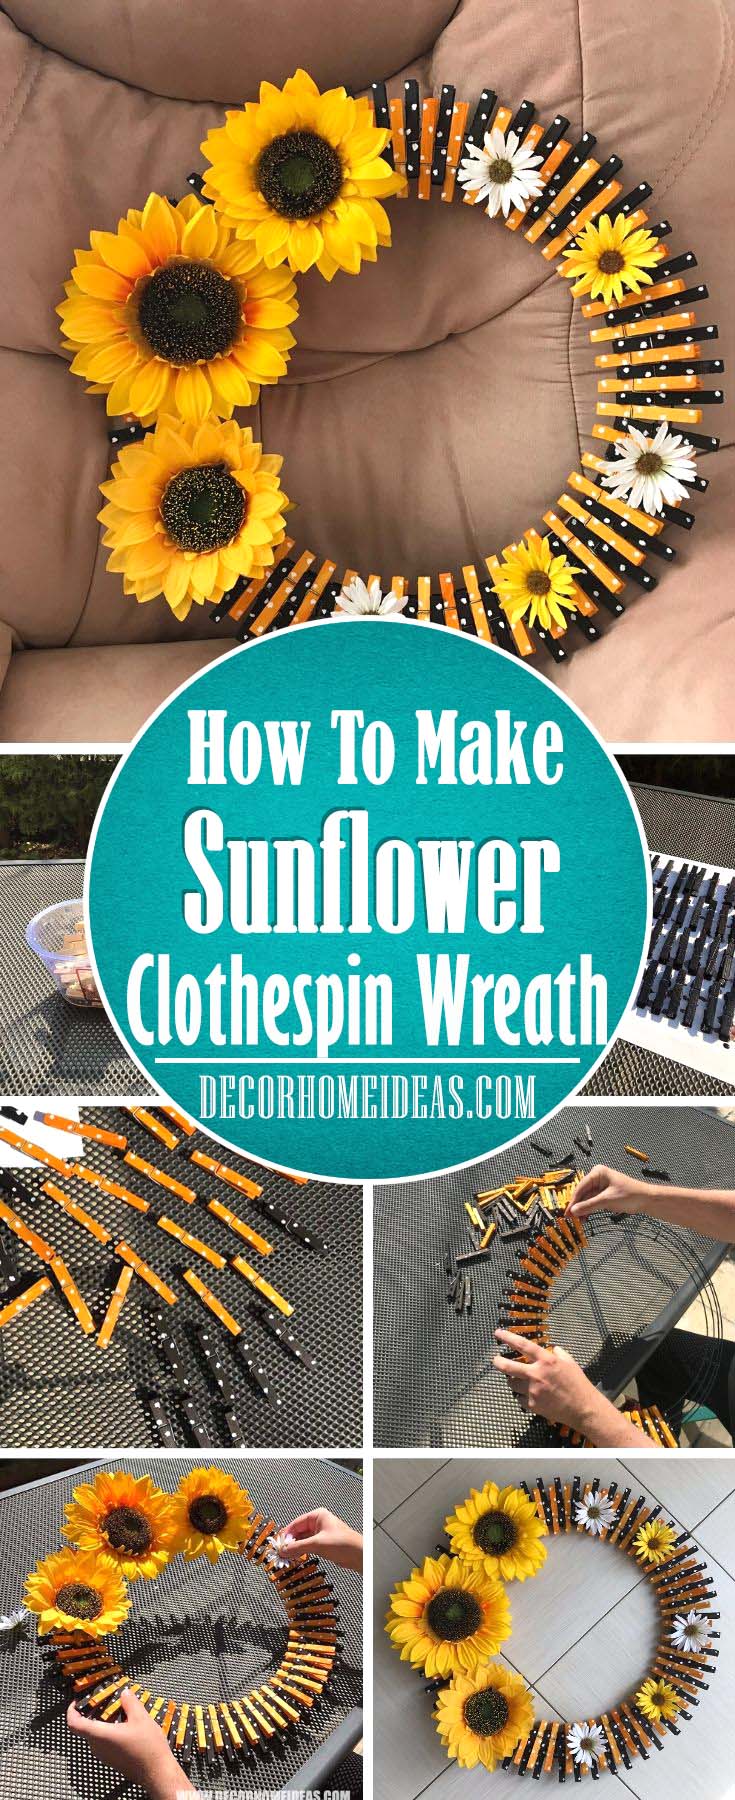
So after scrolling hundreds of times through all the designs, I finally stumbled on a sunflower clothespin design that I really loved, so I decided to try making it. Here is the one that I wanted to recreate.
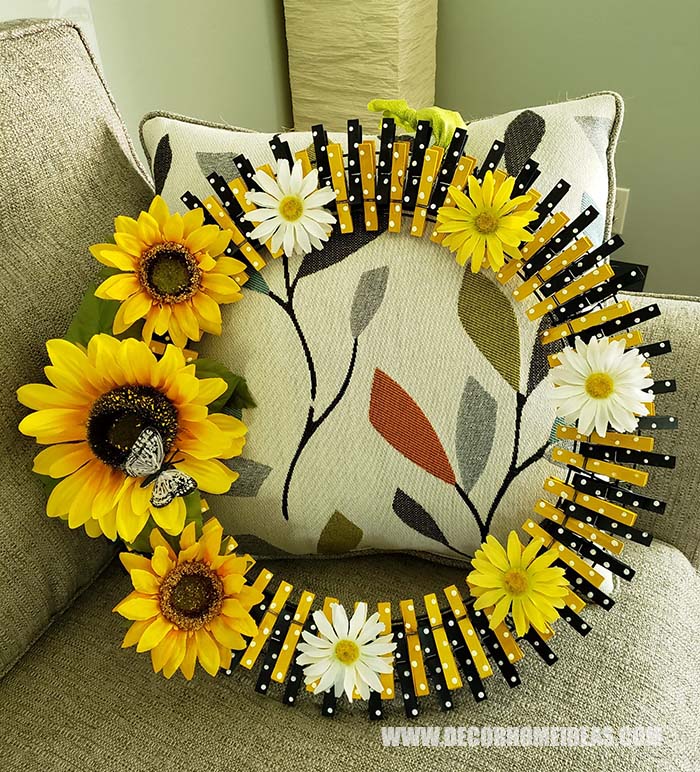
It looked like the perfect summer decoration for me! I could place it in my living room or at my porch – it will be a 100% eye-catcher and even though there were no detailed instructions, it was not so hard to find out what I need, so here is a list:
Supplies:
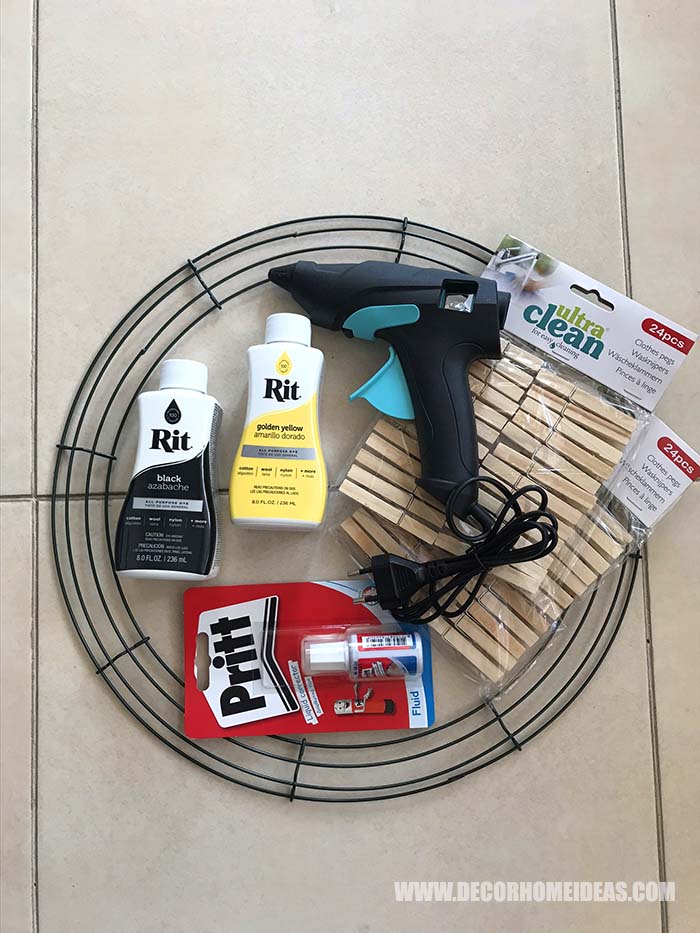
- Wooden Clothespins – Get it here
- Metal Wire Wreath Frame 16″ – Get one here
- Hot Glue Gun – optional – Get it here
- Rit Dye – I used Black Azabache and Golden Yellow Amarillo Dorado
- Word Correction Fluid – Get one here
- Faux Flowers – Sunflowers and Daisies
- Plastic Bowls – I used from ice-cream
Step by Step Instructions:
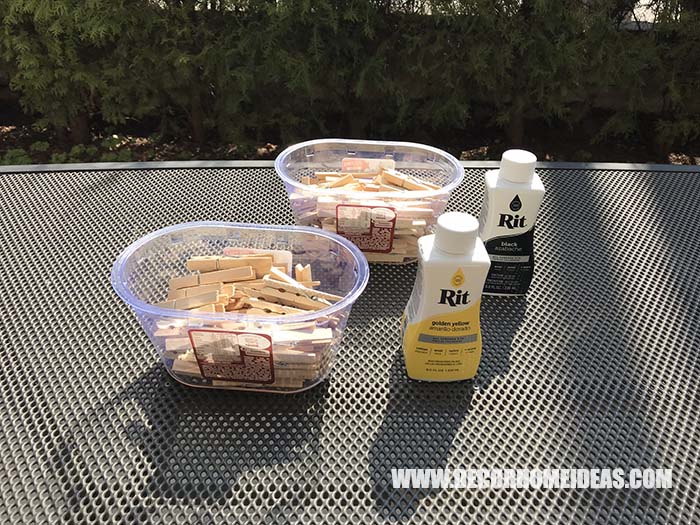
First, prepare the plastic containers and the clothespins. You have to count approximately how many clothespins you will need for each color. In my case, I needed 52 yellow and 52 black so I prepared 55 pcs. to dye in each color. My wreath wire frame was 16″ ( approx. 40 cm ) in diameter.
If you prefer watching a video here it is:
If you haven’t found a wire frame at the craft stores, you may visit the nearest Dollar Tree. Among all the various items sold, I found mine there.
Be sure that your containers are big enough to put all the clothespins so that the dye will cover them completely.
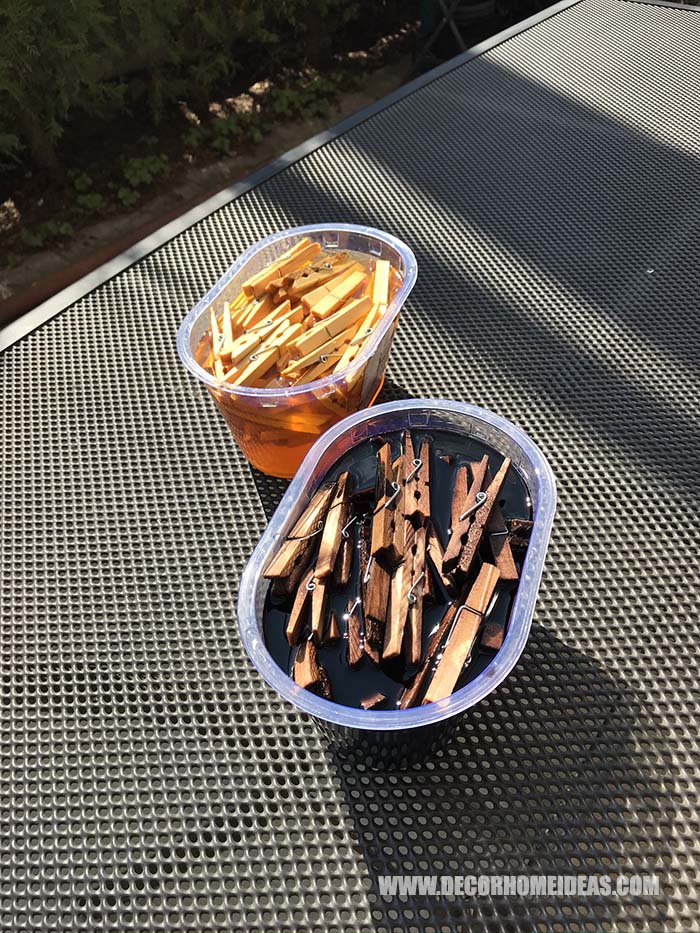
The dye I am going to use is suitable for various crafts – to dye clothes, fabric shoes, unfinished wood and wicker, paper, dried plants and many more materials.
It is almost universal which makes it a worthy craft supply investment, so I strongly recommend it. You can find it on Amazon, on the manufacturer’s website and at some craft stores.
Fill each of the containers with dye in a proportion which is specified in the detailed instructions printed on the bottles. Honestly, I was not measuring exactly as recommended, but as I thought was enough. For 1 liter of water, I used around 150-180 ml of dye.
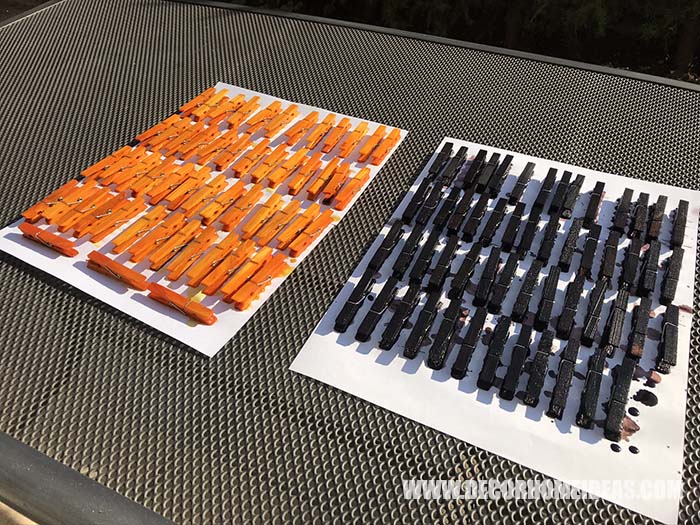
If you make a stronger solution, you will get a darker color, much more like orange instead of yellow. I really liked the darker color as it is closer to natural sunflowers.
You need to leave the clothespins in the containers for 24 hours so that the dye would penetrate into the wood and create a smooth and even coloring. Then, allow them to dry for a few hours on cardboard sheets or hung on your clothesline.
If you have other paints in hand, you may use them instead. Spray and acrylic paints will work well.
However, as it may need to lay a couple of layers to achieve a saturated and even color, you need to wait for each layer to completely dry and open and close the clothespins between coats.
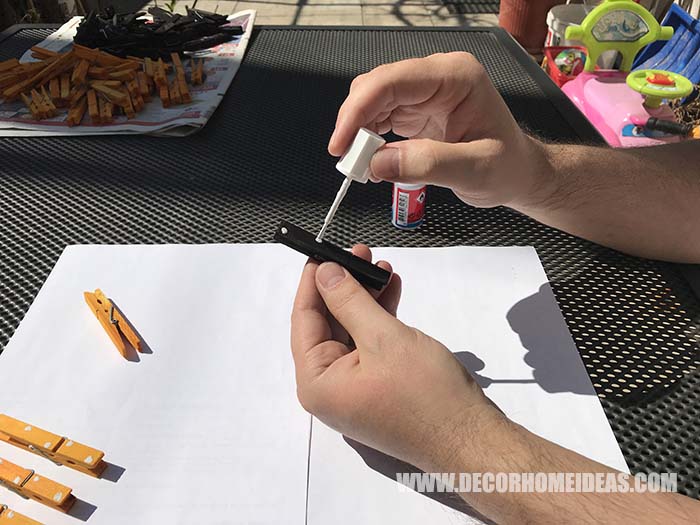
Once you have the dyed and dried clothespins, it’s time to start decorating them with small white dots. I used white correction fluid which is applied with a brush.
You may use white paint instead but the word corrector in this case is just the right supply as it provides bright white coloring, small pointed brush and dries in seconds.
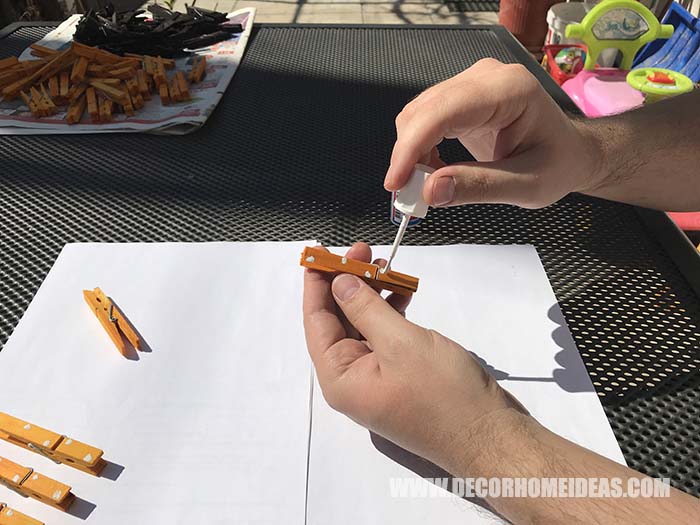
I’ve made these dots by hand and following a simple pattern which could be seen on the photos. Don’t worry if your dots are not perfect or mismatch the pattern. You’ve already dyed several more clothespins, right? So there is plenty of room for mistakes.
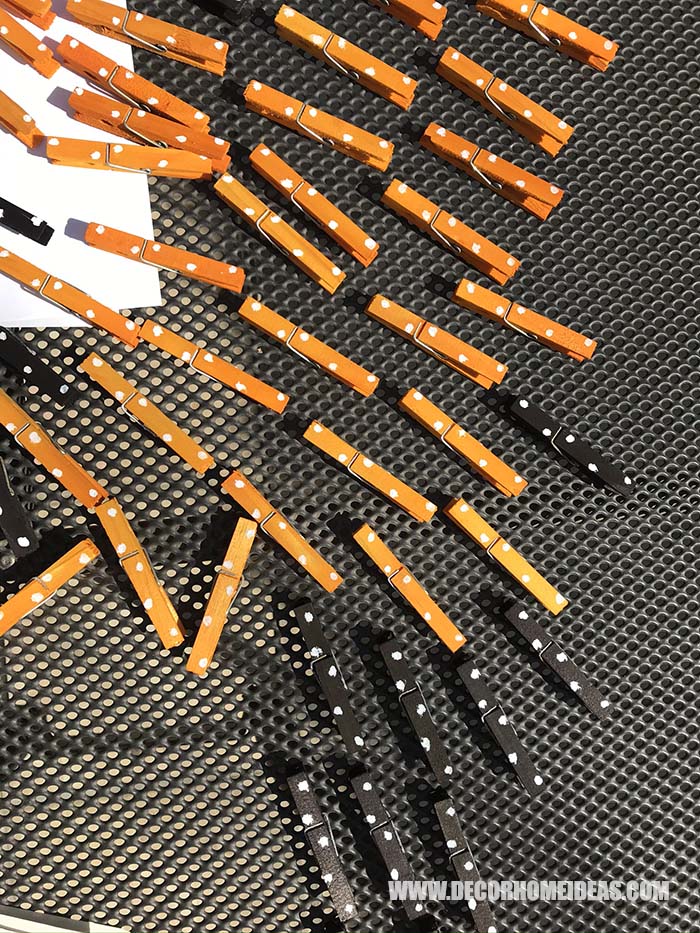
This is how the clothespins look like when all the polka dots are painted. Dots are applied only on the visible side of the clothespins so it will take you only a few minutes to dot all of them.
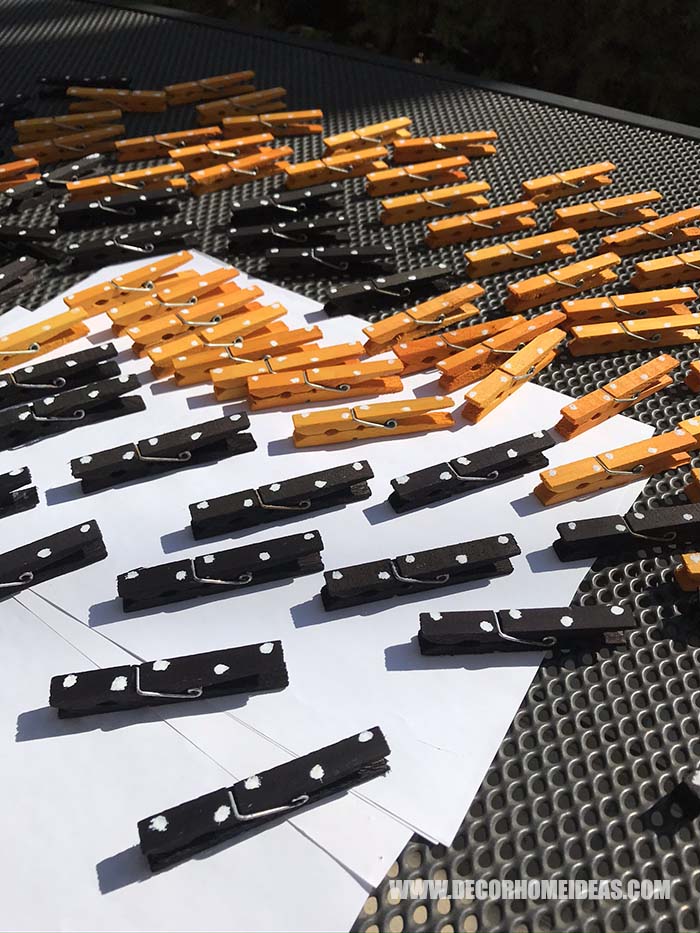
This is the hardest part of the project so once you’ve painted all the clothespins, it gets even easier. The arrangement of all parts of this splendid wreath will take you less than an hour.
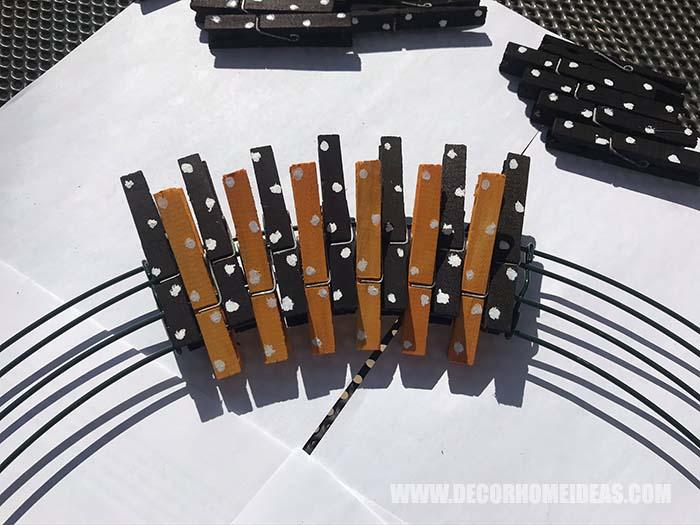
Start placing the clothespins on the wire frame- one yellow, one black and repeat it until all clothespins are placed and you have a perfect wreath. I placed them tightly to each other so that eventually the wire frame was not visible.
The material quantities I have given in the beginning are applicable for the size of wire frame I have used. If you choose another diameter, the clothespins number will increase. A variation of the number of clothespins will also occur depending on how tightly you attach the clothespins to each other.
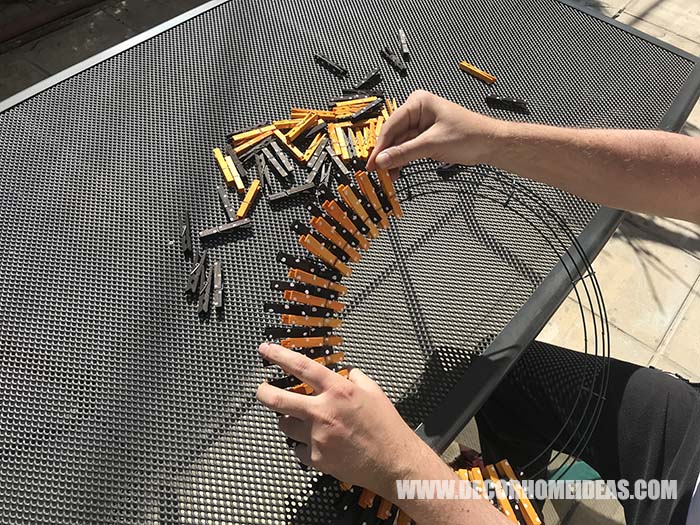
Yellow ones place on the inner circle and black ones – on the outer circle. Clothespins are long enough to pinch two wire circles. Thus you not only cover the wires but also ensure that pins are attached rigidly to the frame.
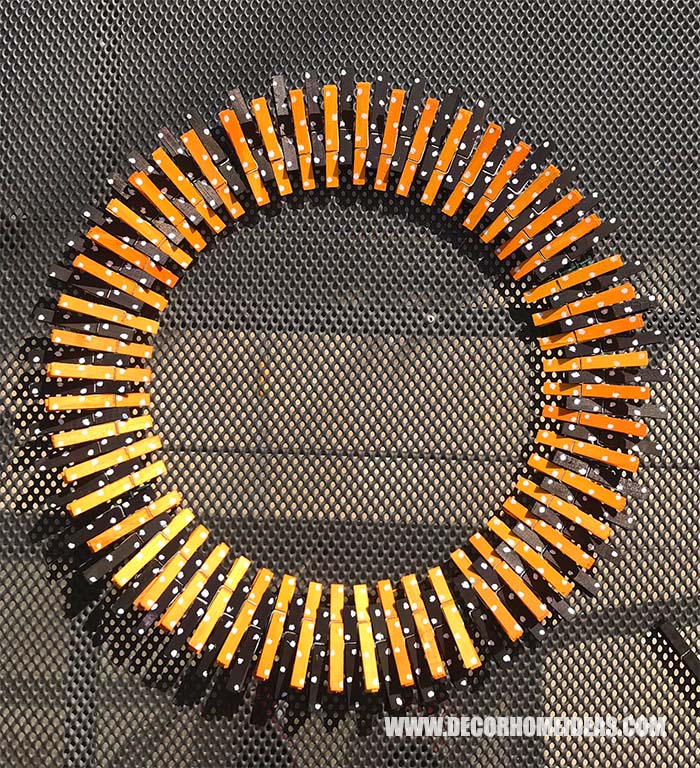
Here is how it looks when all the clothespins are placed evenly on the wire frame. It does look like a big sunflower, the colors and the arrangement are just right!
It is now the right time to decide whether you would place this wreath inside your home or outside.
One advise – if you decide to hang it somewhere where it may come in contact with rain – seal the clothespins with Polycrylic (water-based) or Polyeurthane (oil-based) coat. Our favorite Mod podge can also do a miracle protection.
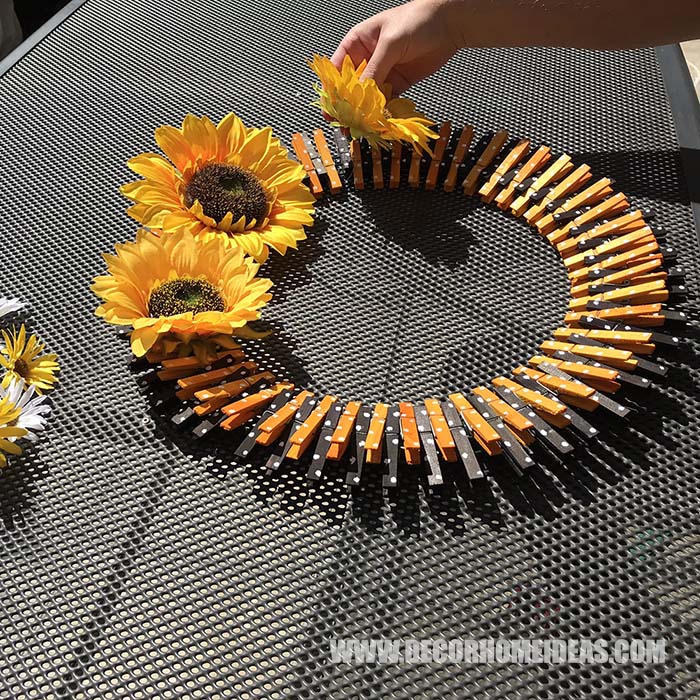
If your faux flowers are like mine they are easily attached to the wire just by stucking them between the clothespins.
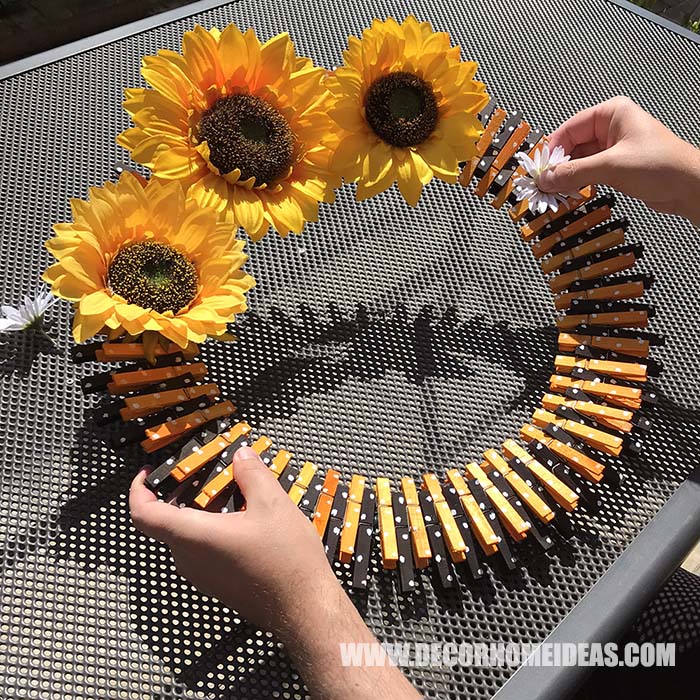
If you don’t have this as an option, you should hot glue them with the gun. Gluing them is the better option as fixing will take less time and will achieve a stronger bond with the pins.
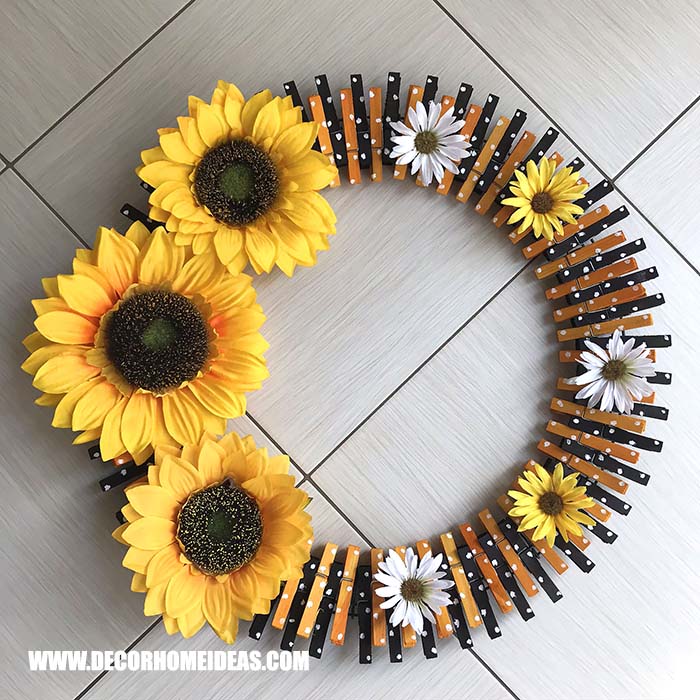
I have decided to decorate my wreath with one big sunflower and two smaller ones on each side of the bigger one. The daisies in yellow and white are equally spread over the left wreath circumference.
You may place the faux flowers in another sequence or you can concentrate them all at one of the wreath sides. The flower arrangement possibilities are many and all of them will turn up looking very well.
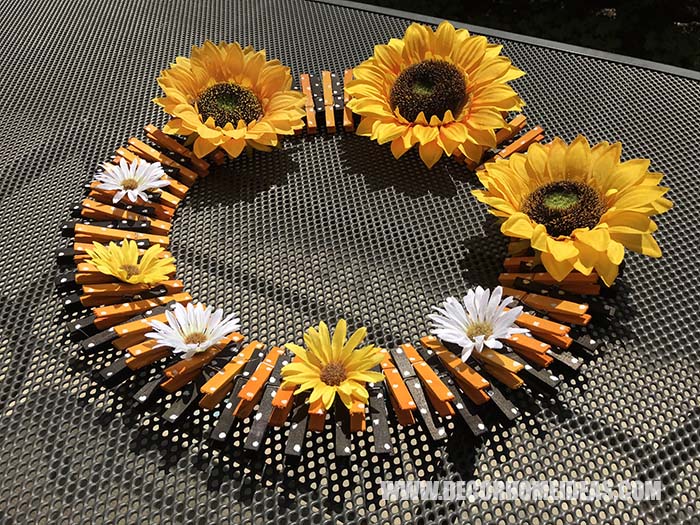
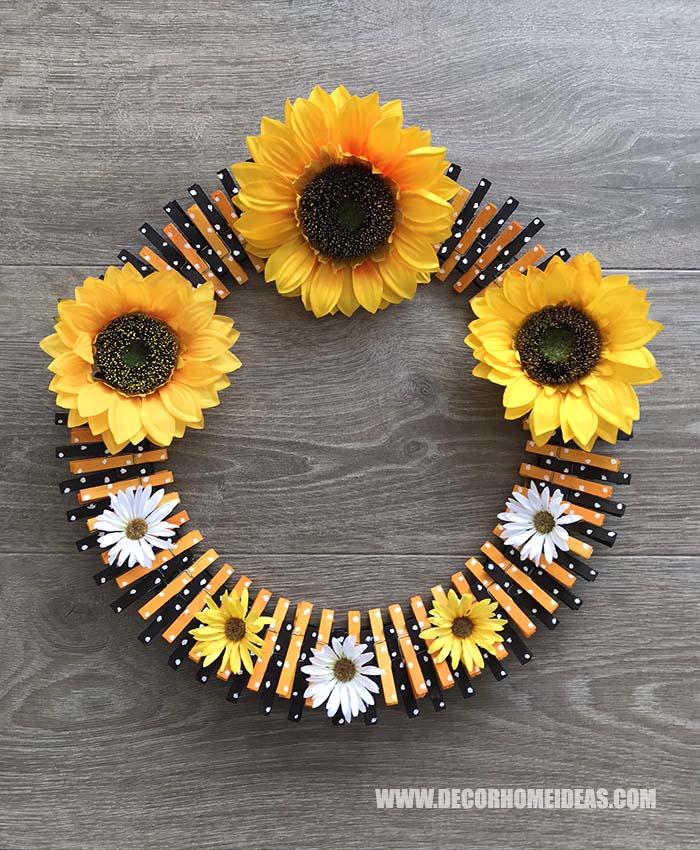
Here is the final result on my working table.
I am sure that you will find the best place for this sunny wreath. But in case you are limited in space and you consider placing it between the glass and wooden board of your front door or between two front doors, you must know that the “depth” of the wreath is approximately 1 1/2 inches.
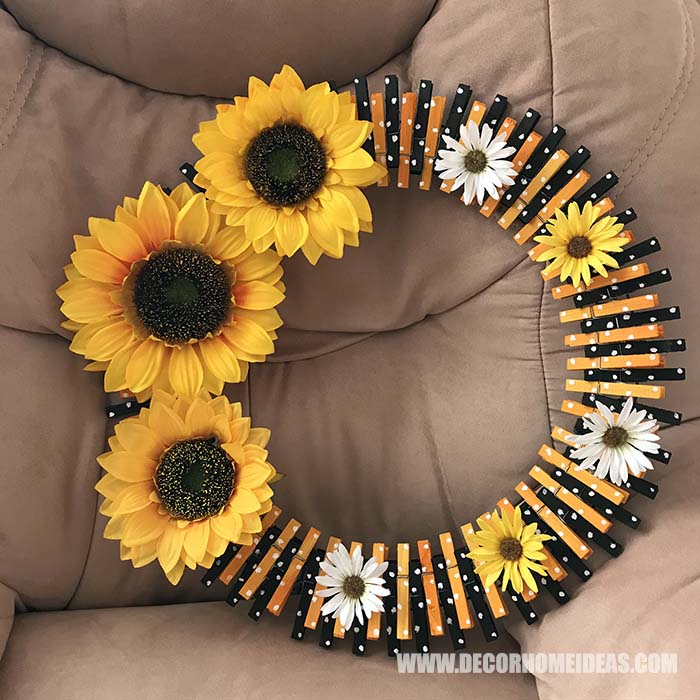
Another shot on the sofa and on the floor tiles. It goes well with pastel colors.
One more photo with wooden background. This wreath would match any interior and this makes it even more perfect!
What do you think? Do you like it?
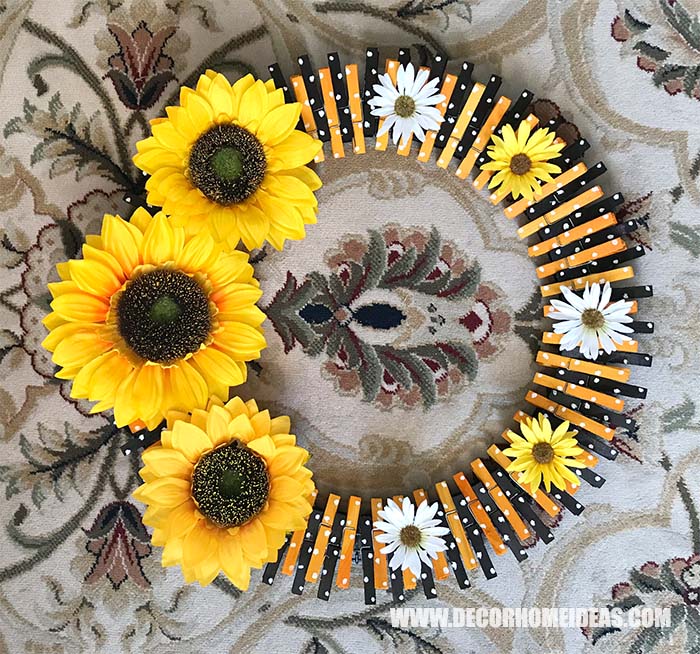
Enjoy!






This is BEAUTIFUL! I am OSD (Obsessive Sunflower Disorder), and recently fell in love with the Sunflower Yellow, blue, and orange color scheme, so I think I’ll try it out with those colors. I’ve got it on my Quarantine Crafts-To-Do list. I was thinking of spray painting the clothespins so that it could be hung outside on the front door and withstand the elements (I’m in San Diego so it’s not much of a problem with rain), but Dyeing them seems SOO much easier. Would you thing the dye would run everywhere if it did rain? Probably huh? Thanks for sharing!
Thanks, Amanda! Honestly, never thought of putting it outside, so not sure what will happen to the dye, but you can always seal it with some oil-based coat.
This is the first time that I have really found something that I felt like I could make without a problem. The Clothespin Wreath. The only thing that I did differently was that I put less flowers and added a black and white polka dot ribbon. I also sprayed the clothespins with clear glaze. It turned out beautiful. I did find that it was hard in some places to space the two colors due to the wire seemed to not stay consistent with around the circle and then I had to bend it with pliers to be able to extend them a little bit. Thanks for the great idea and looking forward to seeing more to catch my eyes.
That’s great, Maggie! You can send us a photo at [email protected] of your project 🙂
Thanks for the great tutorial and ideas! I have all the supplies at home already – certainly putting this one on my “make” list!
Hi Bette, I’m glad you liked it! Let me know when you finish it and send us a photo 🙂
Love your wreath. I am making one. The only thing is I wish you would have a better view of how the pins are attached. It is rather confusing.
Thanks, Joanne! You can watch the video and I’m sure you will have a better view. It’s not that hard. 🙂
Love it! Made one and will be hanging it in my She Shed crafting retreat.
Hey, Valerie, thanks for stopping by! It would be nice to see the result! Please, send us the photo when you are ready! Thanks!