Hello there! The month of December is officially here in all its glory. As the end of the year gets closer and closer and it’s time for some enthusiasm and decorations.
Curious how to create a vision of this year`s decorative elements?
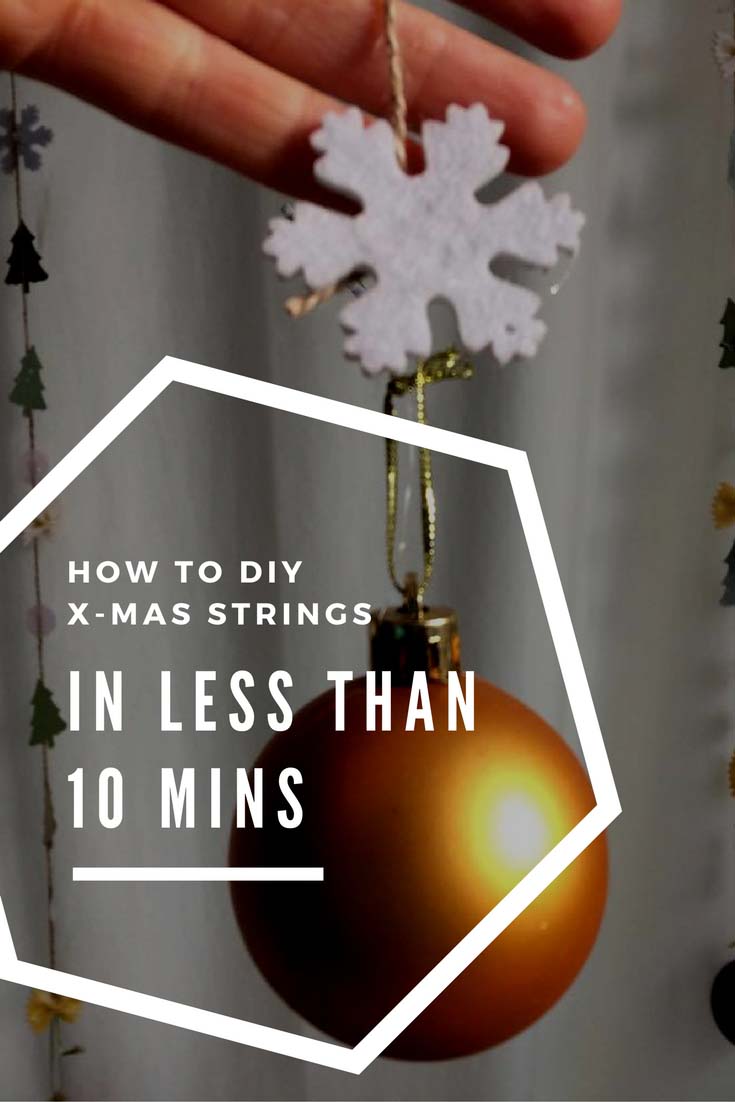
Well, we are about to dive into the making of a decoration that can be added as an accessory for your curtains, walls, chairs or table.
Each time you walk by the window to see if the snow is falling outside, you will get a glimpse at your personalized Do It Yourself project.
You will have the immense pleasure of having done it yourself.
Well, our assistance is indeed provided in the form of a quick video tutorial, but we take no credit for it! Let’s spark your desire!
Create these whimsical Christmas strings and note that if you lack some of the elements we are using here, you can easily replace them by using some of the content of your drawers.
You can buy the tiny ornaments ready or simply create them from cardboard or pasta. Touch them with paint and glitter and you are barely spending a dime.
The video tutorial is less than a minute long. It gives a pretty cool idea how to design it and do it yourself, but I will explain in detail what you can do in the text below.
Inventory and Prep
Steps from A to G will guide you towards the end goal to create decorative Christmas strings. You can hang them on the cornice or the chandelier.
You will also be able to do this Christmas decoration and repeat it easily. It’s now time to walk you through the inventory list of what can be used, although the possibilities are endless!
A. Cardboard Christmas trees. Simply draw the tree shape on the cardboard with a pencil.
Then cut with scissors and apply layers of silver and/or gold by using spray paint. Leave out to dry.
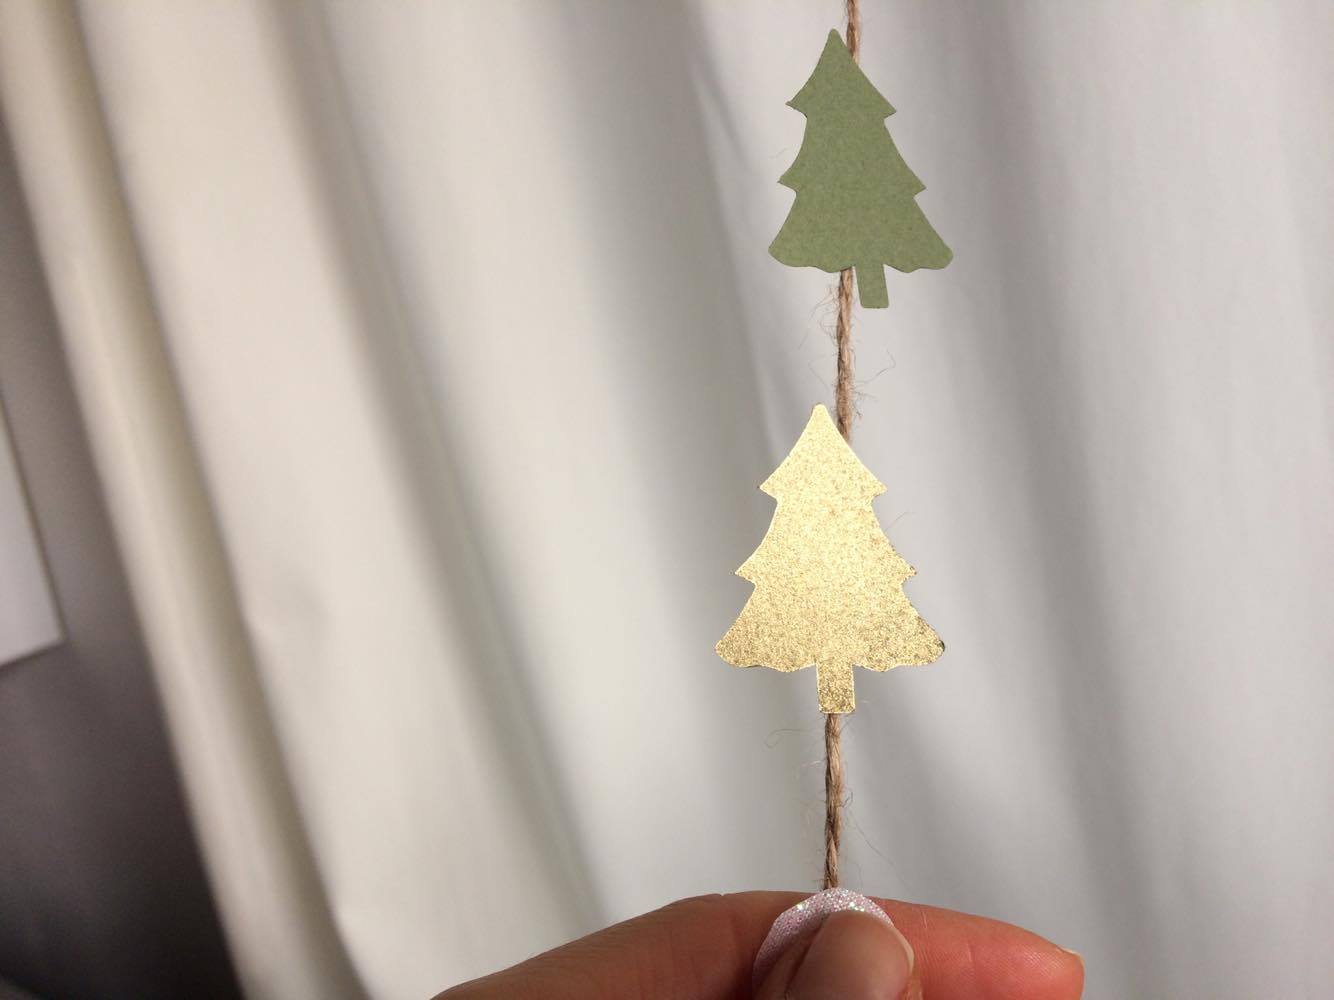
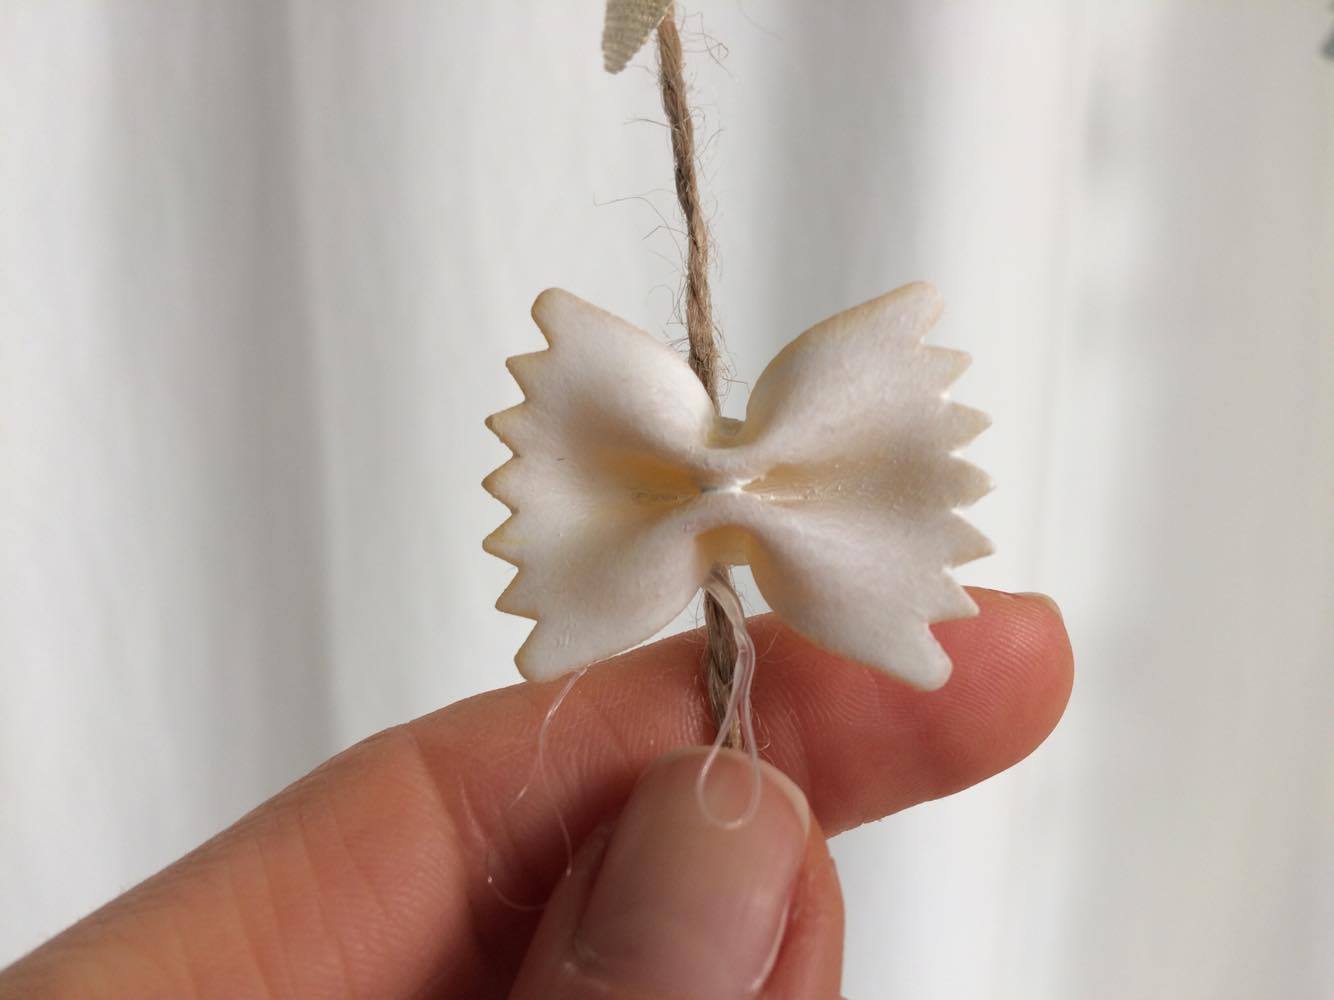
B. Farfalle is a type of Italian pasta you can easily find in the supermarket. You can also use a different type of pasta if you want.
On each tiny ribbon spray with paint like we did for the cardboard trees in A. Let them dry fully.
C. Small to medium Christmas baubles with shiny surfaces and circles and snowflakes to rotate.
Make them from gift wrapping paper in white, silver or sparkly colors.
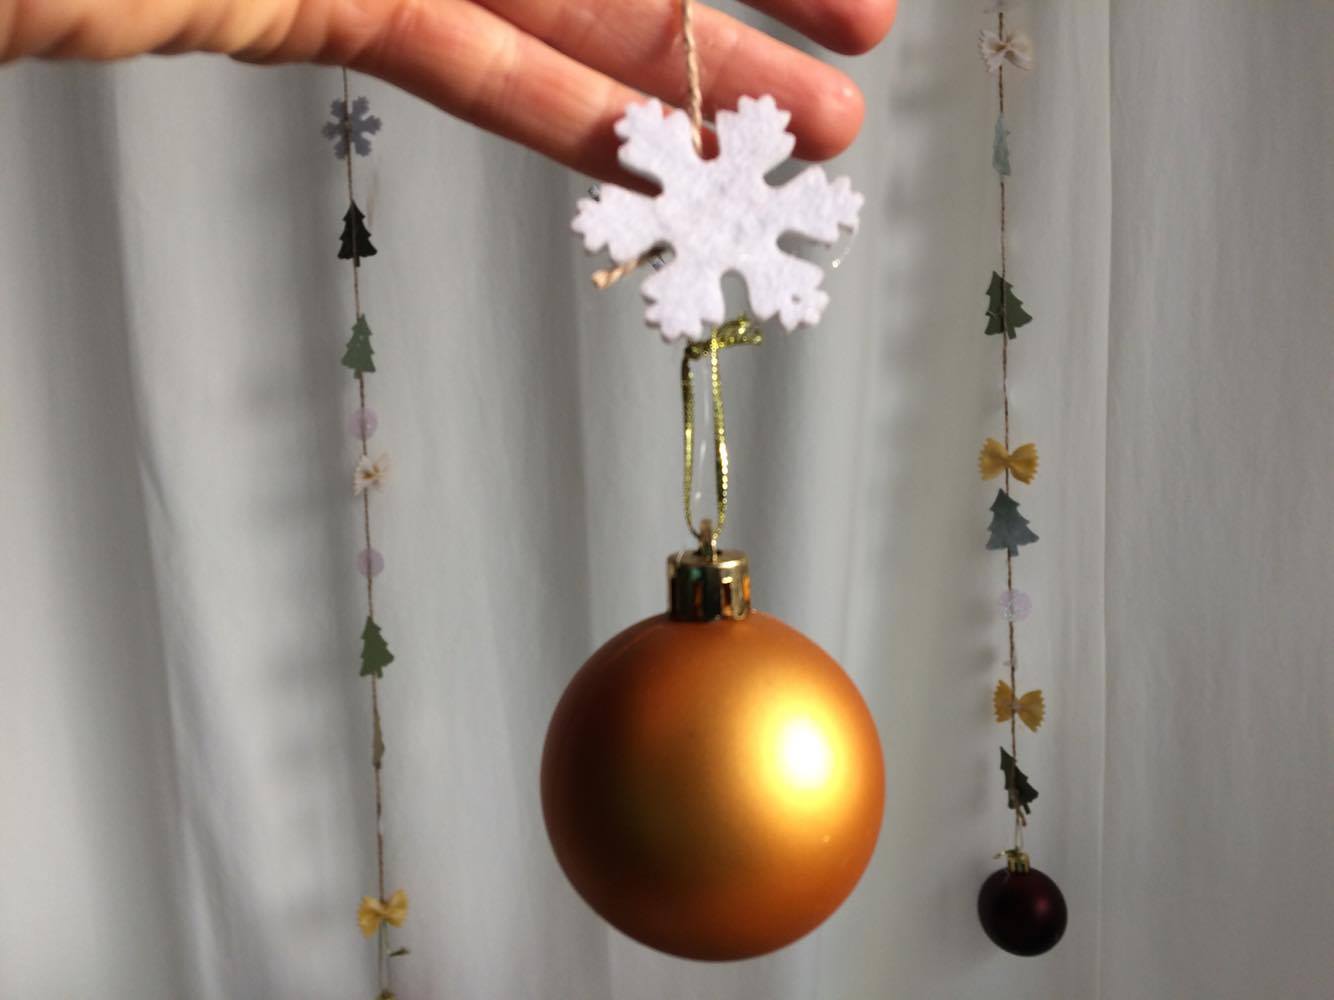
D. A fair amount of string or cord. It is up to you to decide the length of the strings, but a meter is a good start for each string.
E. We also need a glue gun or some sort of instant glue that can create a strong pack with our details.
F. A large table space and some paper on it will protect from glue drops.
G. A couple of hangers that can be found in the stores around this time of year.
The Final DIY Play…
After this perfect preparation, the rest is just having fun. First, take a bauble and put the cord through its ear, then tie well the end of the string.
This will be the bottom end of the Christmas DIY string. Put a drop of glue to secure.
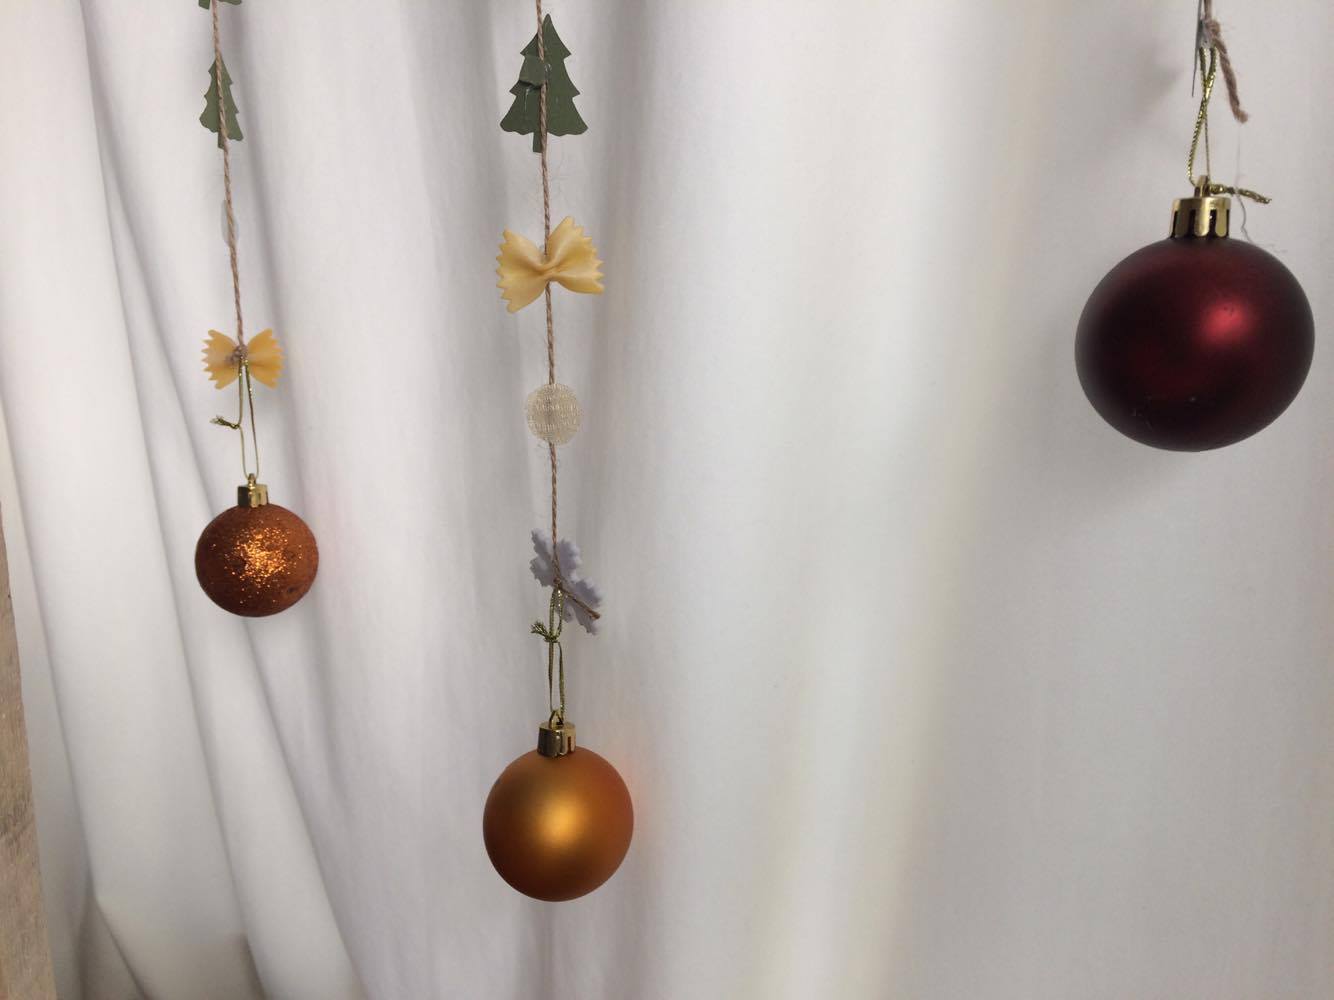
Then take each item that has dried from the paint and put a drop of glue on the spots where you want to attach it. Hold for a few seconds and apply some pressure to make sure it sticks.
Rotate the different items one by one
Additional Ideas & Item Replacements
We decided to use farfalle because it looks like small ribbons and it brings extra cuteness, but you can use any type of pasta you want. Be the Picasso of the brush and apply some silver or gold paint if you are not a fan of spray paint or simply don’t have any around.
If you don’t have ornament hangers around, you can easily twist big paperclips and use them for hanging. The effectiveness is the same, it can be better even if the paperclips are colorful.
Last but not least, take a picture of your creation and do it as many times as you like!
May you have a very merry Christmas this year!

