Do you want to know how to DIY dog bed from an old piece of furniture?
Today we feature our friend Jack from Jack’s Flipping Furniture who is very talented when it comes to making dog beds out of old furniture – TV stands, dressers, hutches…you name it.
If you need a custom design or any dog bed design, check him out to see if you can work something out.
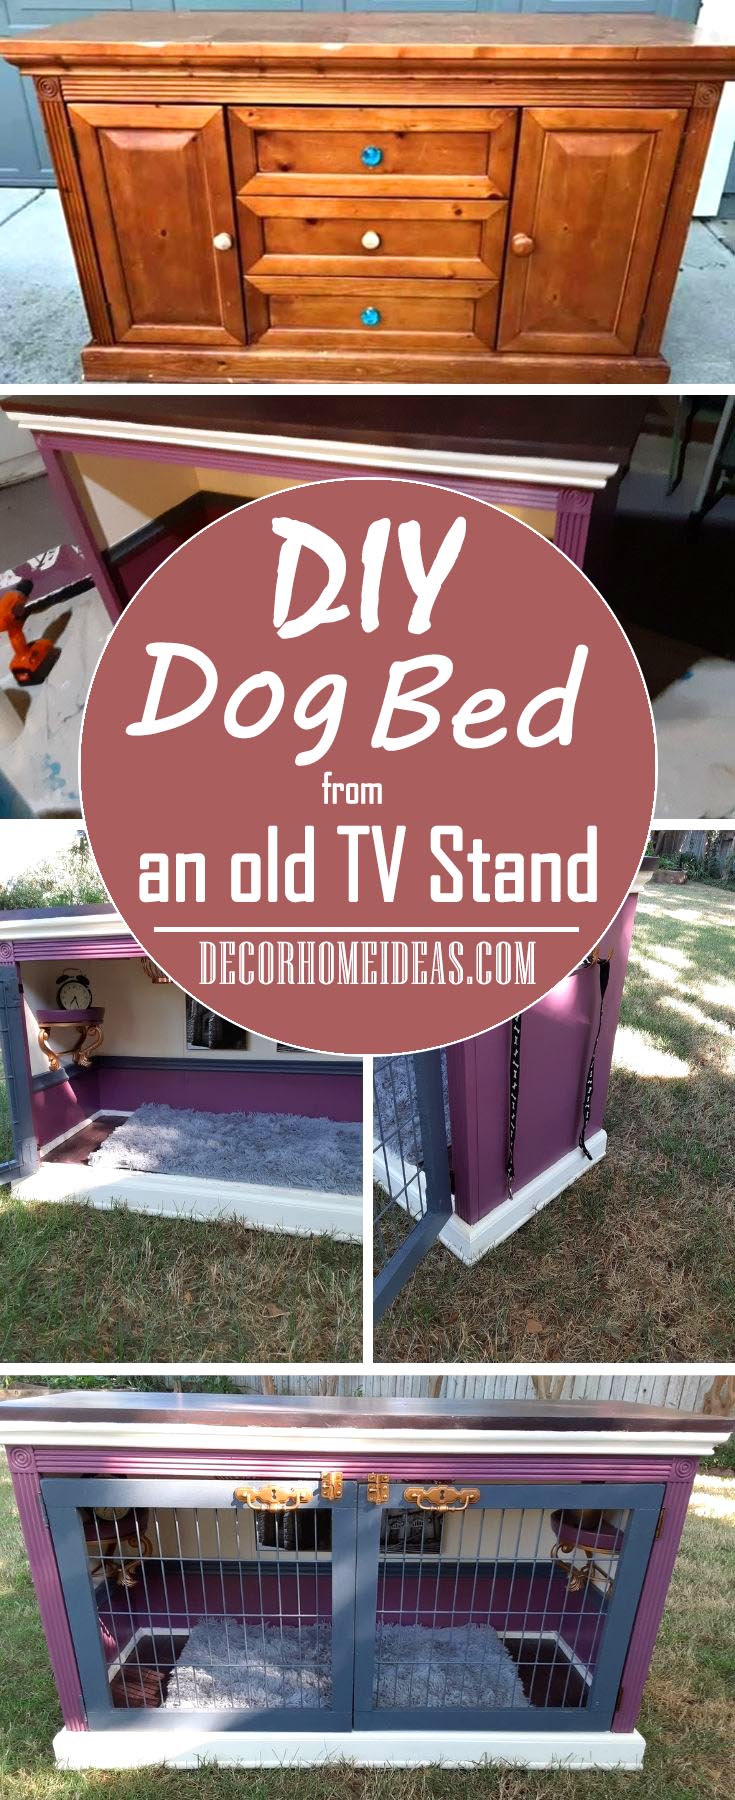
As you will see in this article, his creations are what I call – a masterpiece.
The Story Behind These Adorable Dog Beds
But before we see these awesome designs, here is Jack’s story:
I guess you could say I’ve always been a pretty creative, artistic person interested in building.
My mom got me a Dremel tool for my 10th birthday and I remember it being one of the happiest days of my life and when I was 11 I helped my dad build a house from the foundation up.
When I was little it was drawing, when I got to high school it was ceramics and then after high school I managed a very busy tie-dye clothing company my family owned where I also learned how to blow glass.
I used to put a tick on a map every time I sold one of my tie dyes and after 7 years they managed to make their way all around the world.
Refinishing, Repurposing and upcycling furniture are all fairly new to me.
I’ve been doing it for about two years and actively trying to pursue it as a business for about a year.
I came up with the name Jack’s Flipping Furniture.
At first I was unsure about the name but it kinda grew on me after some time.
It has been quite learning process. With a lot of trial and error, mistakes, frustration mixed with joy, passion, a feeling of accomplishment and endless YouTube video tutorials.
About 8 months ago my best friend Austin sent me a photo she had found online of a dog bed made from and old wooden TV console.
She had to have one for her little French Bulldog Noble aka Moose.
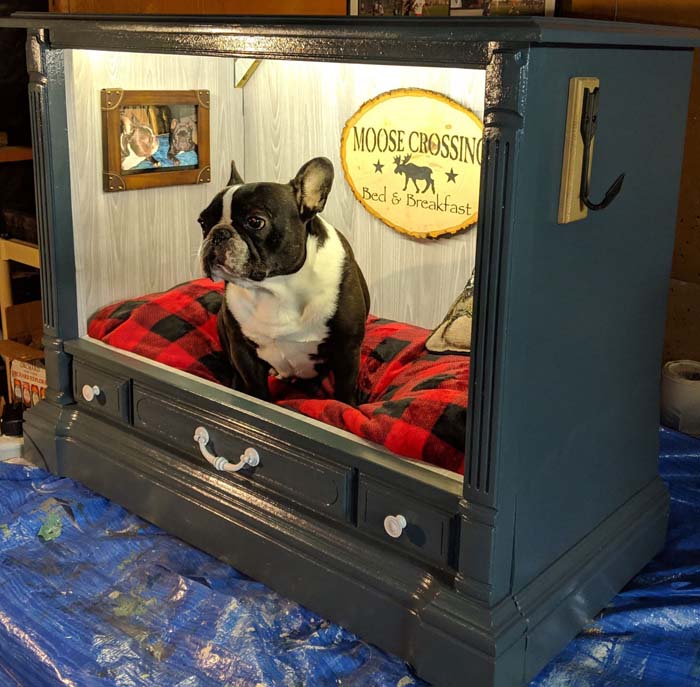
I set out to find just the right TV console and soon after found a lady that had two for sale in Clear Lake California which is about a two hour drive from where I currently reside in Sacramento.
Of course my bestie was worth the 4 hour drive.
Taking apart my first TV was quite an overwhelming experience.
There are so many screws, nuts and bolts that attach things in the interior and at the time I had yet to purchase any power tools of my own.
For Nobles doggy condo we went with a Moose Lodge/Hunting cabin theme.
My first two doggy condos got quite a bit of attention through my Facebook business page as well at a few different furniture painting and DIY groups I’m apart of.
Soon after my first two I started getting quite a few custom orders and have been consistently busy ever since.
About 3 months ago I saw an opportunity to help my business grow as well as learn more about paint.
I quit my job at one of the busiest catering companies in Sacramento to work for PPG Paint company .
The training is somewhat intense but it was nice to become somewhat of a paint expert while striving to become an expert painter. It was also nice to learn things about paint I never knew existed.
How To DIY a Dog Bed
Each piece I make there are different challenges along the way whether its hunting down an antique TV console or finding a larger piece of furniture like a dresser or a hutch for larger breeds of dogs.
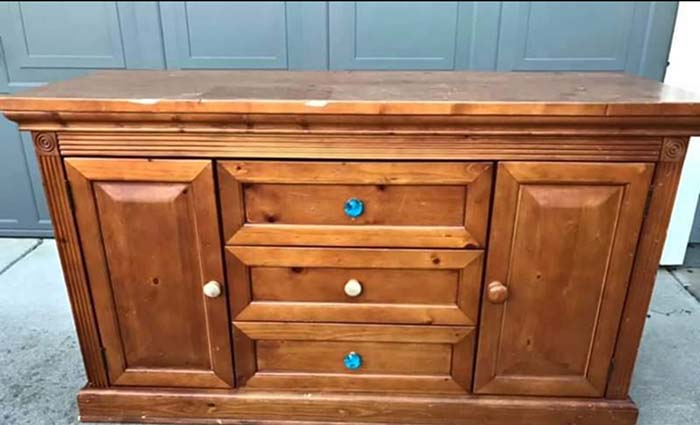
Dismantling
With TVs I obviously have to start by removing all the electrical equipment.
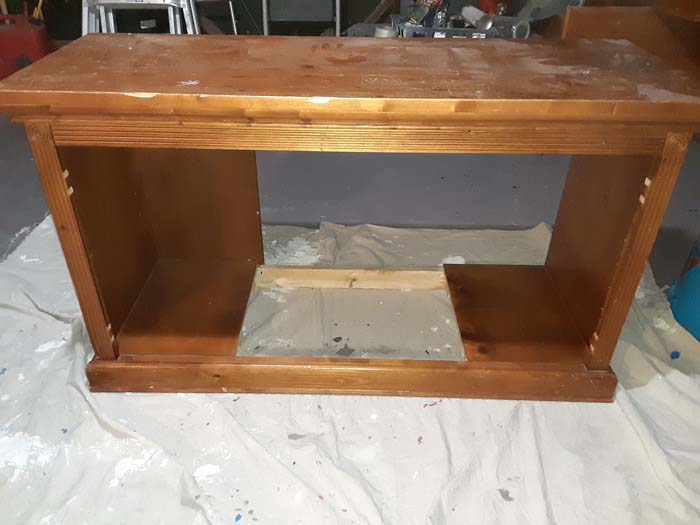
If it’s a dresser or something like a microwave stand start by removing all the hardware.
Then taking out any unnecessary shelving or dresser drawers setting them aside or dismantling so I can use for other projects.
Sanding & Priming
Then I lightly sand the piece, clean it with tack cloth and prime it.
Painting
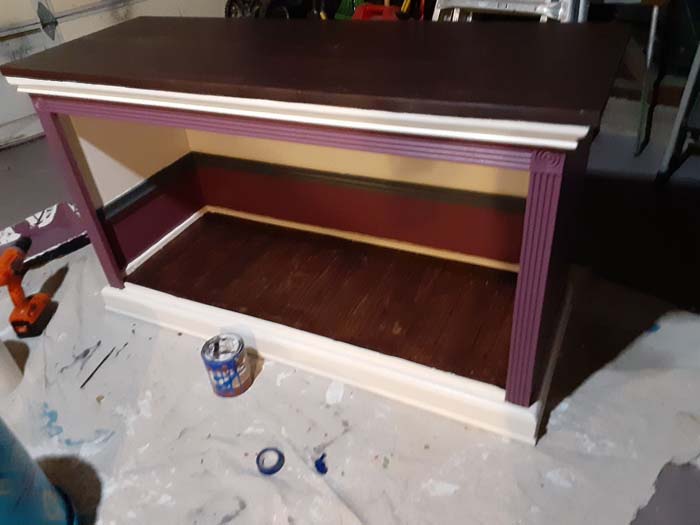
Each piece I paint I start with a vision and somewhat of a theme.
That vision is usually inspired by a color I saw at work or a decorative item I want to workaround That color will either be my base color or the trim.
I apply the base color then tape off the piece to apply the trim color.
Decorating
When I’m all done painting I’m down to my favorite part the interior décor sticking with my color or theme I try to be as thrifty as I can while shopping.
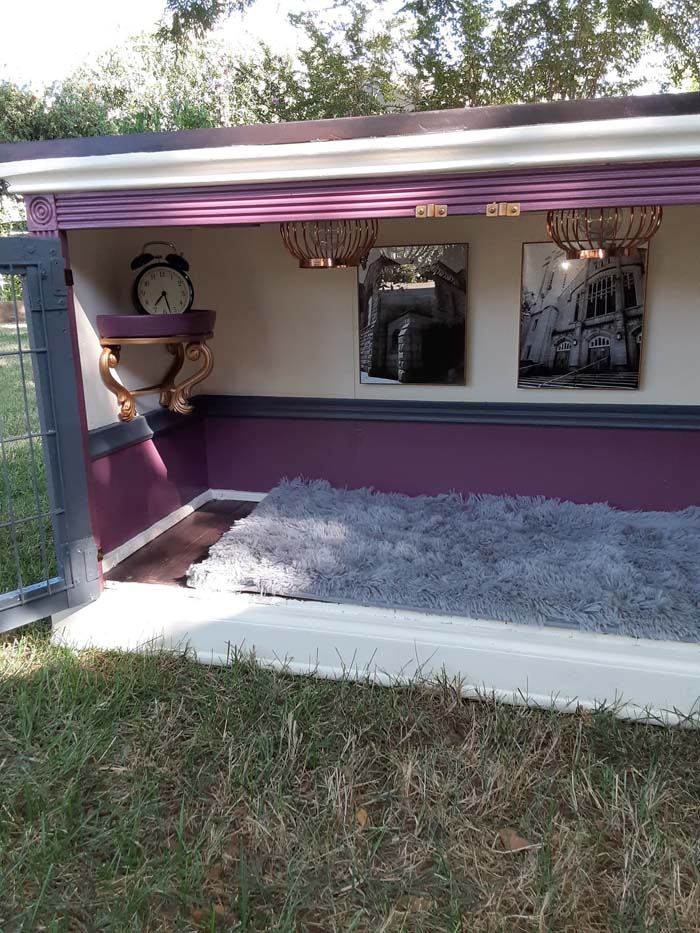
Usually only adding decorations that can be easily glued down.
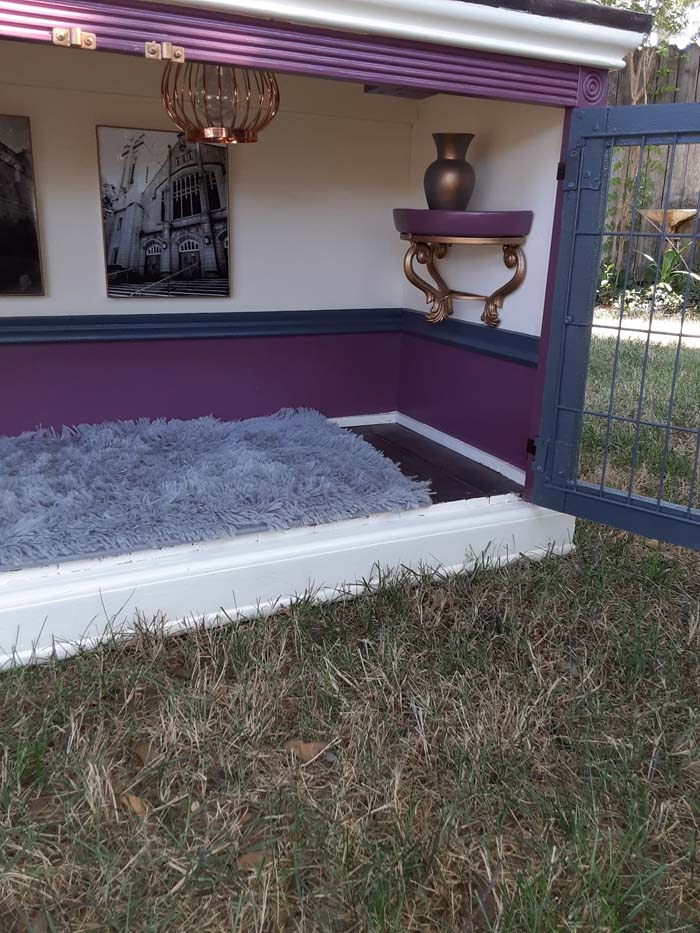
I then decide if I want to paint the walls, use wallpaper or stained pallet boards wood siding.
Final Touch
For the flooring I use either hard wood, carpet or tile.
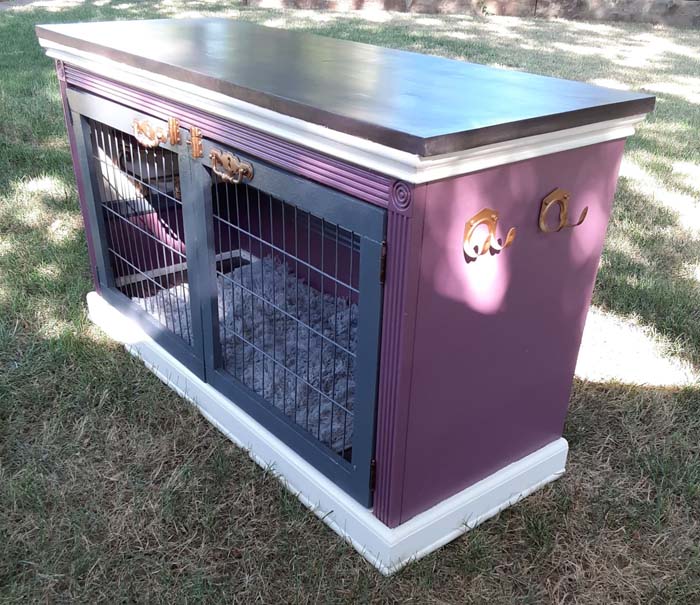
The carpet I use is usually stain resistant and pet proof.
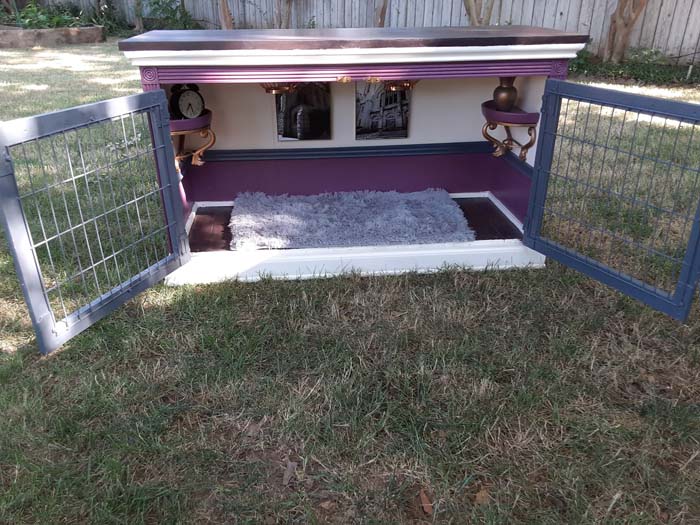
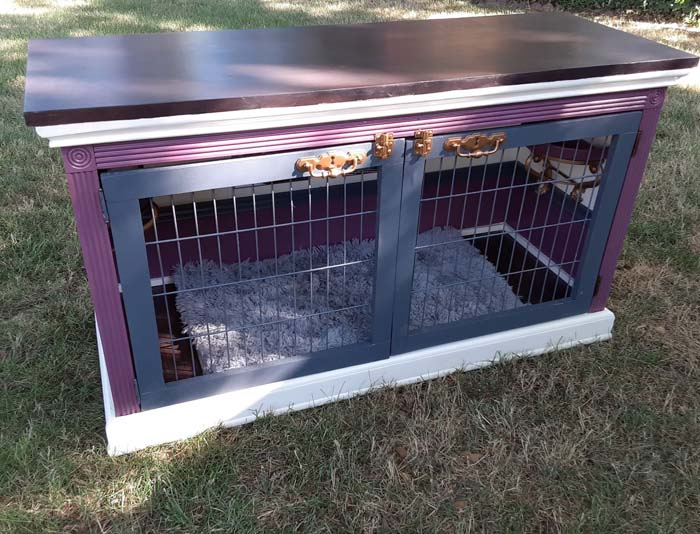
After painting the décor to match and installing I will add the lighting fixtures then apply a clear coat or the areas that need it.
What to consider?
My main goal is to try and make each one very unique and different from the one before.
As well as work on my craftsmanship while exploring my creativity.
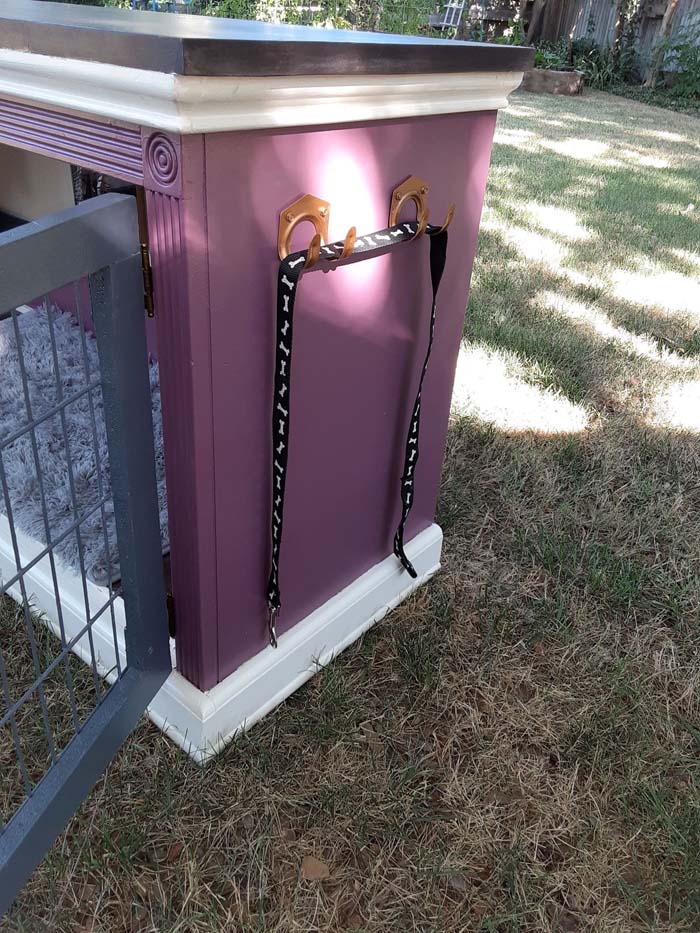
I’m very happy with all the positive feedback and support I have received from everyone so far.
It’s nice hearing that your creativity has inspired someone start a new project or helped them decide a color combination they have been stumped on or even just make someone smile.
If I had one piece of advice for beginning DIY’ers it would be: “Don’t be afraid to ask questions about the basics”.
Whether it’s what type of brush to use with different stains, paints, or clear coats. Or the proper way to sand. You will save yourself a lot of time energy and money by asking these questions at the beginning and when in doubt always read the directions.
One recourse I find very helpful is a private group on Facebook called Thrifty Chicks Upcycling Ideas.
It’s a wonderful group of people that are very supportive and work together to help people accomplish different projects.
A place free of judgment where there is no such thing as a stupid question.
Remember everyone is creative and artistic in their own way. All you have to do is try .
Tools and Supplies Needed
- Cordless Drill
- Wood glue
- Wood screws
- Primer
- Paint
- Tack rags
- Power sander
- Sand paper 80 grit ,150 grit, 220 grit
- Paint brushes: 1 ½ angle sash, 3 inch varnish brush, 4 inch Flat sash
- Circular Saw
- 4 inch foam roller
- 4 inch poly weave roller
- Paint tray
- Painters tape
- Wall paper
- Pallet boards
- Wood stain
- Drop cloth
- Polyurethane clear coat
- Verlco strips
- Cute décor
- Lighting fixtures
More DIY Dog Bed Designs
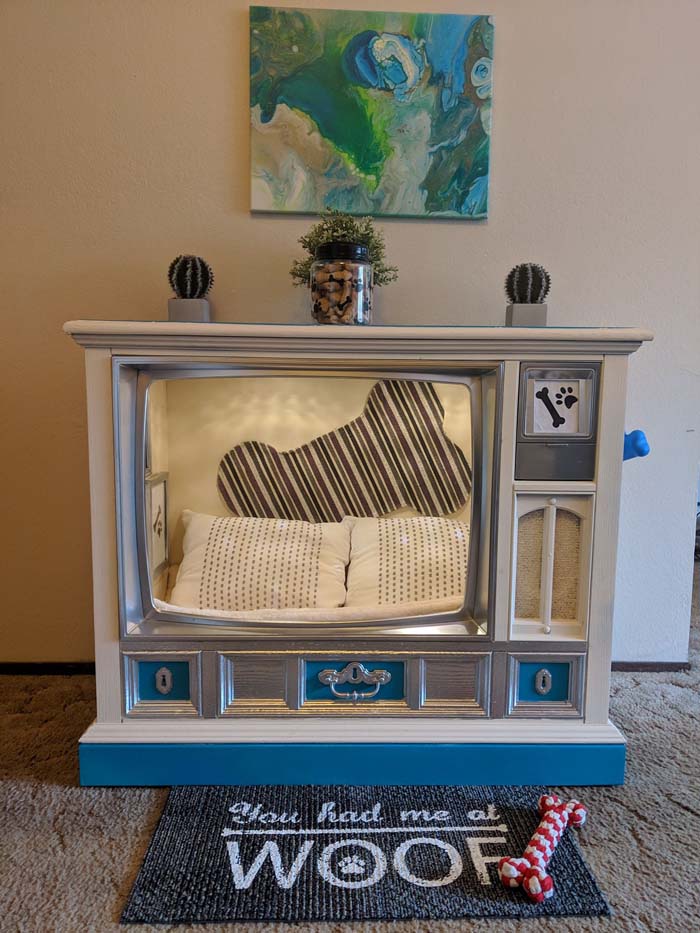
And this pic was my very first dog house I painted right before Nobles I didn’t really have a theme but my favorite part is the framed fire hydrant.
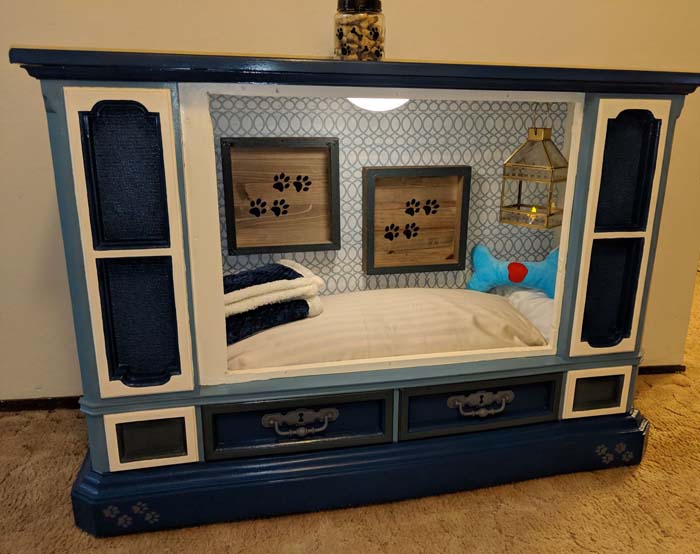
This piece was a custom order for the Oars Senior Living Community. It is in the community room where people can bring there pets and be social
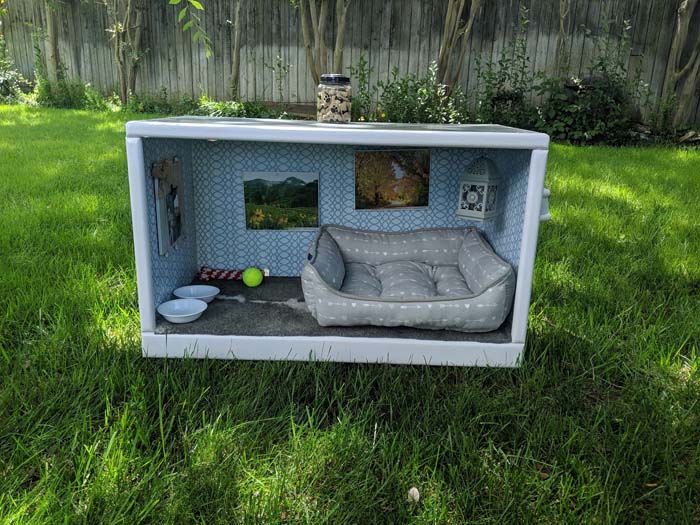
Another custom made DIY dog bed design.
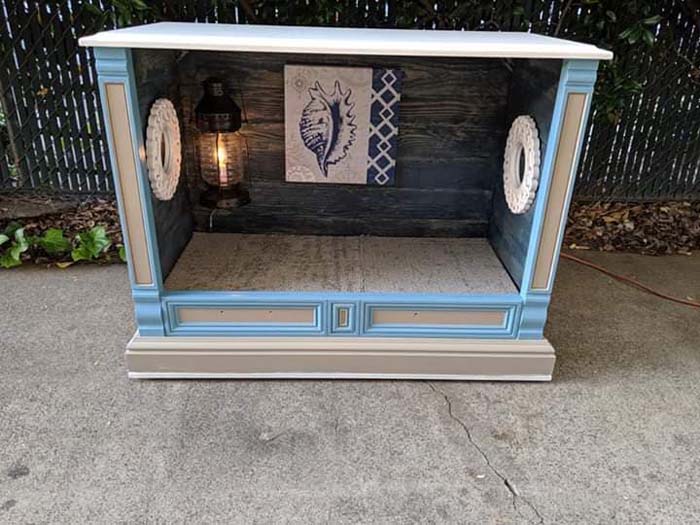
I went for a comfortable beach house theme with this piece and worked around the picture of the sea shell in the middle.
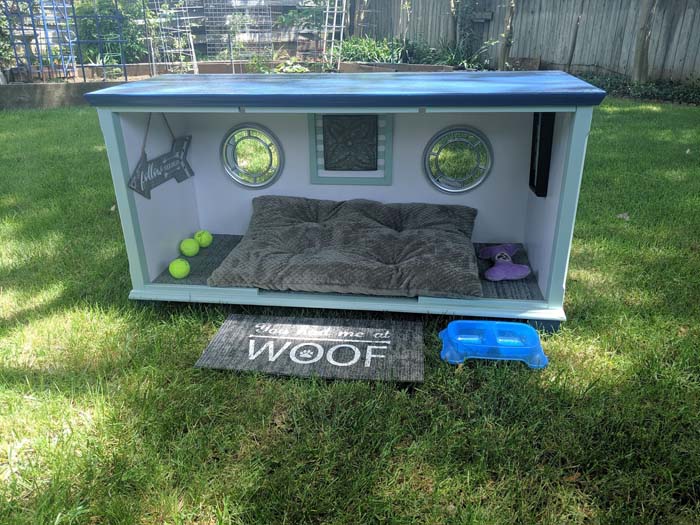
This piece is one I donated for a the Aids Lifecycle Ride fundraiser and auction they raised $450.
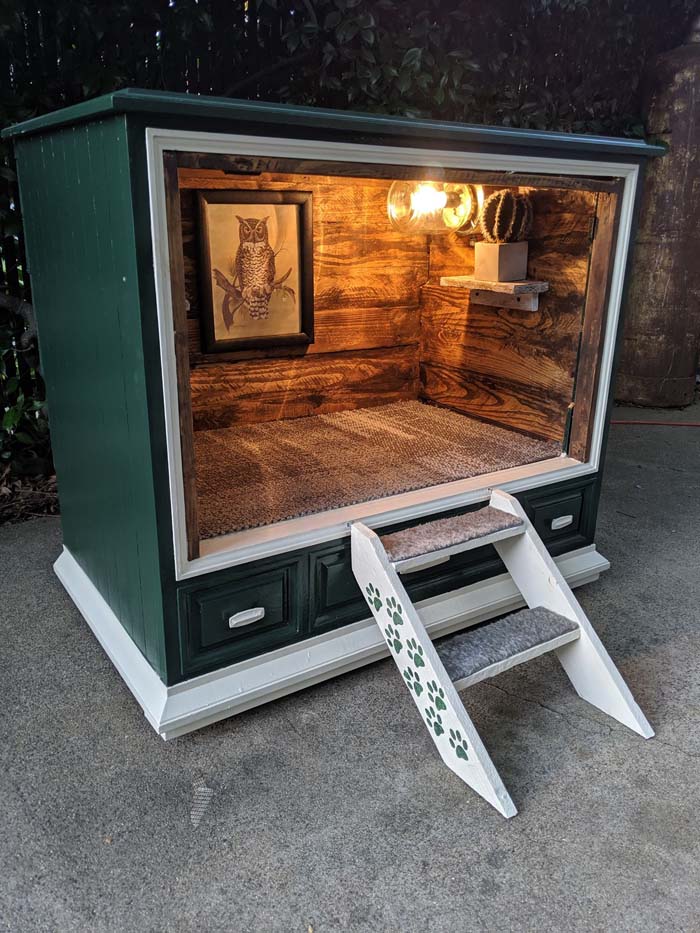
This one I wanted a country rustic feel. The hunter green was my inspiration and base color I worked around
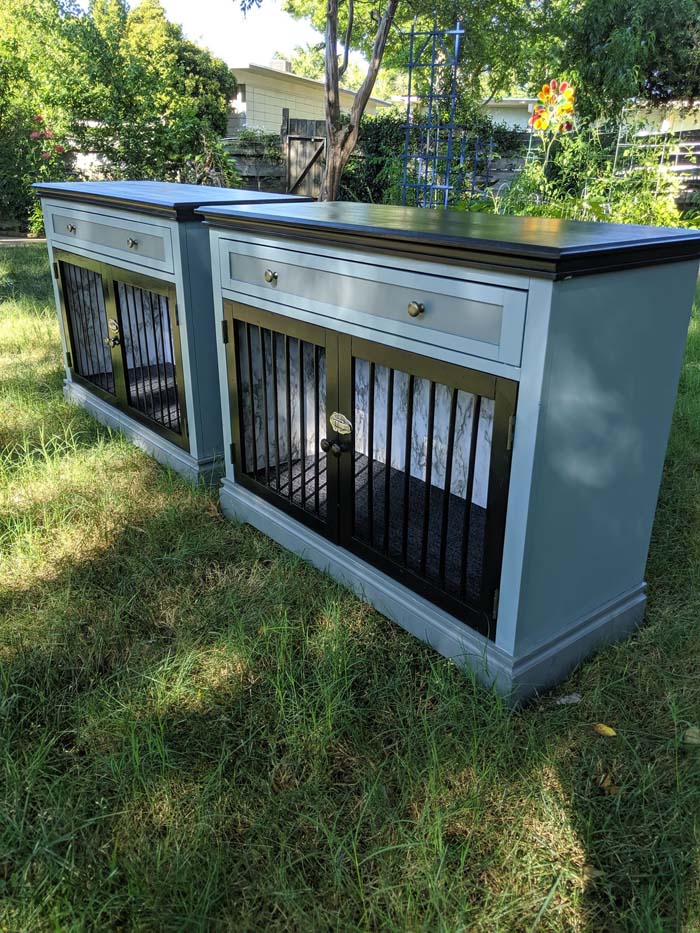
This was a custom order for two dogs and the client eventually added a closet for there wardrobe and I started with this hutch top.
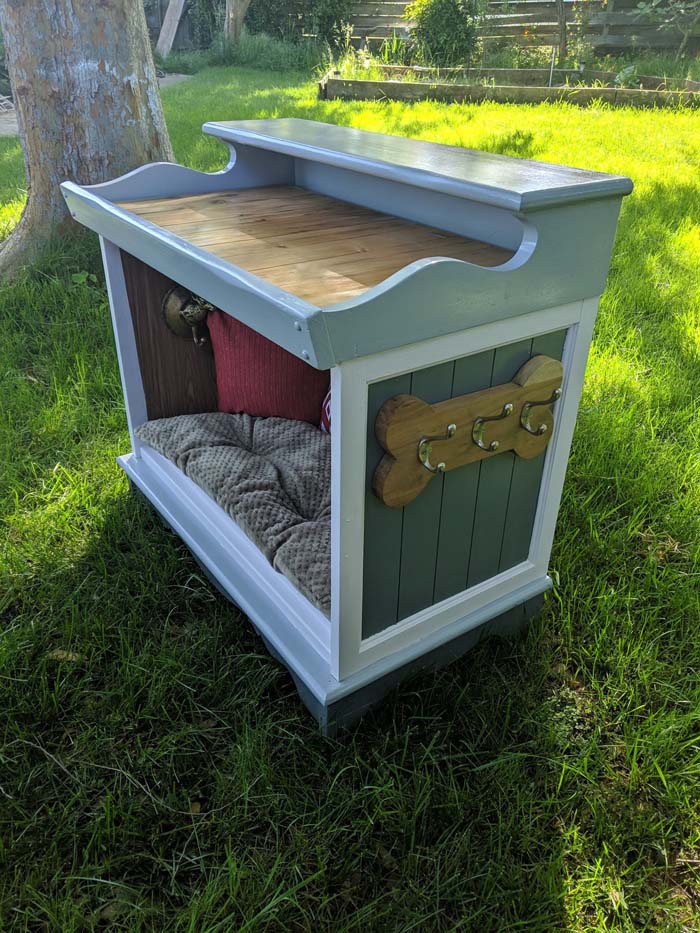
This one I wanted to have a country cottage feel.

