I was wondering what my next DIY project would be when I saw some wooden centerpieces with bottles on Pinterest.
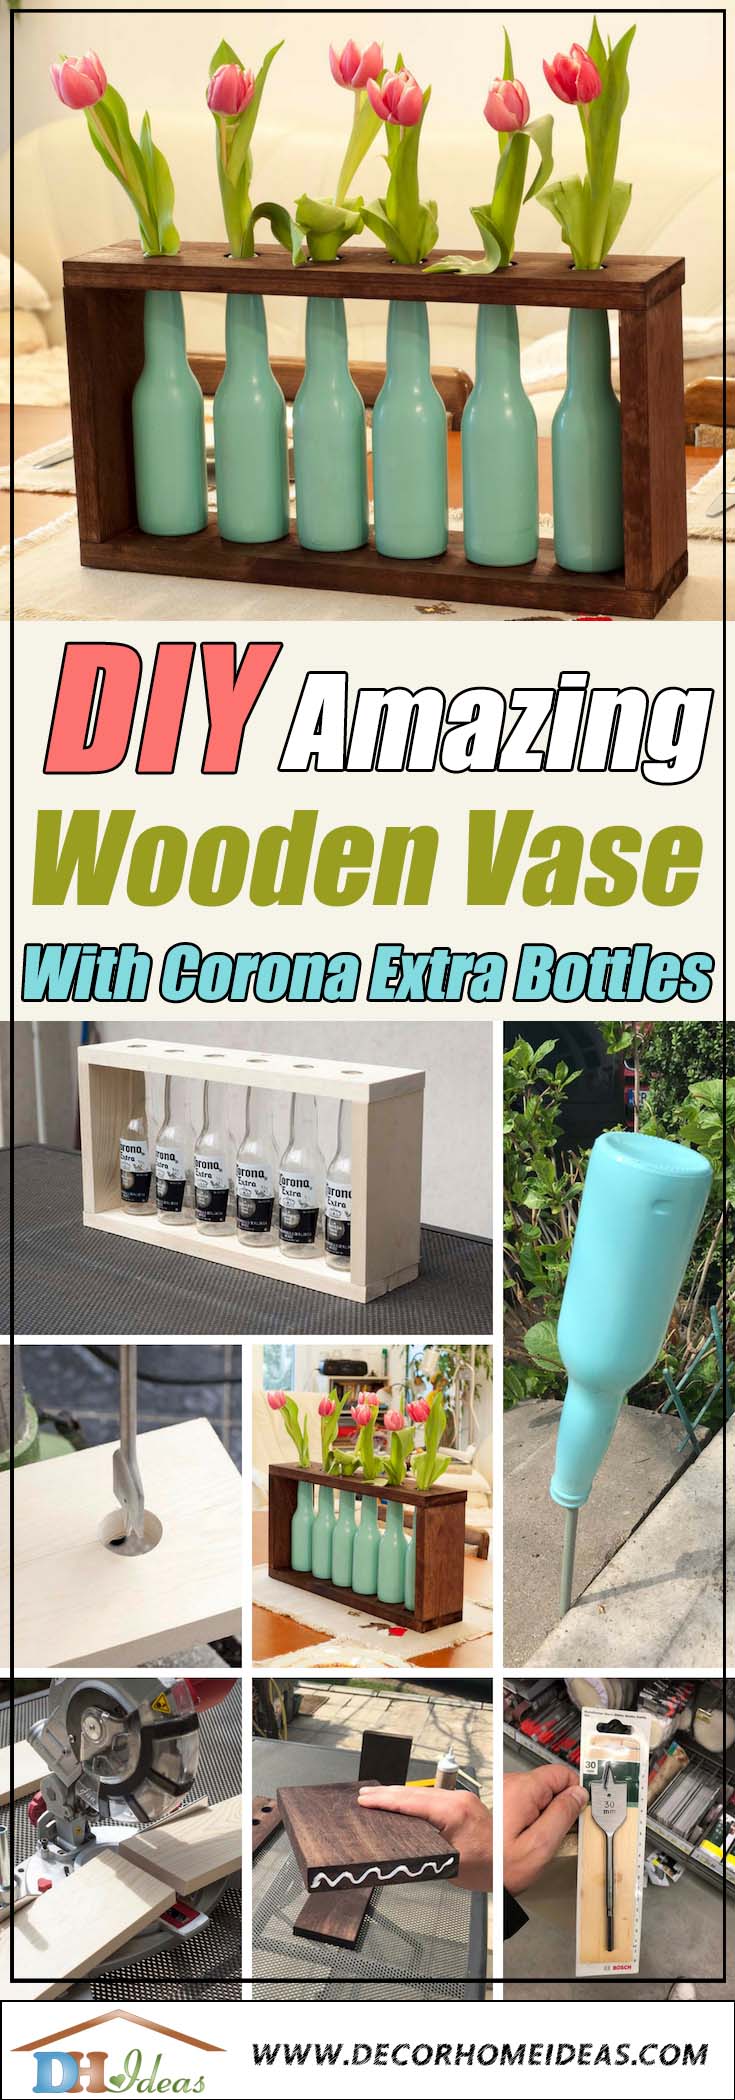
While most of them are using plain glass bottles, I decided to add a splash of color and use one of my favorites: turquoise color.
You can watch the step by step video below:
I’ve already had some spray paint left over from my spring centerpiece DIY project, so I was ready to start.
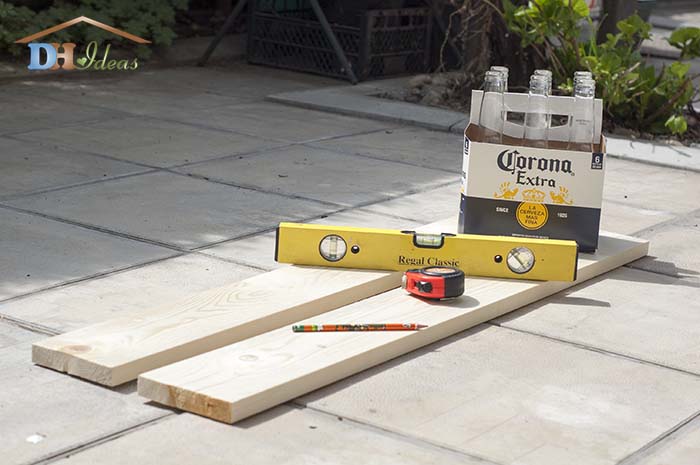
Supplies:
2 Pine Boards
30 mm ( 1 3/8″ ) Drill for Wood or Forstner Bit
Wood Glue
Turquoise Spray Paint
6 Corona Extra Bottles
Wood Stain
Step By Step Tutorial
First you need to make the cuts. The tricky part here is to measure them properly and cut them at right angles.
I measured the length with a tape measure and used a framing square to make the right angles. The miter saw has the option to fix it at right angle, but I just wanted to be sure.
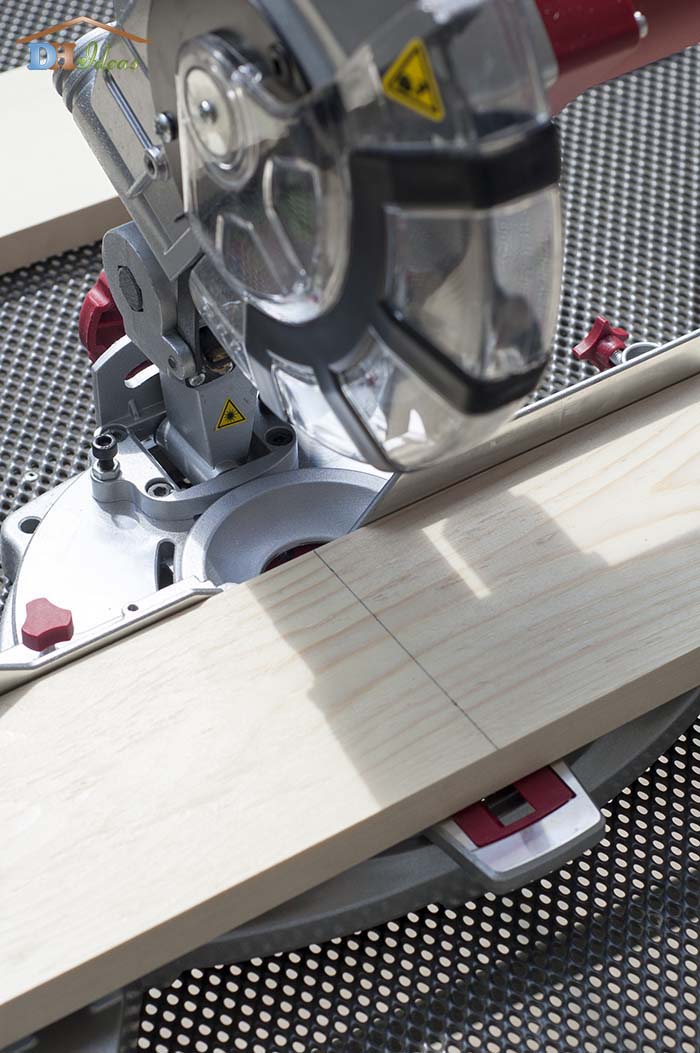
You have to make 2 x 50 cm ( 2 x 20″ ) pieces ( top and bottom ) and 2 x 20 cm ( 2 x 8″ ) pieces ( sides ). The boards are 12 cm ( 5″ ) wide and 2 cm ( 1 ” ) thick.
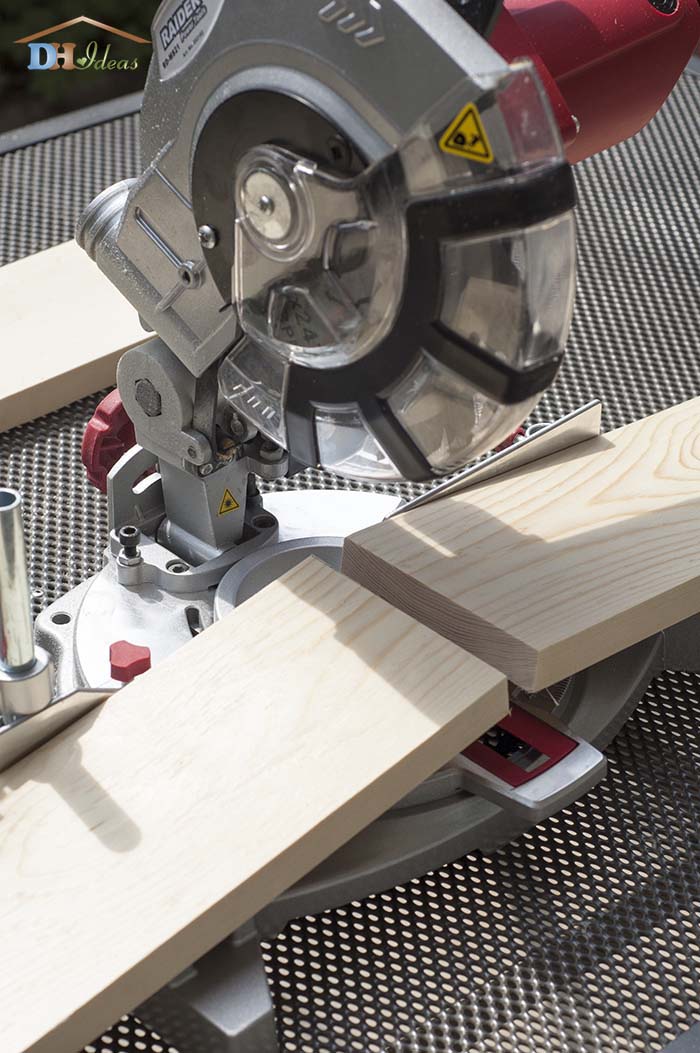
After cutting all pieces, it’s a good idea to assemble them to see if they match. Especially the right angles.
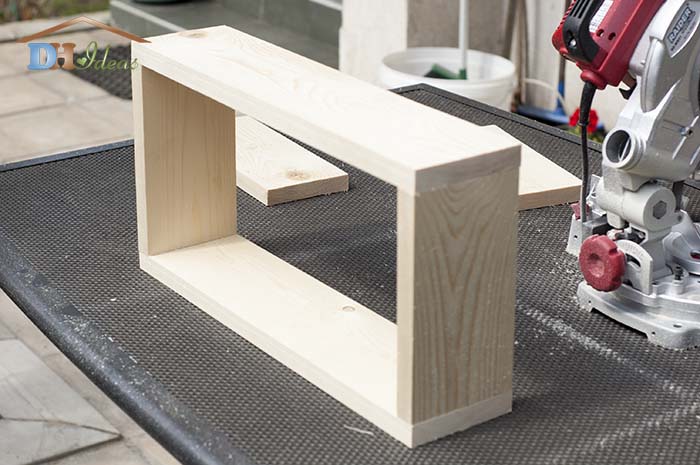
If everything is good, you can start drilling the holes on the top piece. I used a 30 mm ( 1 3/8″ ) wood drill, but a forstner bit with the same size would do just fine.
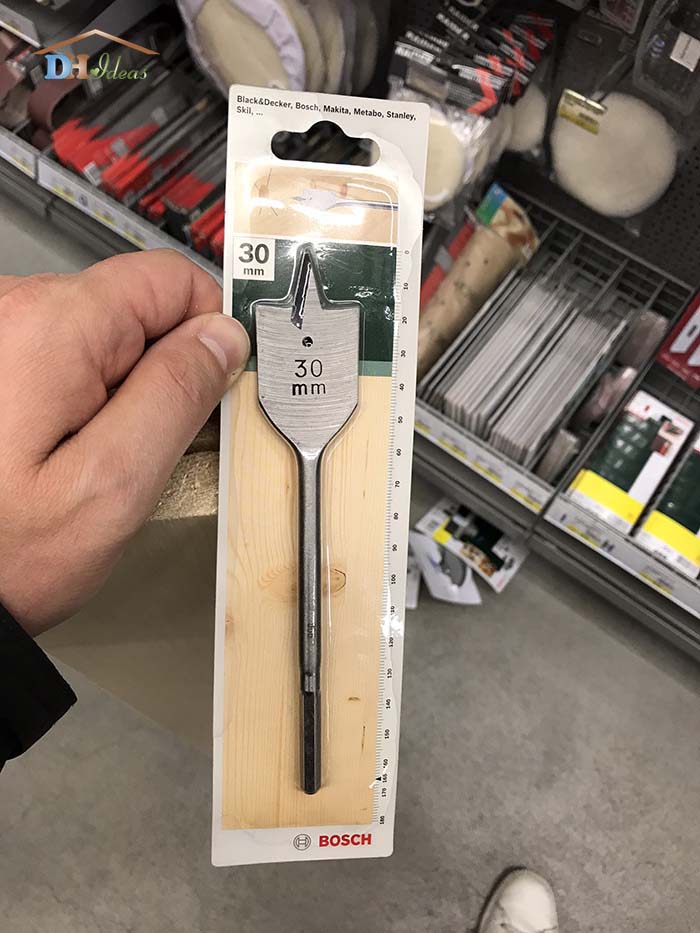
You can get one here.
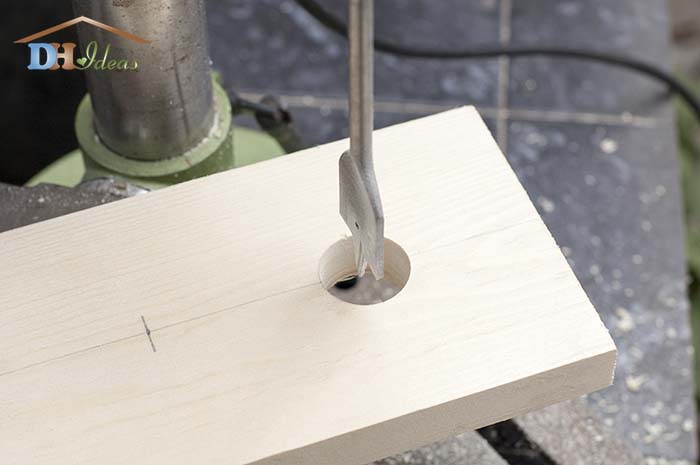
The distance between the holes is 75 mm ( 3 ” ) and I started the first hole at 63 mm ( 2.5″ ) from the side of the 50 cm ( 20″ ) board.
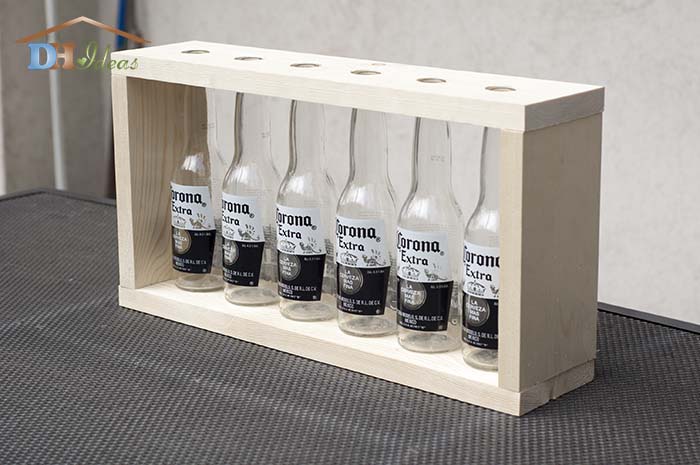
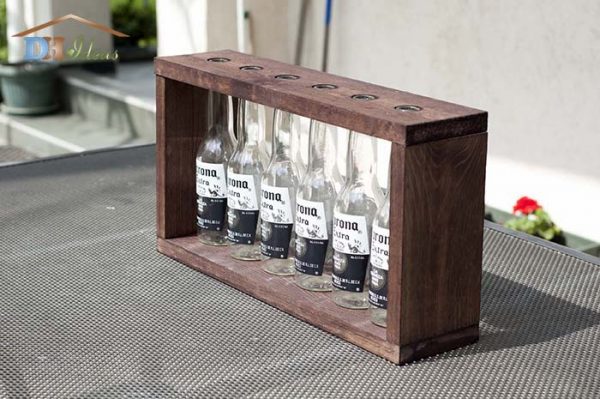
Here is another shot with bottles placed underneath each hole.
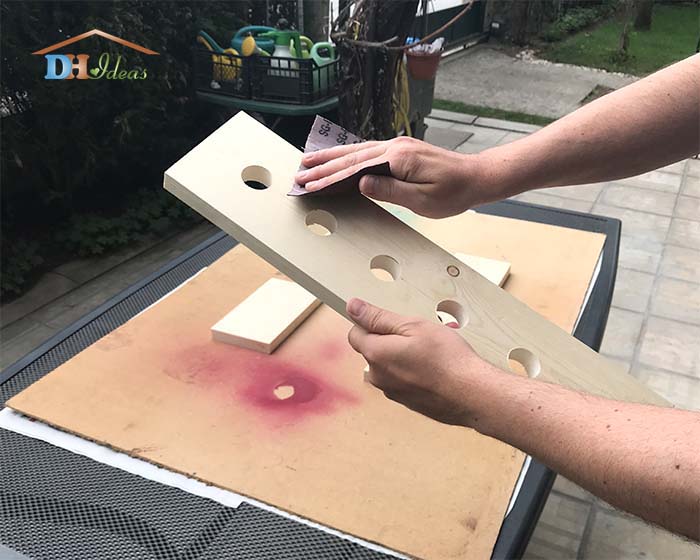
Then you need to sand the boards to make them smooth and prepare them for staining. I used 100 grit paper and did it manually, but if you have a sander it would make it much easier.
You can use any color of wood stain, but I suggest a darker color. I used Walnut color.
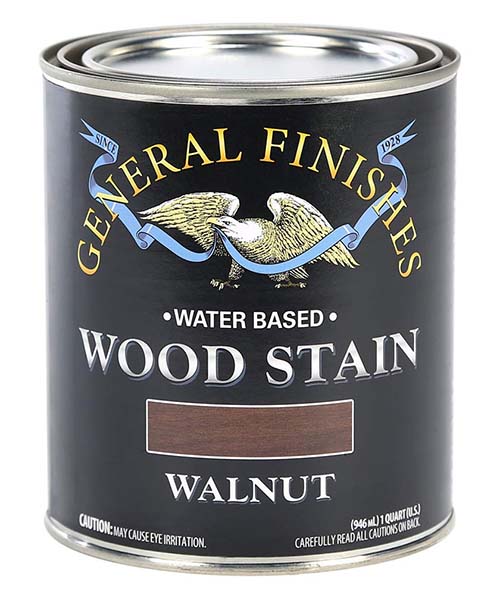
You can get wood stain like this one here.
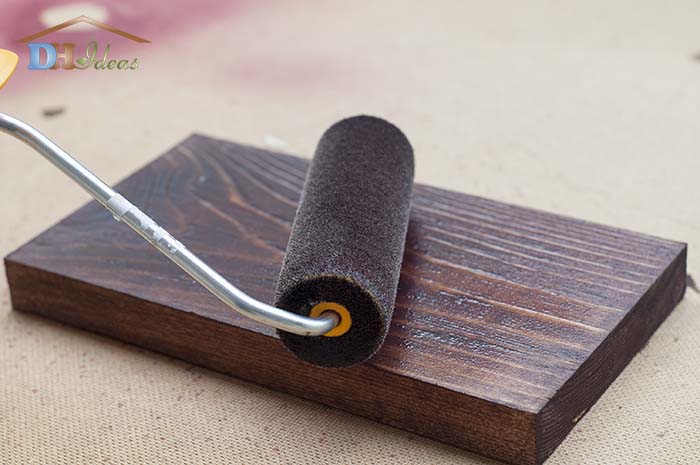
Paint roller makes it easier to apply the coat evenly. You may need at least 2 coats to achieve the perfect color.
Before applying second coat, you need to wait for the first one to dry off.
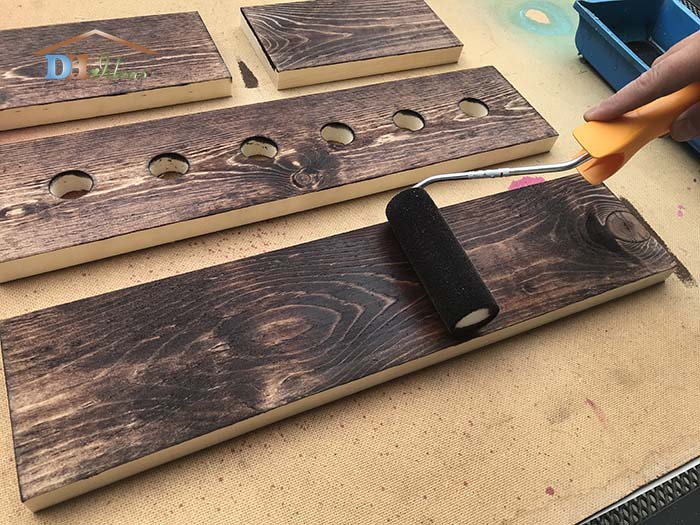
When all pieces are stained and you are satisfied with their look, you can start assembling the wooden vase.
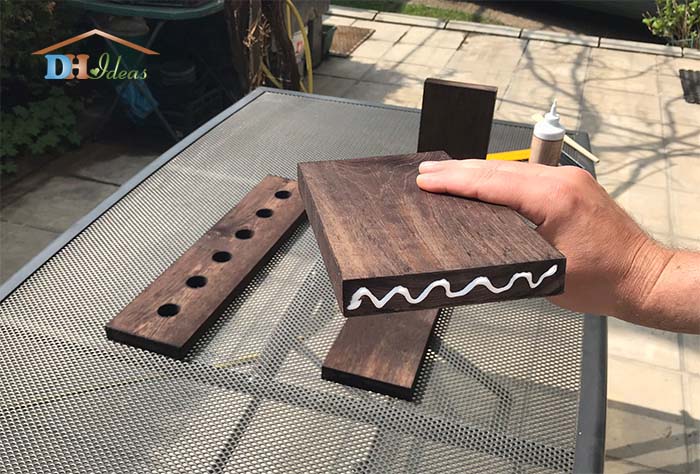
Just add a line of wood glue to the top of each side piece. In most cases the glue will be enough to keep all pieces together, but if you need more security, you can hammer small black nails on each side.
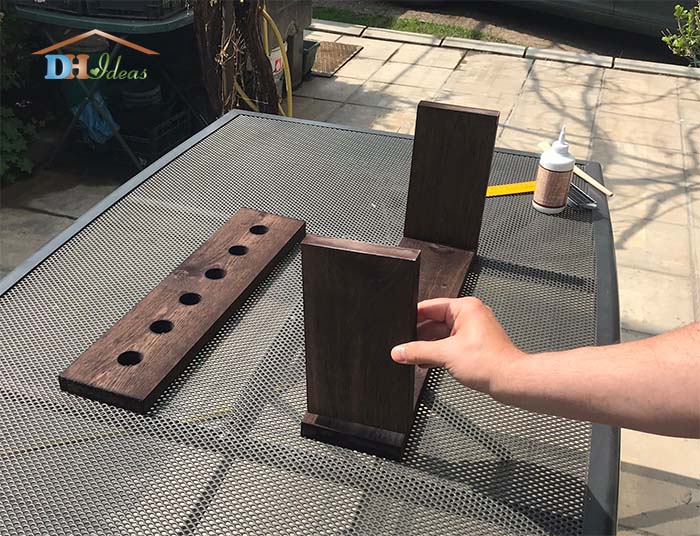
Assemble all the pieces and let the glue dry.
I put the bottles once again to see how it looks, before proceeding.
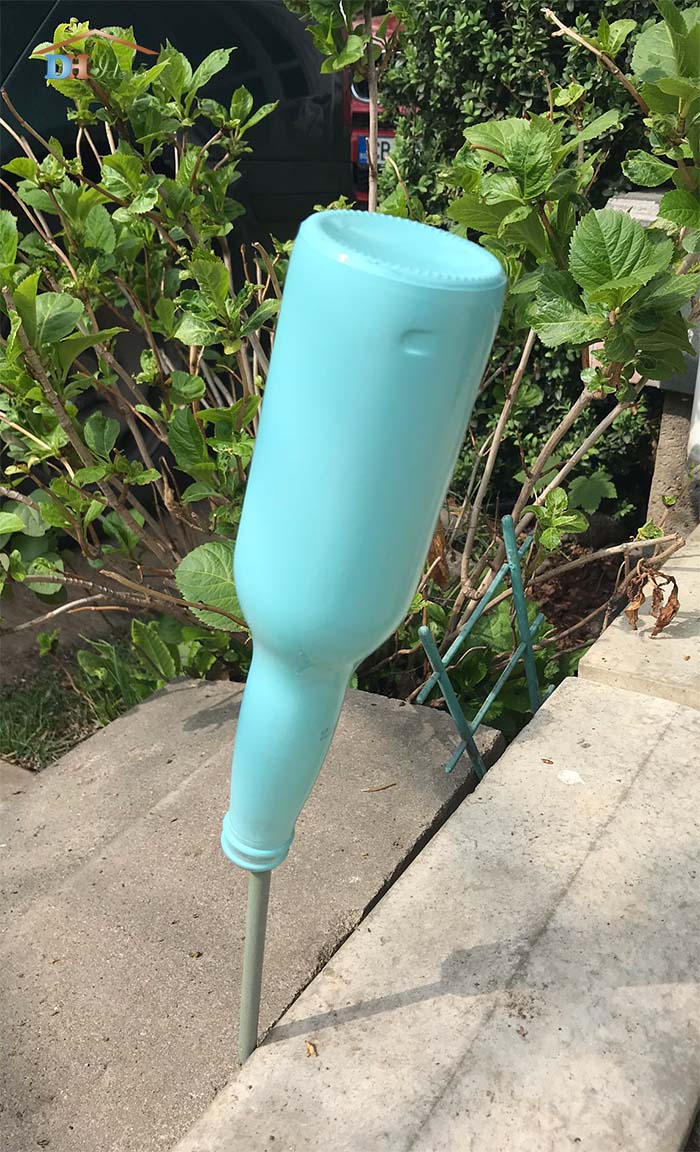
Next step is real fun – spray painting the bottles.
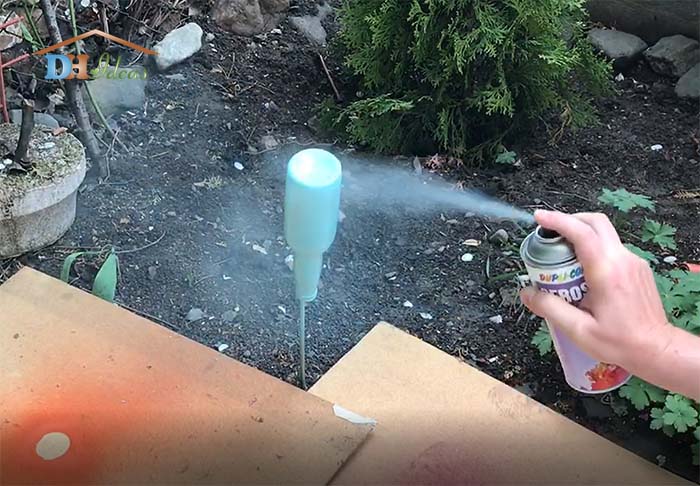
Applying one or two coats is enough. Do not spray too close to the bottle as it could result in gliding.
Here is one of the bottles, perfectly painted in turquoise. You can also try any other color.
Now you have everything ready to finish the wooden vase with Corona extra bottles.
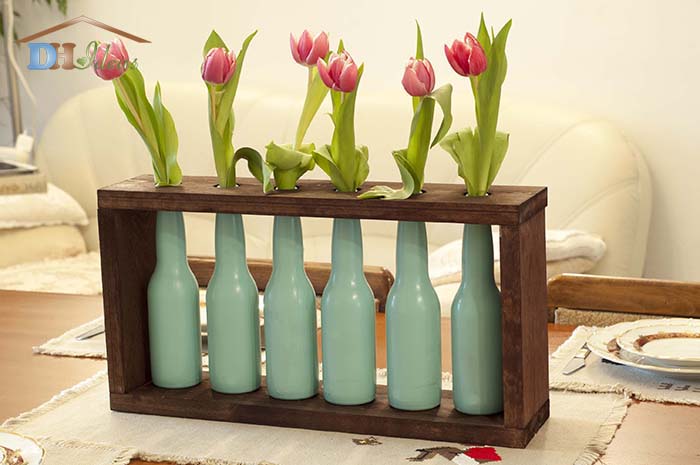
I had some fresh tulips, but any other kind of flower would be nice. You can also use faux flowers.
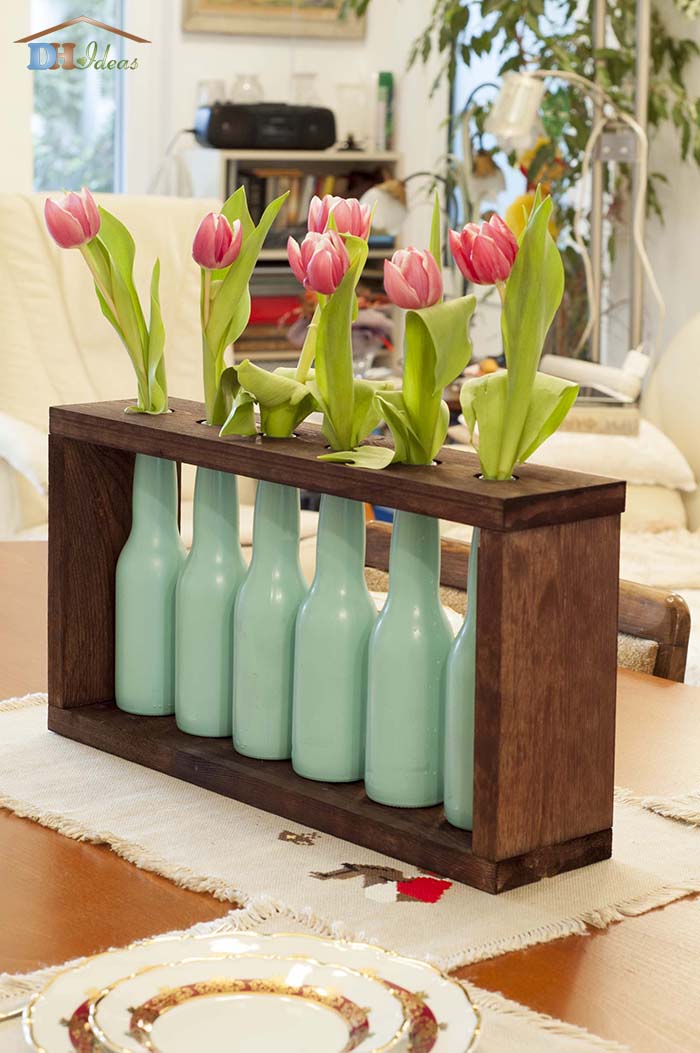
I hope you enjoyed it!
I would LOVE for you to pin and share this project with all your friends!
…or leave a comment below!

