How to build wooden compost bin, without spending a fortune? Do you want to build one with your own hands?DIY wooden compost bin is not that hard to build with the following instructions.
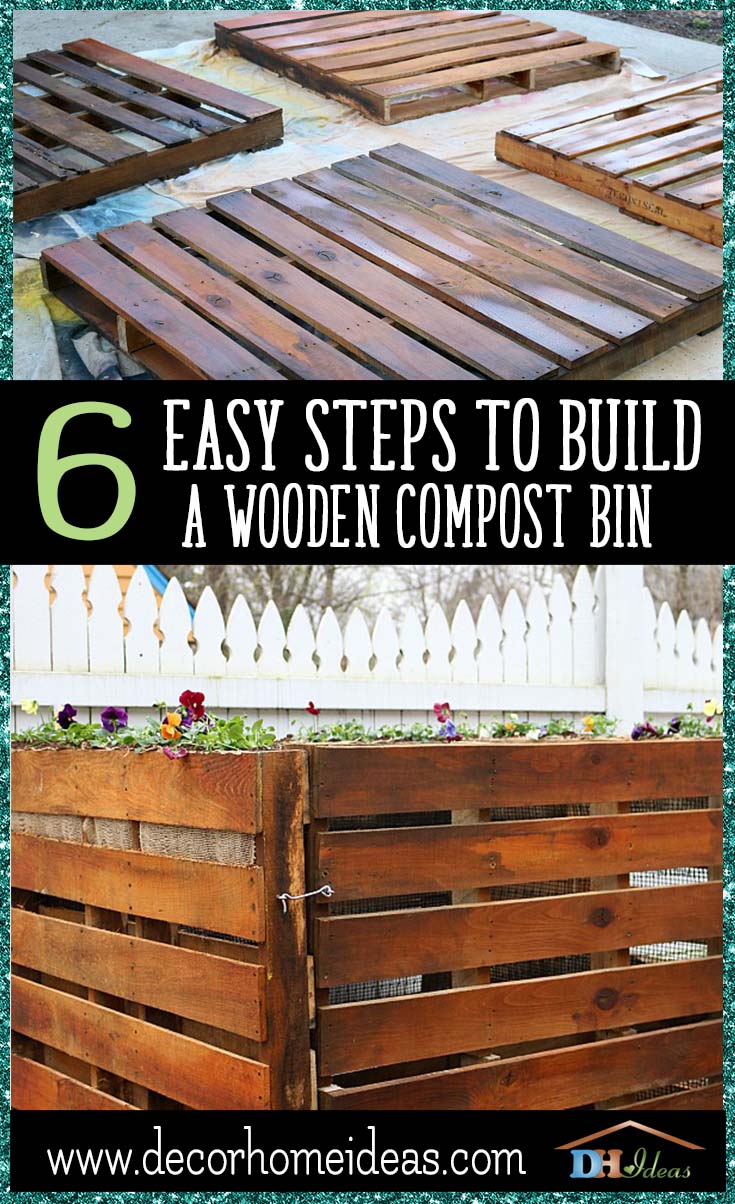
Liz from Laporte, IN got innovative idea how to build her own compost bin made from wooden pallets for her yard.
From a long time she wanted to make one and finally she managed.
Building the compost was super easy (just in 6 steps), fast (about a few hours), and the most important – it was very cheap (it is less than half the cost of lumber).
Several times this woman looked at compost bin plans and didn’t really see what she wanted.
1.The Idea
So she decided to make a compost bin using wooden pallets.
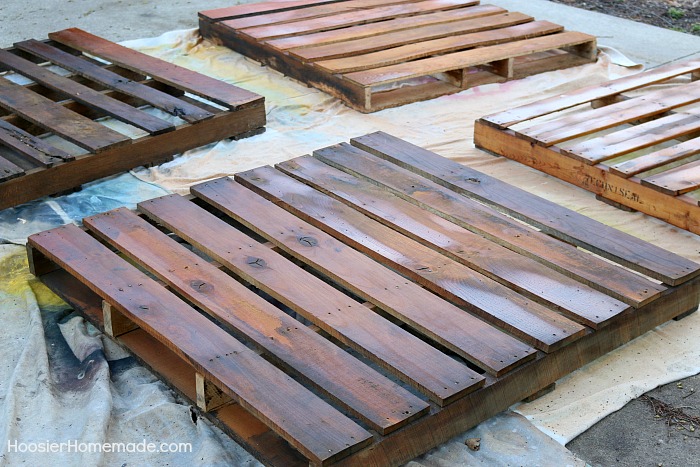
2. Assembling
Liz collected 4 wooden pallets and her first step was to apply a couple of coats of exterior wood stain.
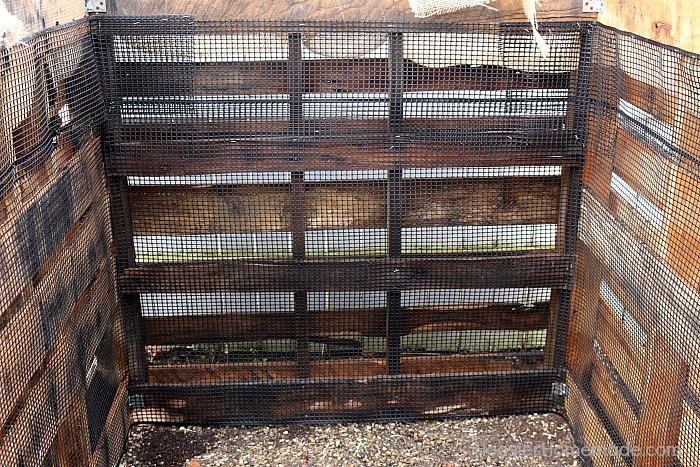
She knew that this wooden compost bin would be visible from about any area of her backyard.
However Liz left one side unstained which would be the most likely to come in contact with the compost.
She finished off this step by stapling the plastic hardware cloth to the inside of the bin.
In this way it would have kept all of the yard waste and food scraps inside the compost bin and would’ve made the pallets last longer.
3. Decorating
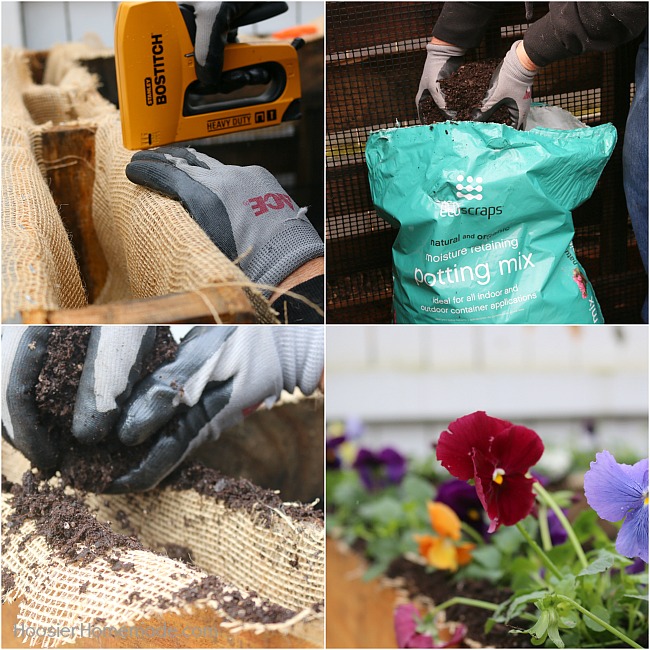
After that Liz planted flowers in the wooden pallet compost bin.
Let’s see how she made it.
First: She cut her garden burlap into 2 feet lengthsand then she cut the width of the openings in the ends of the pallets.
Second: She stuffed the pieces of burlap down into the pallet and next she secured the end using a staple gun and staples.
4. Almost Done
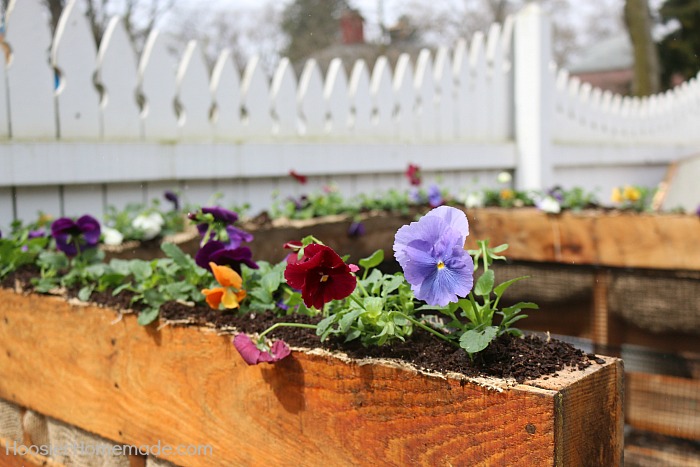
Third: The last step was to fill the spaces with the Potting Mix and finally she planted with flowers.
She chose pansies, because it was still too early to plant annuals in Indiana.
Furthermore the pansies are very hard.
5. Final Result
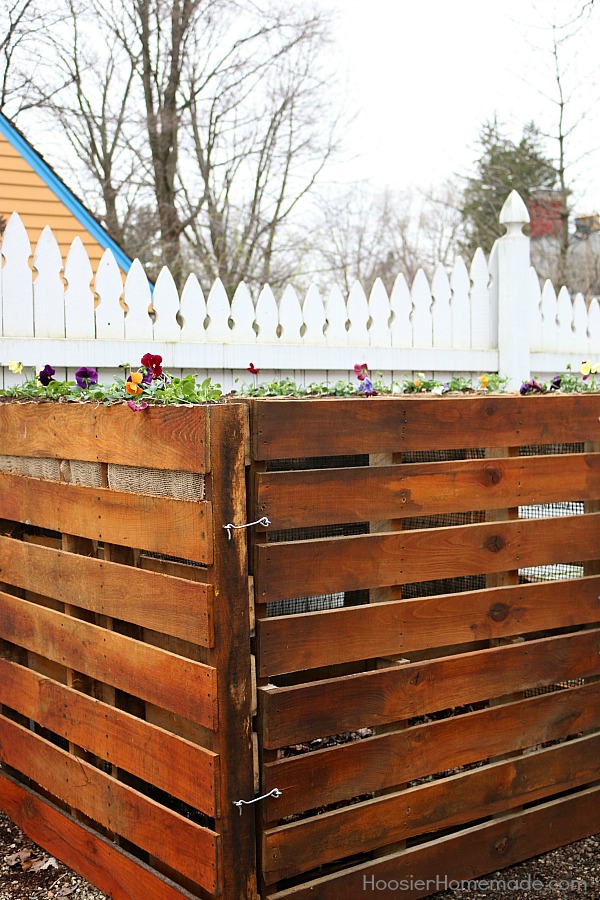
You can see the result of Liz’s project on the picture above.
So, Liz built her own wooden pallet compost bin in only 6 steps and is great inspiration to start your next DIY project.
You can follow her step by step tutorial and get info on all the materials needed on her blog: Here

